Step-by-Step Halloween Snake Sugar Cookies with Buttercream
5 - 5Shares
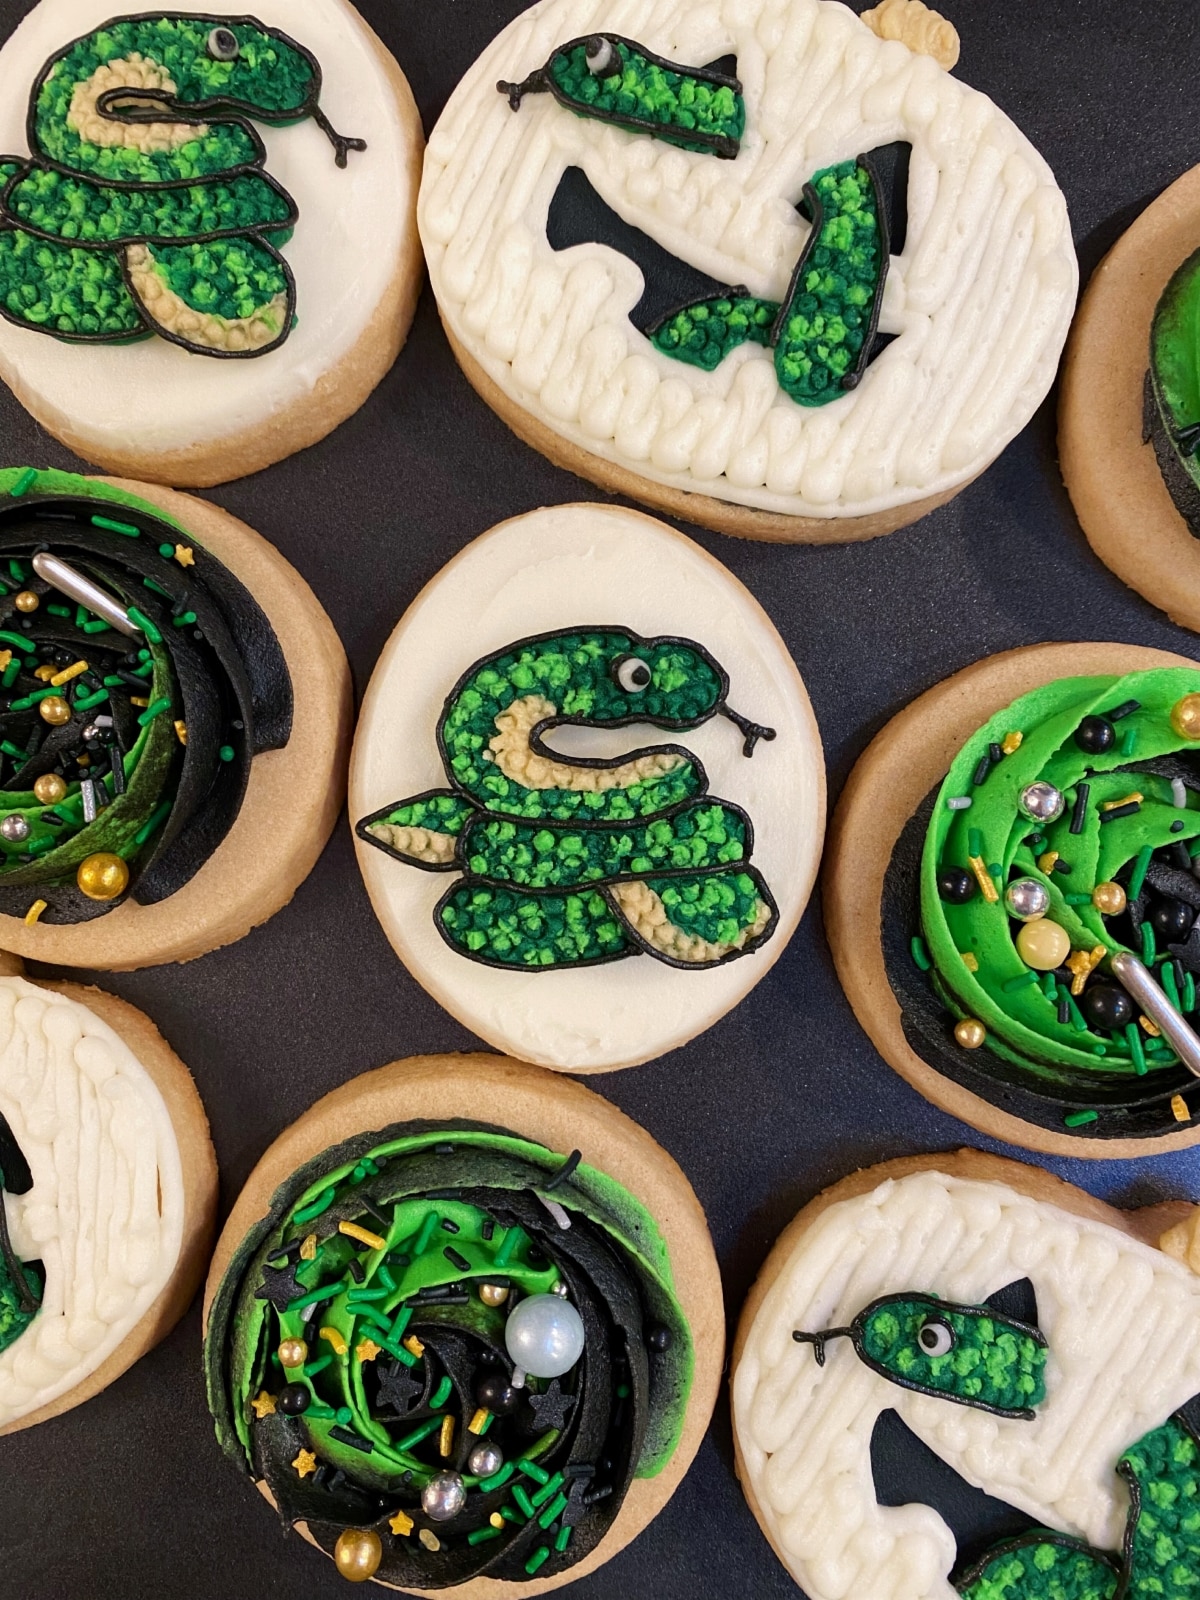
These Halloween snake sugar cookies with buttercream are so fun for the holiday. Not too creepy and still fits the theme of Halloween with the pumpkin cookies.
Of course, if you have ophidiophobia, the fear of snakes, these sugar cookies could be too much. Last year, I made a tutorial for spiders.
Even though I kept them pretty cartoon-like, I was still a bit spooked making them!
So without further ado, here’s the tutorial for how to make snake sugar cookies with buttercream frosting.
*Please note, the tutorial is for the two snake cookies and not the rosette cookies. You can find a tutorial on how to make rosettes here if you’d like to add them to the set as I did.
*This post may contain affiliate links, which means I may receive a commission, at no extra cost to you, if you make a purchase through a link. Please see my full disclosure for further information.*
Skip to
Part 1: Gathering the Supplies for the Halloween Snake Sugar Cookies with Buttercream
To decorate these snake sugar cookies, you will want to gather:
- 5 Icing bags
- 4 Couplers
- One PME #1.5 tip, one Wilton #2 tip, one Wilton #5 tip, and one Wilton #12 tip – buy these at Walmart or purchase this Wilton set of tips I use for almost every tutorial
- Pumpkin and oval cookie cutters
- Gel food dye for buttercream frosting in Kelly Green, Lemon Yellow, Brown, and Black
- Palette knife
- Ingredients for a crusting buttercream, find my crusting buttercream icing recipe here
- Ingredients for sugar cookie dough, find my no spread sugar cookies recipe here
Part 2: Baking the Cookies and Setting up the Icing Bags
- Roll, cut out, and bake your sugar cookies according to the recipe.
- Make your buttercream icing and separate it into five bowls:
- Put about a cup of buttercream into one bowl and color that with the Kelly Green.
- Put a half cup into a bowl and color that a lighter green by mixing Kelly Green with a bit of Lemon Yellow.
- Put another half cup into a bowl and color that black.
- Put another half of a cup into a bowl and color that light brown.
- The remaining buttercream will remain undyed.
- Set up your icing bags as follows:
- Place the dark green frosting into an icing bag with the tip #12.
- Place a coupler into each of the remaining bags and then add your buttercream to the bags. You do not need to add the tips yet.
Part 3: Making the Halloween Snake Sugar Cookies with Buttercream
Check out the video above to see how these snake sugar cookies come together and then use the step-by-step photo tutorial below when you’re ready to decorate.
How to Make Coiled Snake Sugar Cookies
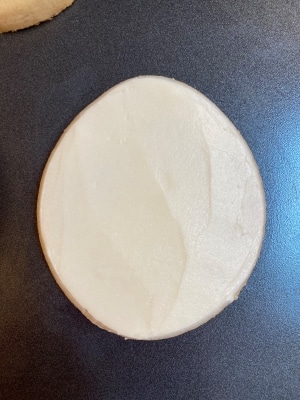
- Attach the tip #5 to the white frosting and fill in the entire cookie. You can be sloppy here! Then, use the palette knife to smooth the frosting.
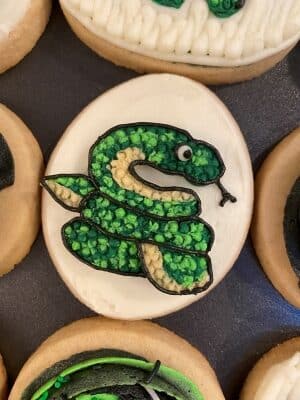
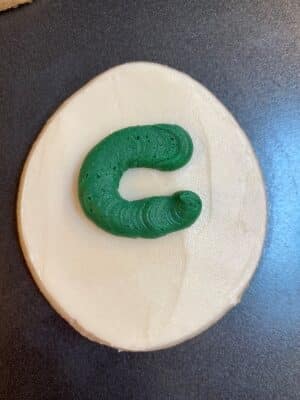
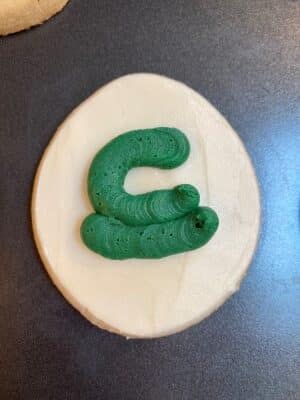
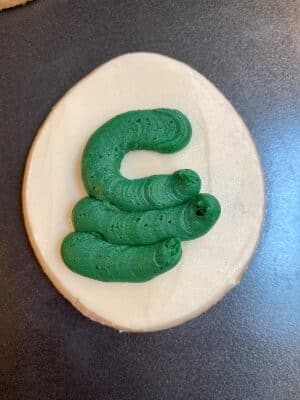
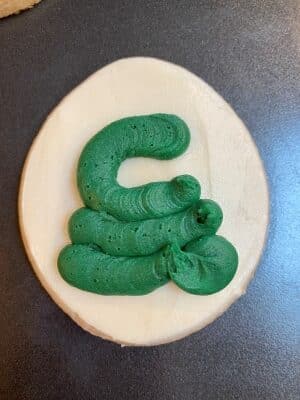
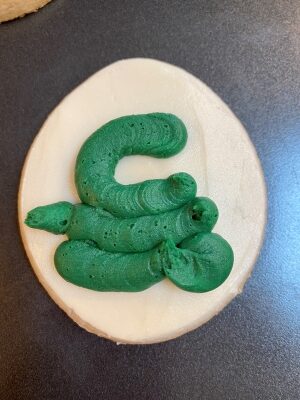
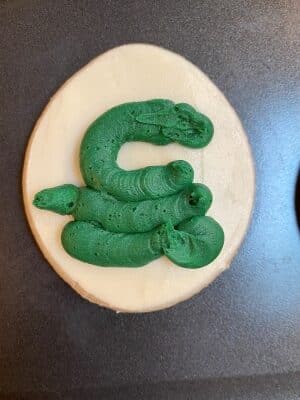
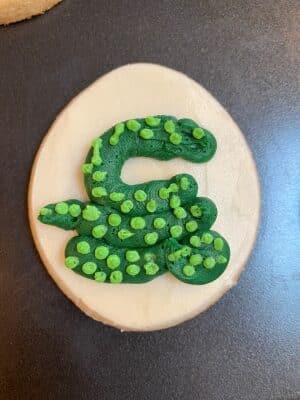
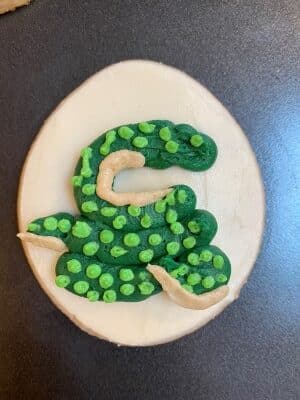
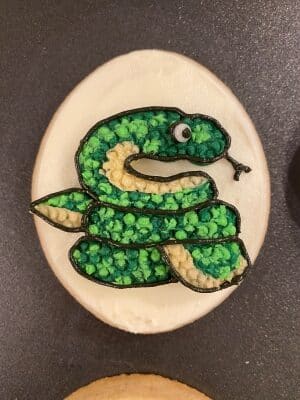
- Use the dark green frosting to pipe the coiled snake. You can see the step-by-step photo tutorial here on an easy way to pipe a coiled snake.
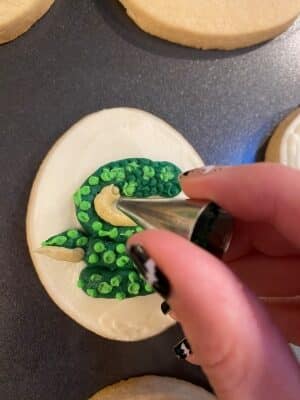
- Next, attach the tip #2 to the light green frosting and pipe dots of green onto the snake’s body. I tried to avoid the places I would be piping the snake’s belly but if you cover the whole snake, you can still “fix” it in the next step.
- Remove/rinse/dry the tip #2 from the light green frosting and attach it to the light brown frosting. Pipe the snake’s belly. You can see the photo here on where I assume the belly would show on a coiled snake but if you’re a better artist than me, do what makes sense to you.
- Use the palette knife to smooth the light green frosting & brown frosting just a bit to remove large bumps. This will help the scale pattern better show.
- Allow the snake cookies to form a crust before proceeding to the next steps. During this time, you can work on the pumpkin snake cookies. They should crust enough in 30 minutes.
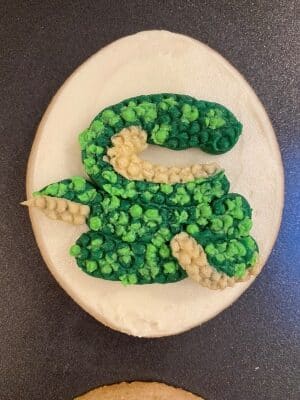
- Once the snake cookies have formed a crust, remove/rinse/dry the tip #5 from the white icing bag. Now, use the piping tip to push circles onto the snake’s skin to represent scales.
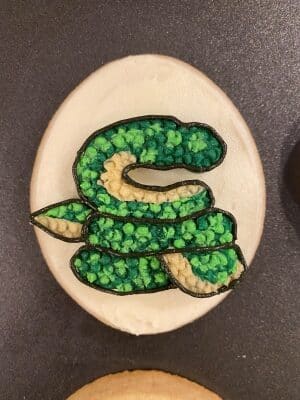
I saw @happinesswithfrosting on Instagram do this technique on a snake cake so I scaled it down for a cookie! Make sure to give her a follow! - Attach the PME tip 1.5 to the black frosting bag and outline the snake’s body. Then, add the tongue and eye. To create the eye, squeeze a dot of black, then a dot of white with the tip #2, and then another dot of black (still with the PME 1.5 tip).
How to Make Snake Pumpkin Sugar Cookies
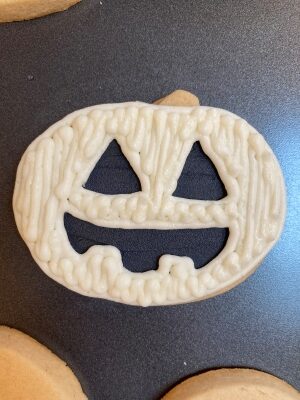
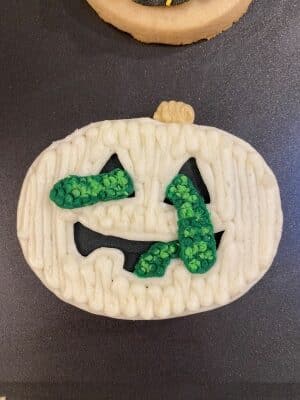
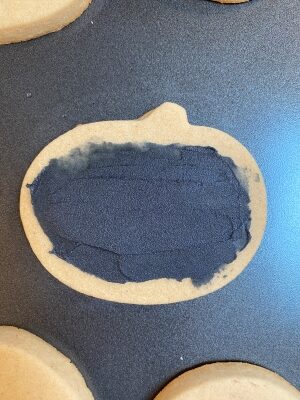
- Use either the PME tip 1.5 or the Wilton tip #2 to pipe a small amount of black frosting onto the middle of the pumpkin cookie. Smooth the black frosting so that a thin layer covers where the Jack o Lantern face will appear.
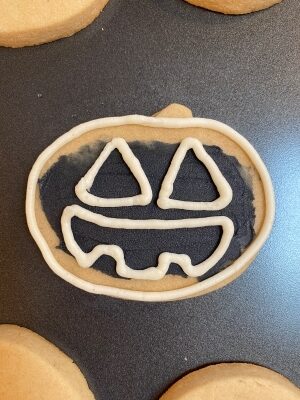
- Attach the tip #5 to the white frosting and outline the pumpkin edges, minus the stem, and the Jack o Lantern face.
Fill in the pumpkin with the white frosting.
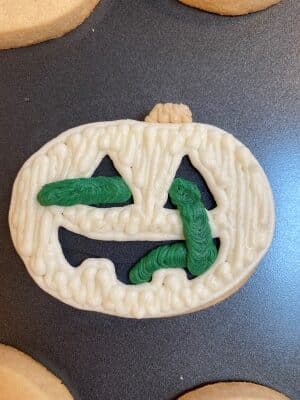
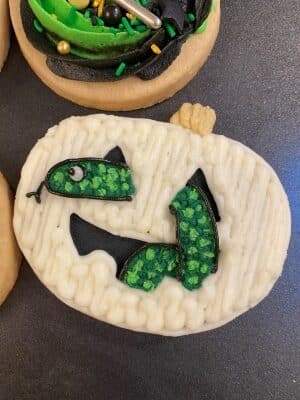
- Attach the tip #2 to the light brown frosting to pipe the pumpkin stem. Then, use the dark green frosting to pipe the snake siting inside the pumpkin near the mouth, then slithering out of the mouth into the right eye and then under the right eye into the left eye.
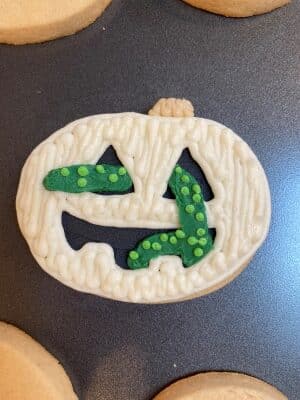
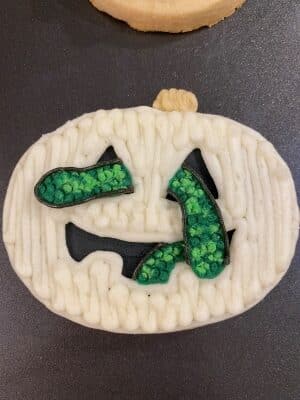
- Attach the tip #2 to the light green frosting to pipe small dots onto the snake’s body.
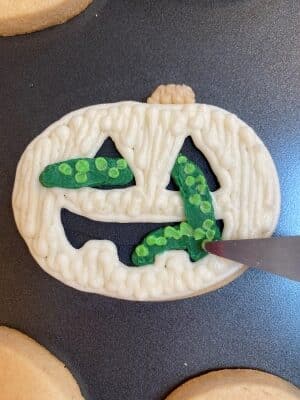
- Use the palette knife to smooth the dots of light green down a bit so that the scale pattern shows better. This does not need to be anywhere near perfect, we just want to remove large bumps.
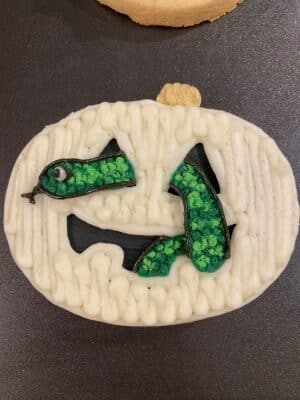
- Allow the pumpkin snake cookies to crust for 30 minutes before using a rinsed & dried tip #5 to create scales onto the snake.
- Use the black frosting with the PME tip 1.5 to outline the snake’s body, pipe the tongue, and the eye. To pipe the eye, place a dot of black, then a dot of white with the tip #2, then another dot of black.
These Halloween snake sugar cookies with buttercream frosting are just the perfect treat to bring to a Halloween party. If you need tips on how to package buttercream sugar cookies, make sure to check out my blog post.
I like to have at least three designs in a cookie set, so I added these quick & easy rosette cookies with sprinkles. I used Sweetapolita’s Abracadabra blend on a black & light green rosette.
These snake sugar cookies are also perfect for reptile birthday party treats or anyone who just loves snakes. I’d love to know in the comments below, do you like snakes or do they creep you out too much?
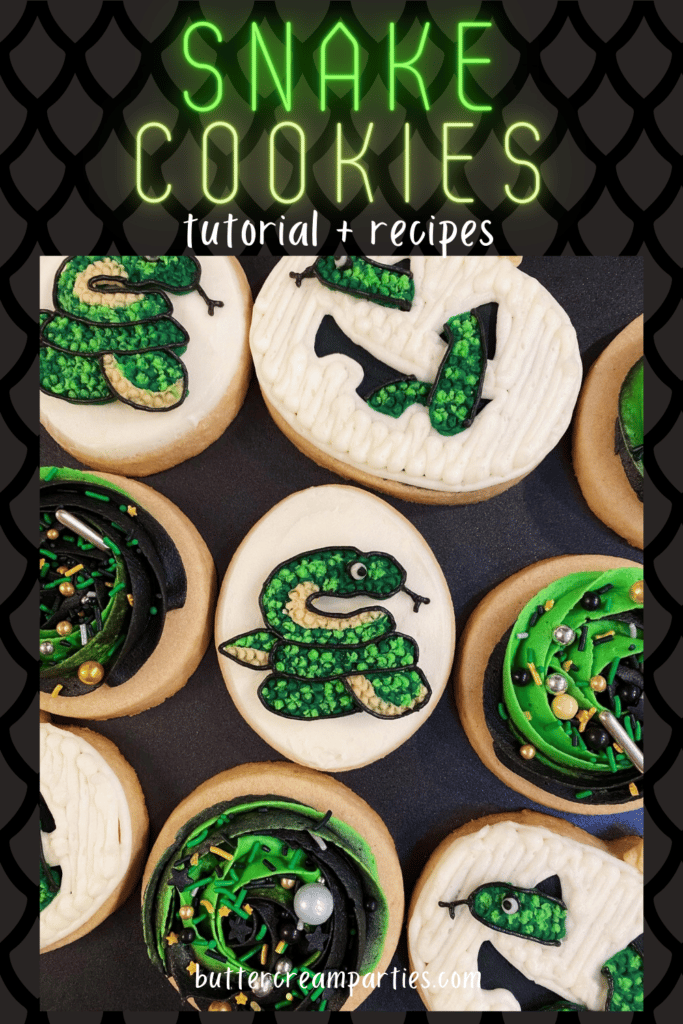
Save the Tutorial for These Halloween Snake Sugar Cookies with Buttercream
Use the image below to pin this fun snake cookie tutorial to your Halloween board on Pinterest. Alternatively, use any of the social share icons on the top of the page to share it to your favorite social media site.

 Fill in the pumpkin with the white frosting.