How to Decorate Spider Cut Out Cookies – 13 Days of Halloween Decorating
77 - 77Shares
I am so afraid of spiders. It’s a true phobia of mine. I debated if I should even make these spider cut out cookies as part of the 13 Days of Halloween cookie decorating.
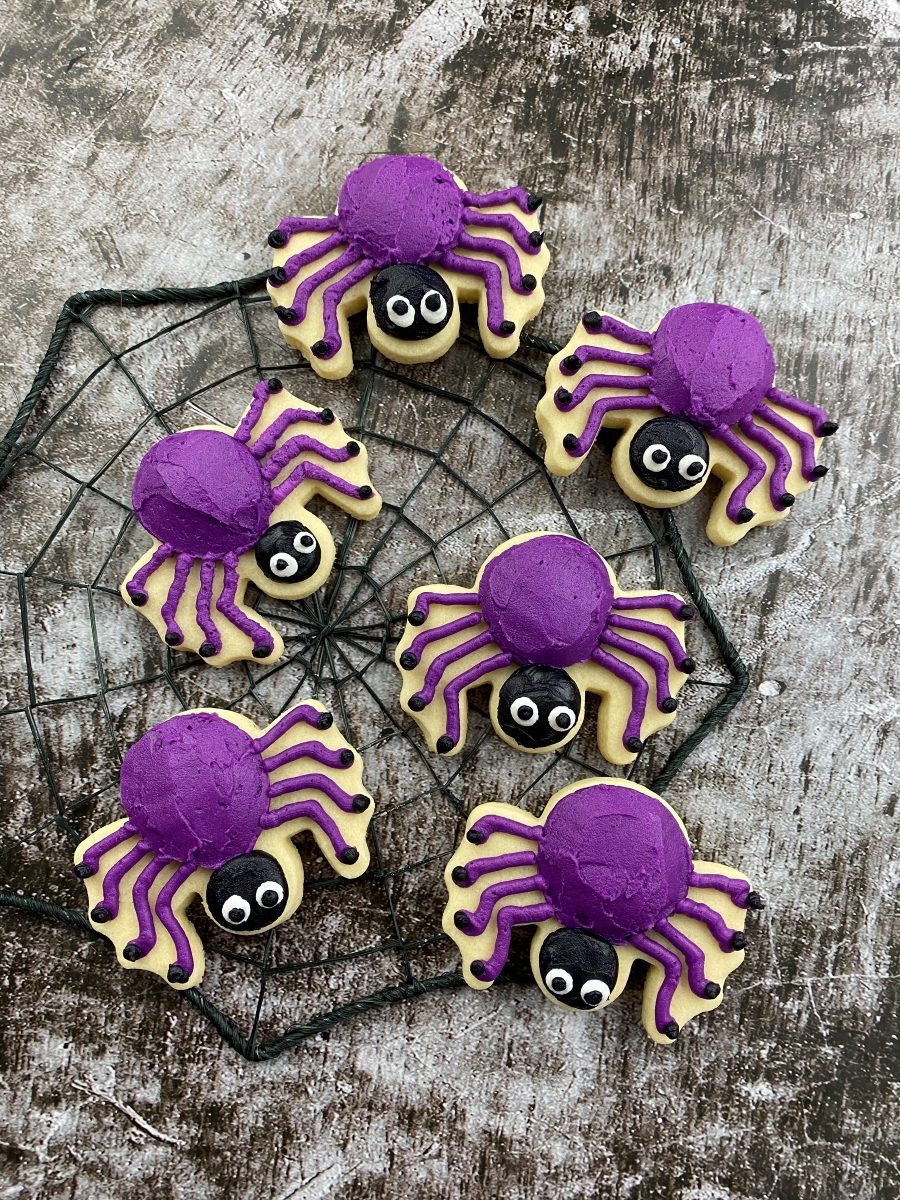
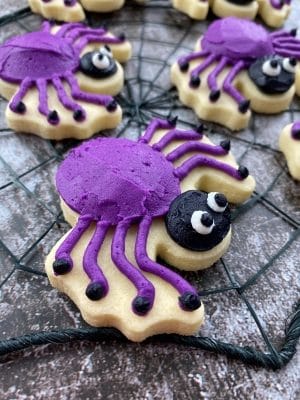
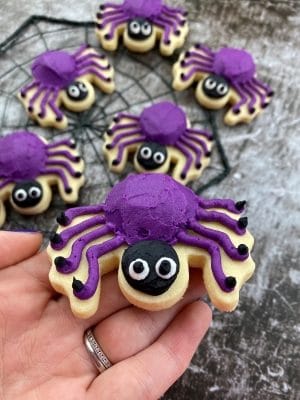
They do seem like a necessary Halloween sugar cookie, though. So, I decided to try to make the cut out spider cookies as non-creepy as possible. This meant making sure the eyes were kind of cartoony and the colors weren’t too accurate for spiders.
If you want a creepier version, simply swap out the purple for black or red. You can also make eight dots for the eyes instead of my less-creepy two.
These spider cut out cookies would look great paired with the broken spiderweb cookies from Day 5 of the countdown.
Follow the beginner-friendly tutorial with step-by-step photos plus a video to decorate these friendly spider cookies for Halloween.
*This post may contain affiliate links, which means I may receive a commission, at no extra cost to you, if you make a purchase through a link. Please see my full disclosure for further information.*
Skip to
Part 1: Gathering the Supplies for the Spider Cut Out Cookies
For how to make decorated spider cookies with buttercream frosting for your Halloween party, you will want to gather:
- 3 Icing bags
- 3 Couplers
- Wilton #2, #4, and #12 tip sizes – buy these individually at a bake supply store or purchase this kit
- Spider cookie cutter – I used the one in this set which includes cookie cutters used for my other Halloween decorating tutorials as well
- Wilton black and Wilton purple gel food dyes, I’ve found the best price at Walmart
- Palette knife
- Ingredients for a crusting buttercream, find my crusting buttercream icing recipe here
- Ingredients for sugar cookie dough, find my no spread sugar cookies recipe here
Part 2: Baking the Cookies and Setting up The Icing Bags
- Roll, cut out, and bake your sugar cookies according to the recipe. You will be able to make about 20 sugar cookies with the cookie cutter & recipes linked above.
- Make your buttercream icing and take out one half cup of frosting and place that into an icing bag with a coupler.
- Remove a cup & a half of frosting from the mixer and mix in the black gel food dye. Remember, you only need to get to a dark gray, the frosting should dry black. Add that frosting to an icing bag with a coupler in it.
- Color the remaining frosting purple. Add that frosting to an icing bag with a coupler in it until the frosting is to the max fill line.
- If you don’t know how to set up icing bags, just hop over to my Getting Started: Learn How to Decorate Buttercream Cookies page for a detailed explanation.
Part 3: The Tutorial for How to Make Spider Cut Out Cookies
Check out the video here to see how to decorate spider cookies for Halloween. Then, check out the breakdown step-by-step photo series tutorial below.
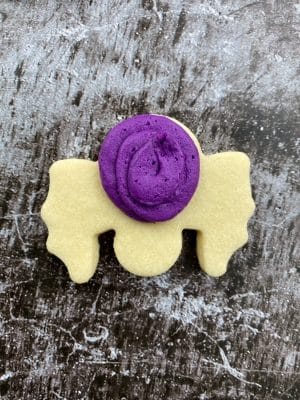
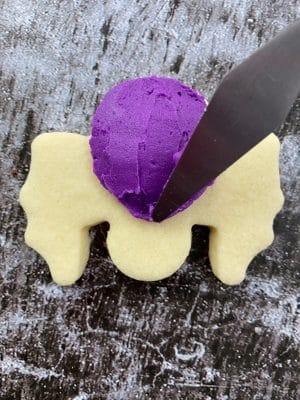
- Attach the tip #12 to the purple frosting. Squeeze out a large spider body by creating a swirl of frosting, moving from the outside in.
- Use the palette knife to round out the body. Do steps 1 & 2 on all of the spider cut out cookies before moving to step 3.
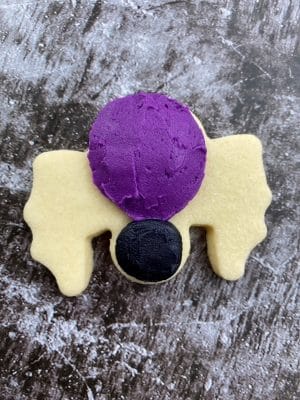
- Remove/rinse/dry the tip #12 from the purple frosting and add it to the black frosting. Make a smaller glob of frosting for the head, just like you did the body. Smooth it out a bit so it looks spherical.
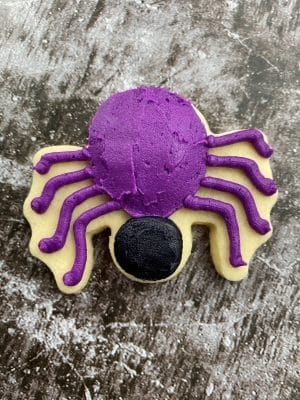
- Attach the tip #4 to the purple frosting and squeeze out lines for the spider’s eight legs. Do this step on all of the spider cookies before moving to step 5.
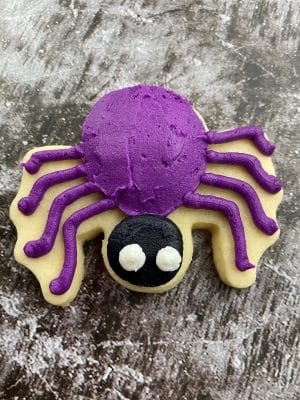
- Remove/rinse/dry the tip #4 and attach it to the white frosting. Squeeze out two small dots for the spider’s eyes. If you want a creepier cookie, squeeze out 8 dots of various sizes.
- Remove the tip #12 from the black frosting and replace it with the tip #2. Squeeze out small dots for the spider’s pupils and then some small dots for the spider’s feet.
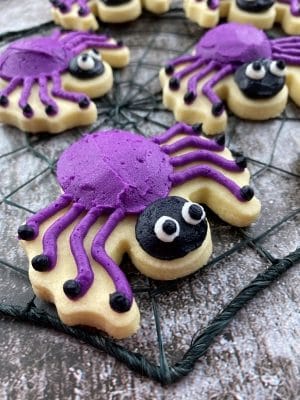
These one’s aren’t too creepy, right? If a spider could be cute, I think this is as close as one can get in achieving that!
Place these decorated spider cut out cookies onto a spiderweb plate and your guests will be thoroughly impressed. Happy Halloween and as always, happy decorating!
Save the Tutorial for How to Make Spider Buttercream Cookies
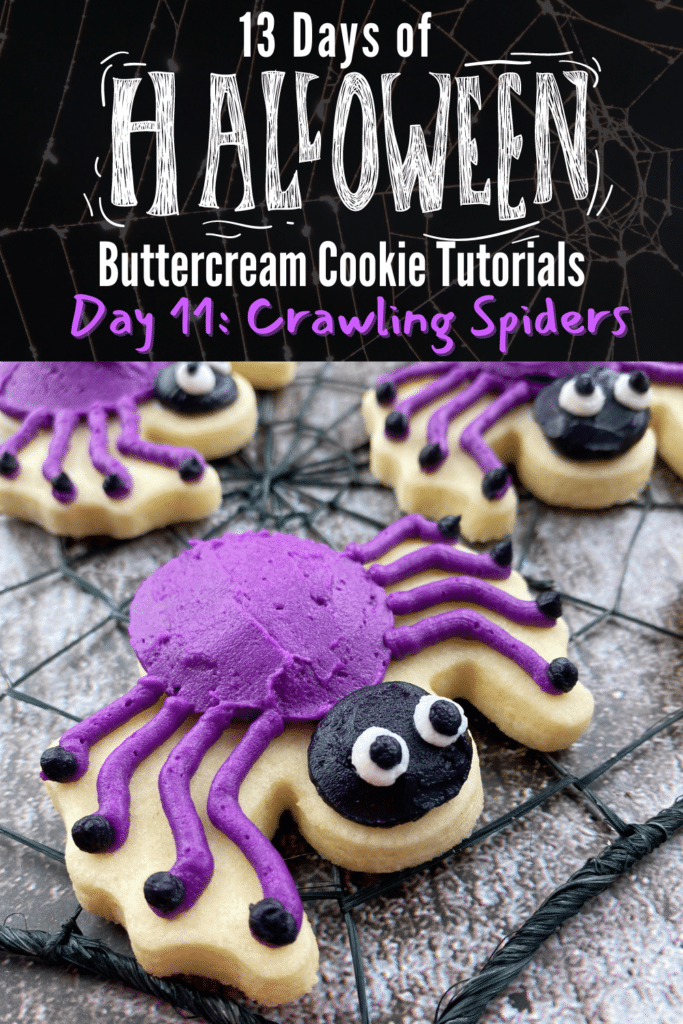
Use the image below to pin this Halloween cookie decorating tutorial to your Halloween party board on Pinterest. Alternatively, use any of the social share icons on the top of the page to share it to your favorite social media site.
Thanks so much for sharing! I truly appreciate it. <3

