How to Pipe Halloween Rose Cookies – 13 Days of Halloween Cookie Decorating
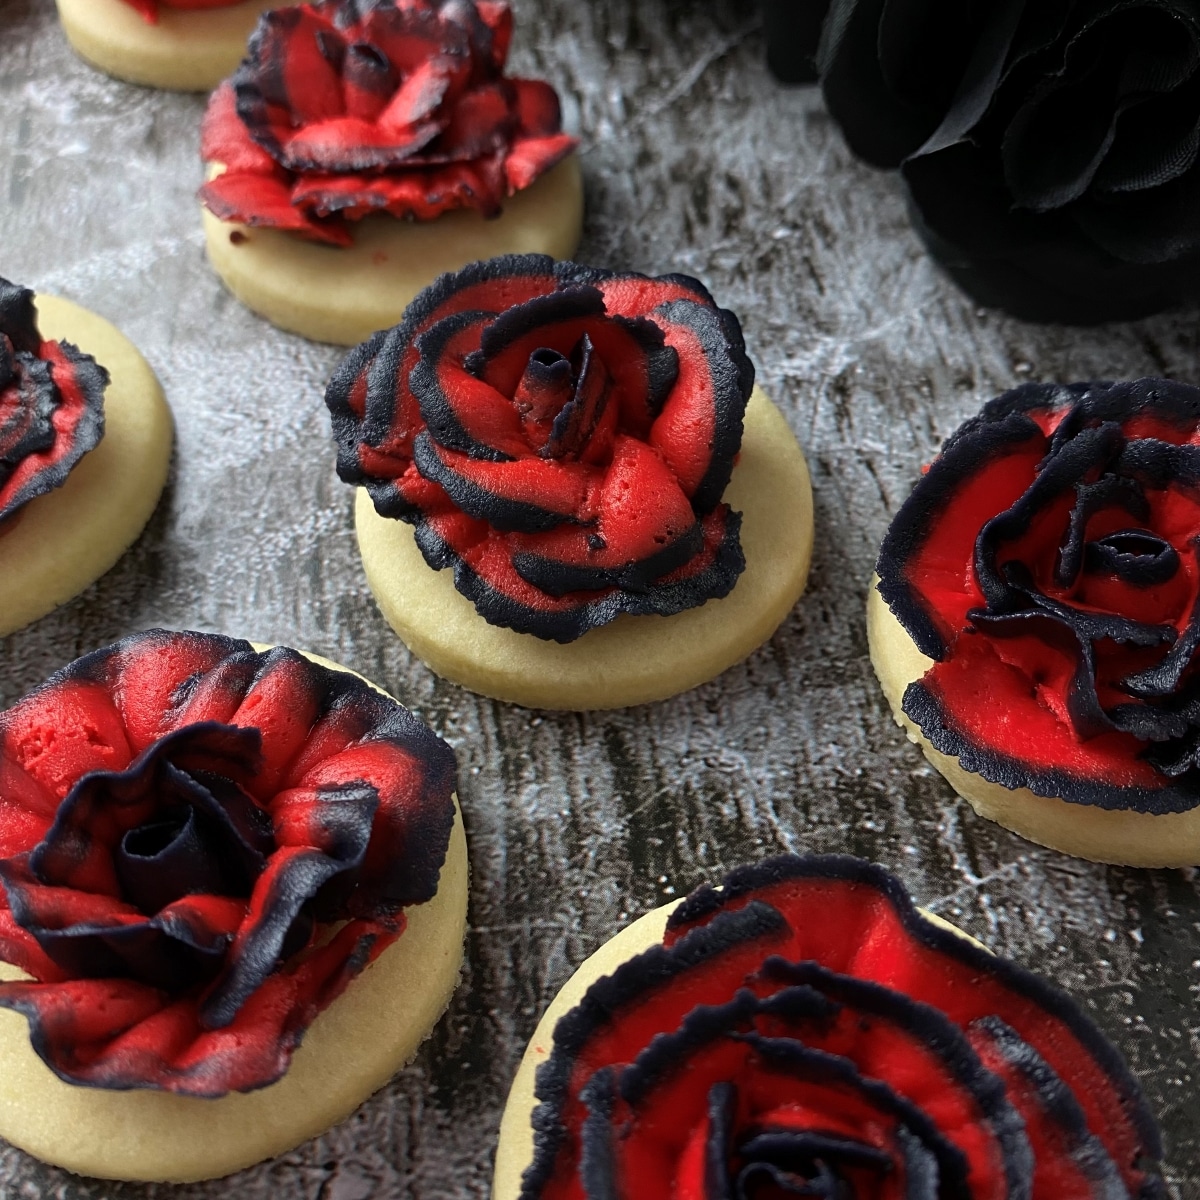
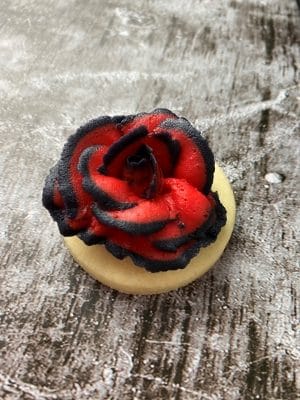
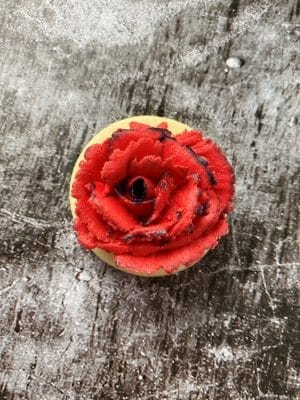
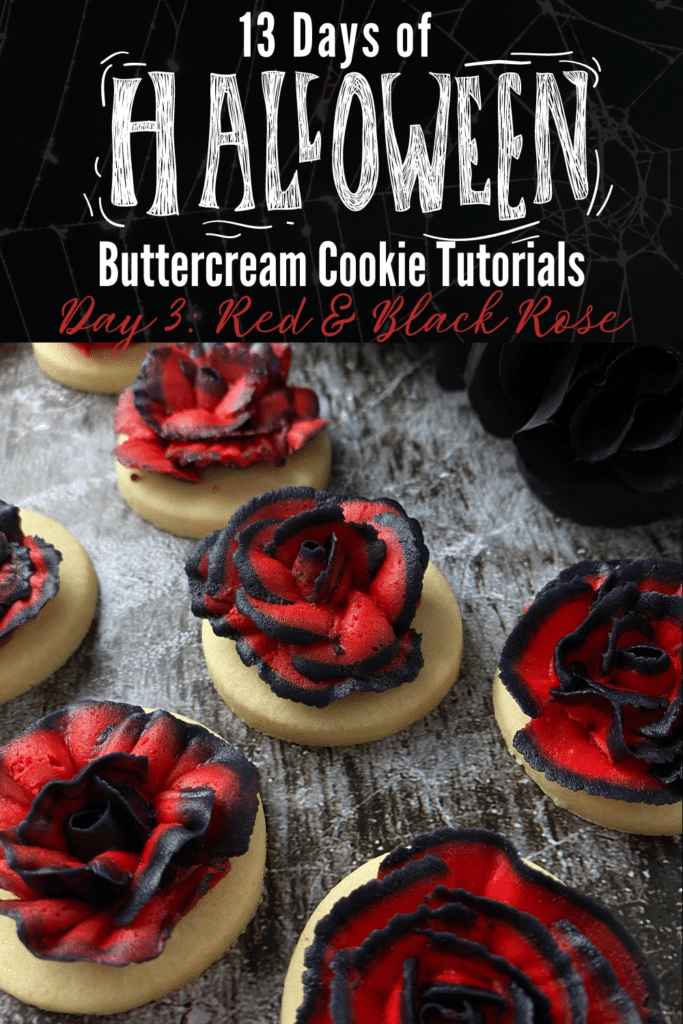
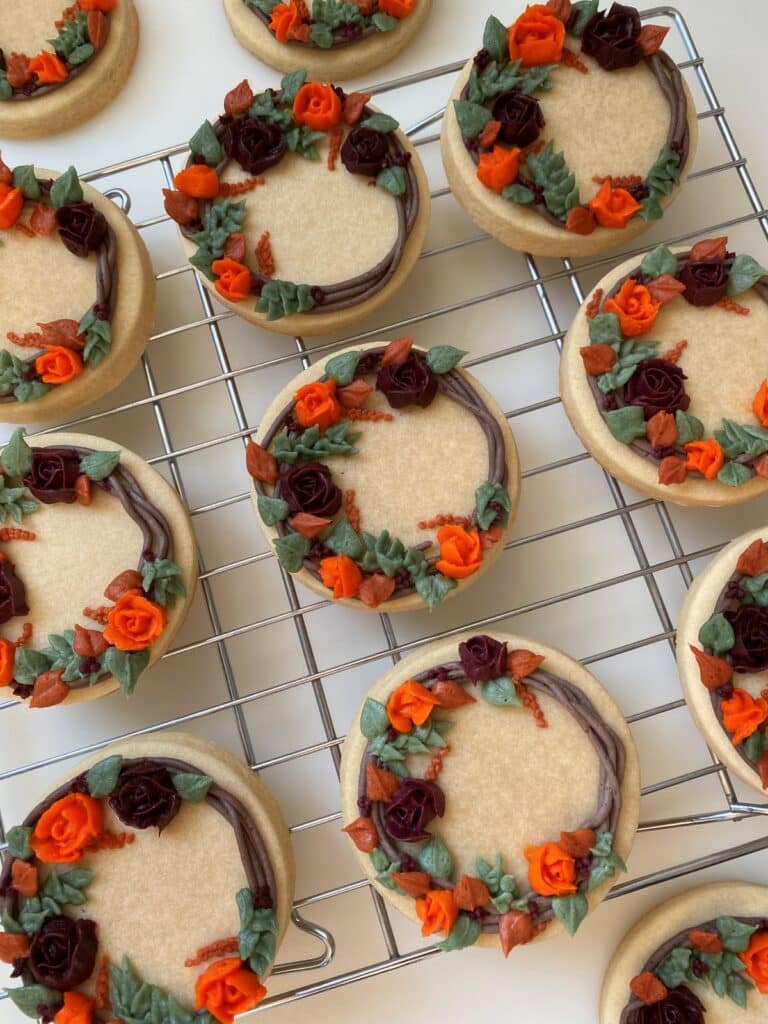
It’s day three of the 13 Days of Halloween cookie decorating tutorials! Today’s post features these red & black Halloween rose cookies. Black roses are so beautiful to me and of course, the red rose is iconic.
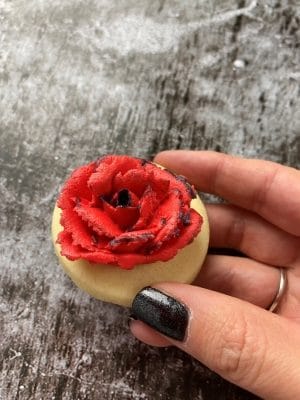
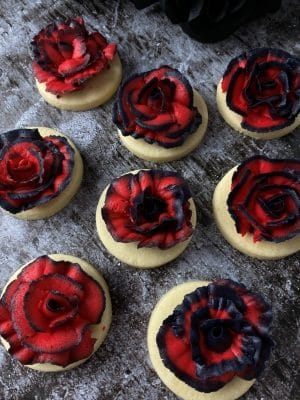
I love how these Halloween rose cookies are two-tone. I’ve set up the icing bag so that there would be some variation in the amount of red versus black in each cookie. It really makes for a hauntingly beautiful bouquet of buttercream rose cookies.
Don’t be intimidated by piping buttercream roses. Roses were the second cookie I ever frosted with buttercream two years ago. They look complicated for a beginner, but I promise it’s not!
In this tutorial, you’ll be walked through each step in a photo series tutorial plus there is a video tutorial as well.
*This post may contain affiliate links, which means I may receive a commission, at no extra cost to you, if you make a purchase through a link. Please see my full disclosure for further information.*
Part 1: Gathering the Supplies for the Halloween Rose Cookies
To make these decorated Halloween rose cookies with buttercream frosting, you will want to gather:
- 2 Icing bags
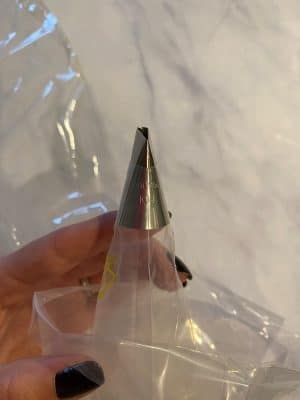
- Wilton #104 tip size
- Small circle cookie cutter – I use the one in this set by Wilton
- Palette knife or a 9″ angled flat spatula
- Wilton black & red gel food dye – I’ve found that Walmart has great prices for their Wilton gels, around $2 for the larger tube!
- Flower nail
- Ingredients for a crusting buttercream, find my crusting buttercream icing recipe here
- Ingredients for sugar cookie dough, find my no spread sugar cookies recipe here
Part 2: Baking the Cookies and Setting up Your Icing Bags
- Roll, cut out, and bake your sugar cookies according to the recipe. You will be able to make about 48 sugar cookies with the recipes linked above.
- Make your buttercream icing and pull out about a cup & a half of frosting. Place that into a small bowl and add in the black gel color. Remember, the black will deepen as it sets so aim for a dark gray color Add that frosting into another icing bag without a tip. Color the remaining frosting red. It will also deepen in color over time.
- To set up the two-tone icing bag:
- Insert the #104 petal tip into the bag and cut the bag to size.
- Cut a hole at the bottom of the black icing bag.
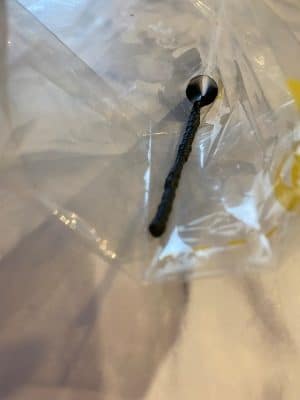
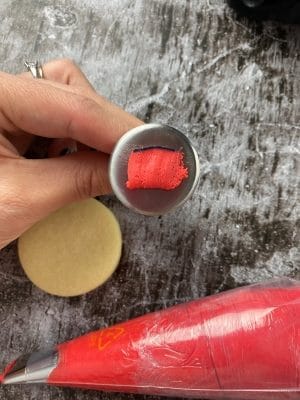
- Pipe a few small lines of black frosting up to the max fill line into the bag with the tip #104 in it. To make sure the black icing is going to be at the tip of the red roses, align the black so that it lines up with the skinny side of the #104 tip.

I like to line the skinny side up with the seam in the bag so it’s easy for me to remember where to place the black frosting. Here’s one line of black frosting piped out onto the seam line. Add as many lines as you want. The more you put here, the thicker the black rim will be on the finished rose. - Take the red frosting and add it into the icing bag with the petal tip in it by using a knife. It’s okay if you don’t have it touching the black frosting yet.
- Once the icing bag is filled to the max fill line, squeeze the bag so the frosting comes together.
- *If you don’t know how to do to set up icing bags with tip, just hop over to my Getting Started: Learn How to Decorate Buttercream Cookies page for a detailed explanation.
- *If you want a step-by-step photo series tutorial of how to set up two-tone bags of icing, check out my post on these Valentine’s Day two-tone roses.
Part 3: The Tutorial for How to Decorate Halloween Rose Cookies
Check out the video here to see how to make these decorated buttercream sugar cookies. Then, check out the breakdown step-by-step photo series tutorial below.
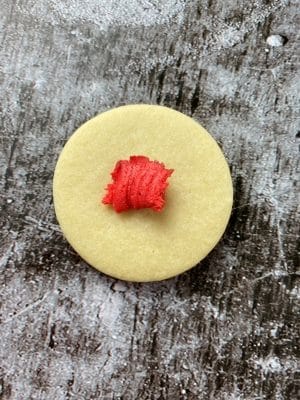
- Squeeze out some black frosting onto a cookie as well as the flower nail. This will act as the glue for our buttercream roses.
I used the two tone icing bag on accident. Use the black since you’ll have plenty of that leftover. - Squeeze out some of the two-tone frosting until both colors are coming out of the icing bag. I just squeeze this onto a plate or paper towel.
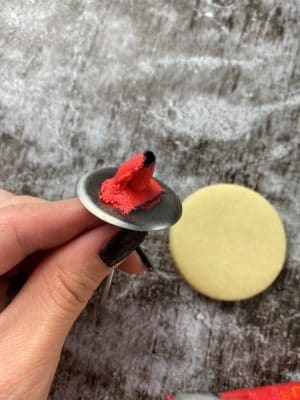
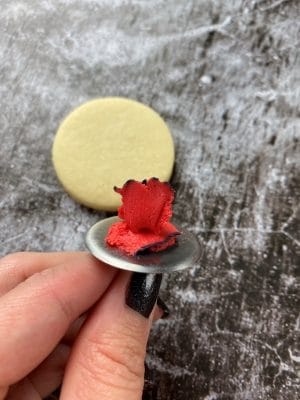
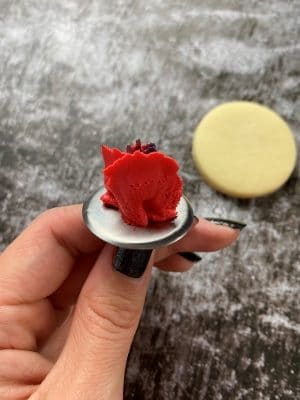
- Pipe the rose onto the flower nail:
- Hold the icing bag so that the fat side is on the flower nail and the skinny side is vertical. Squeeze frosting out while slowly spinning the flower nail 360 degrees. You can push the resulting rosebud together at the top if it’s not touching.
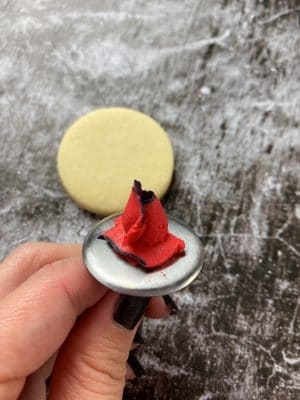
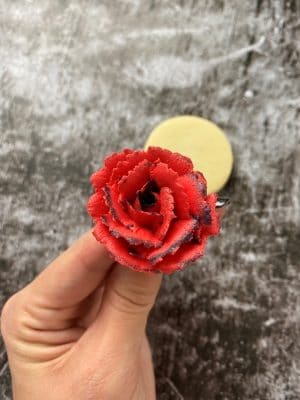
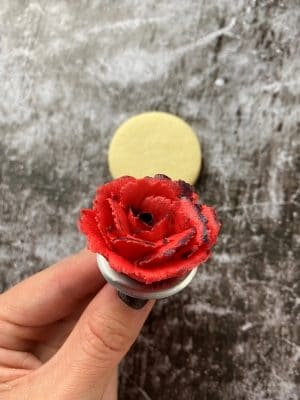
- Keeping the icing bag held the same direction, begin drawing upside down “U” shapes onto the sides of the rosebud, overlapping each upside down “U” petal as you go around the rosebud.
Here is the second petal added by drawing an upside down “U” and overlapping it with the first petal. - Repeat that step until you get as many layers as you can fit onto the flower petal. As you get further out, the icing bag will be held at an angle in order to pipe open petals. Check out the video above for clarification.
- Hold the icing bag so that the fat side is on the flower nail and the skinny side is vertical. Squeeze frosting out while slowly spinning the flower nail 360 degrees. You can push the resulting rosebud together at the top if it’s not touching.
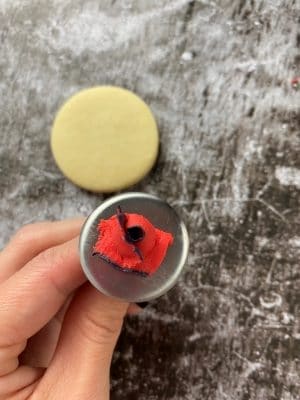
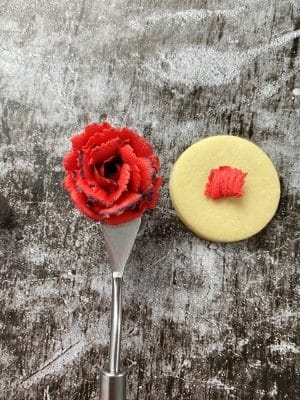
- Use the angled flat spatula or palette knife to carefully remove the rose from the flower nail and place it onto the cookie.
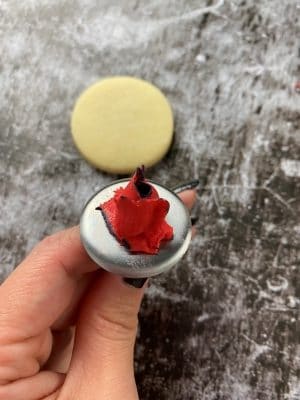
- Pick the cookie up and drop it from about a half inch off of the table/counter. Do this a few times as needed until the rose petals open up more to fill up more space on the cookie.
- If needed, pipe out a few petals onto the cookie to complete the rose.
- If you run out of icing in the bag, rinse the bag & tip out with hot water, dry it, and then repeat setting up the bag with the leftover frosting. These roses use a lot of buttercream!
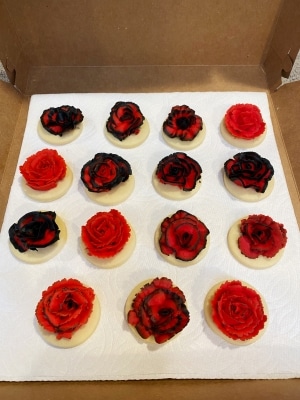
I actually packaged these ones up and brought them to my church life group. Check out my post on how to transport buttercream sugar cookies for tips on how I did this.
Don’t Forget Your Halloween Party Decorations
Here are some great Halloween party decorations that would go well with these two tone buttercream roses!


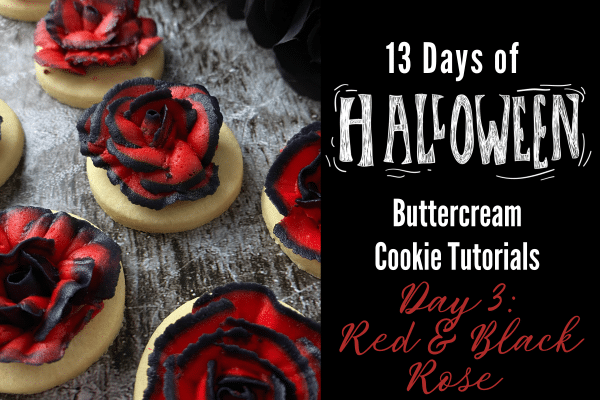
Save the Tutorial for Red & Black Buttercream Rose Cookies
Use the image below to pin this Halloween cookie decorating tutorial to your Halloween party board on Pinterest. Alternatively, use any of the social share icons on the top of the page to share it to your favorite social media site.
I always felt intimidated when decorating with icing. I would do basic (very basic) decorating on top of a cake, but flowers were always hard for me. Your tutorial was amazing in helping me make roses and of course the cookies are delicious too!
I am so glad that you found the tutorial helpful. All it takes is a little practice and then you end up with beautiful and delicious sugar cookies!