1st Birthday Painting the Roses Red ONEderland Party Cookies
My baby turned one. We have been blessed by God with our baby Laney and we needed a proper celebration. I decided on a Laney in ONEderland party theme resulting in fun and delicious ONEderland party cookies.
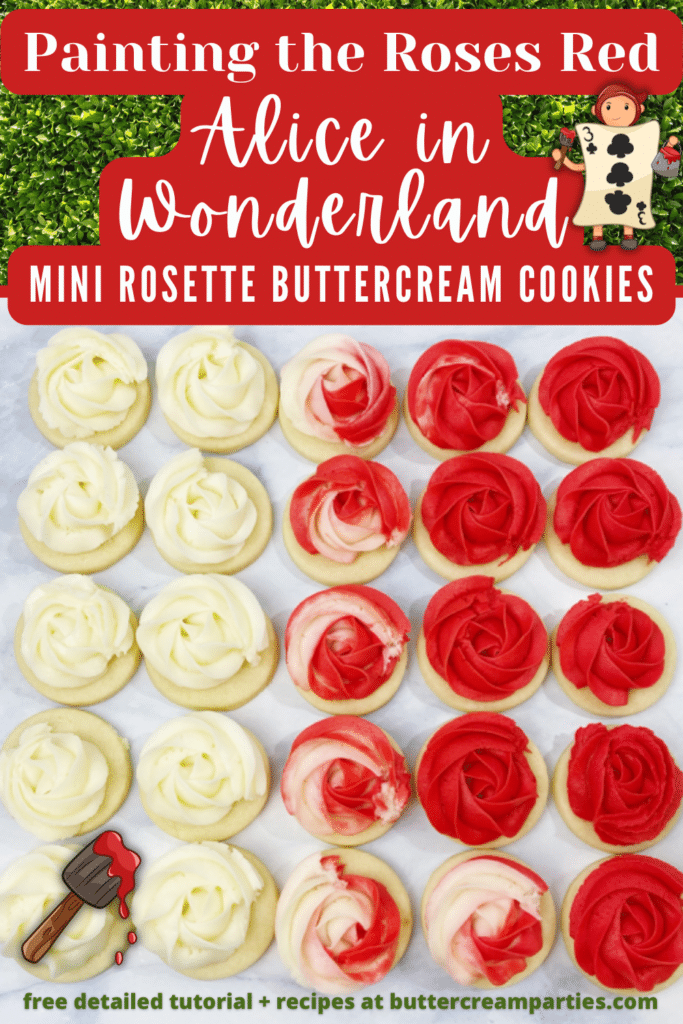
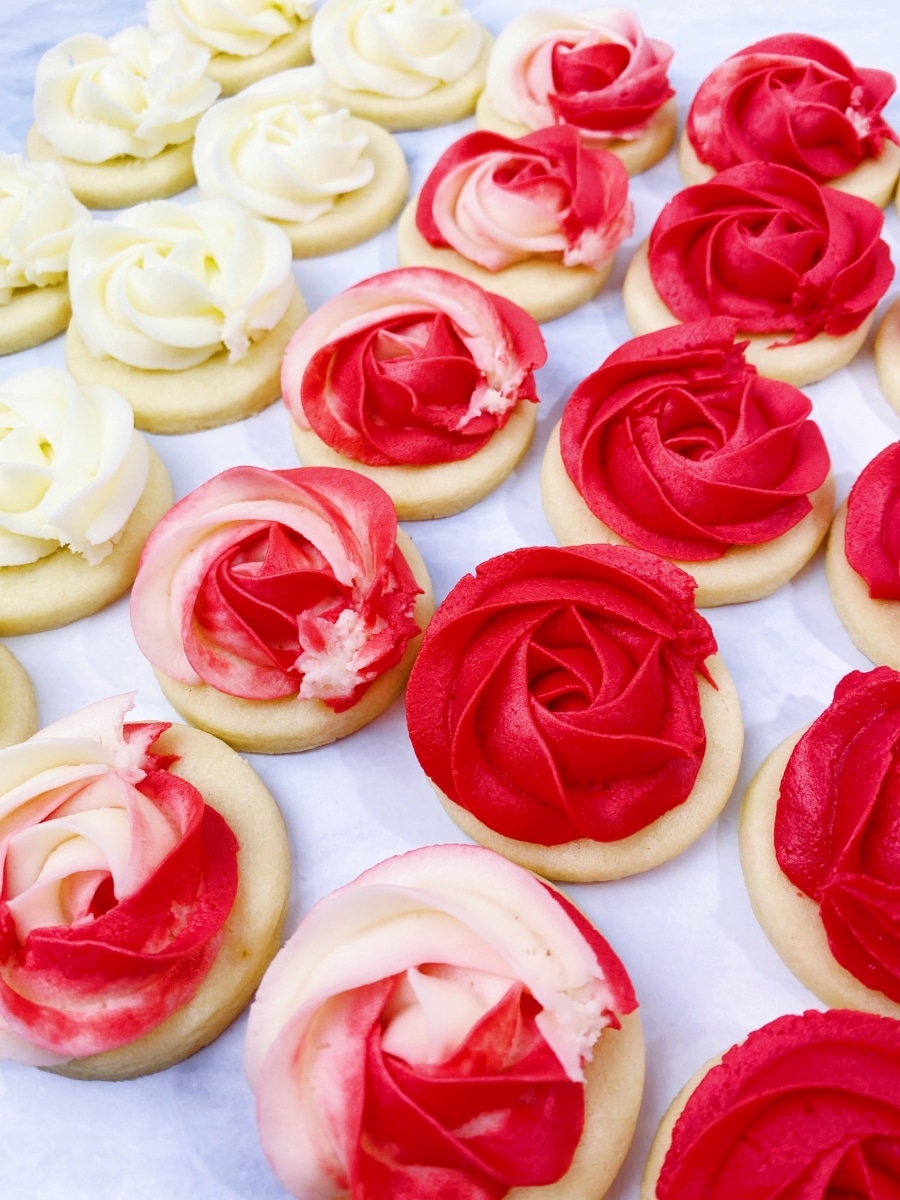
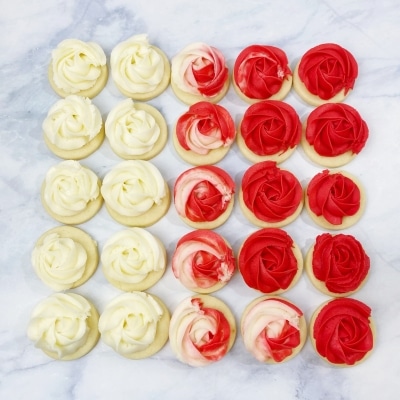
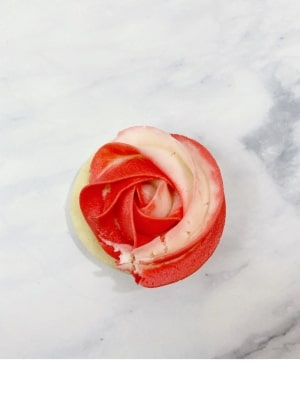
These ONEderland party cookies are beautiful buttercream rosettes. These are so easy and will really impress your party guests.
Of course, the Painting the Roses Red scene is what inspired these mini rosettes. I will show you how to make these with one tip and four icing bags. This technique is called the bag in bag method.
*This post may contain affiliate links, which means I may receive a commission, at no extra cost to you, if you make a purchase through a link. Please see my full disclosure for further information.*
Skip to
- Part 1: Gathering your Supplies for the ONEderland Party Cookies
- Part 2: Baking the Cookies and Setting up Your Icing Bags
- Part 3: The Tutorial for ONEderland Party Cookies
- Part 4: Decorating the Alice in ONEderland Birthday Party
- Save the ONEderland Party Cookies Tutorial for Your Baby’s First Birthday Party
Part 1: Gathering your Supplies for the ONEderland Party Cookies
To create these buttercream rosette ONEderland party cookies, you will want to gather:
- 4 Icing bags – the 12″ Wilton are my favorite for cookies to hold the perfect amount of buttercream
- One Wilton tip #1M – buy at a craft store or Walmart for the cheapest price (about $1)
- Small circle cookie cutter
- Wilton Red-Red gel dye – again, it’s cheapest at a craft store or Walmart (about $2)
- Crusting buttercream icing ingredients
- No spread sugar cookie dough – find my no spread sugar cookies recipe here
Part 2: Baking the Cookies and Setting up Your Icing Bags
- Roll, cut out, and bake your sugar cookies according to the recipe. The amount of cookies you will get is dependent on how thick you roll the dough and the size of your cutter.
- Make your buttercream icing. Pull out half of the frosting and place it into a bowl. In the mixer, add the red gel dye and mix on low speed. Remember that the color will deepen as it sets. I prefer to use the Wilton gel food dye since gel is more vibrant (i.e. more cost effective because you use less) than liquid and doesn’t change the consistency of your frosting.
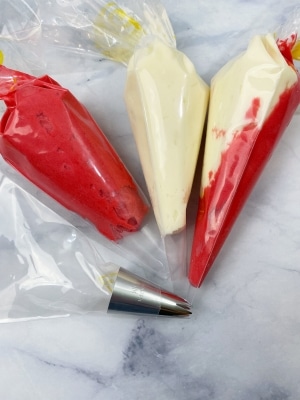
- Set up your icing bags as follows:
- Place the white (undyed) frosting into an icing bag until the max fill line on the bag.
- Place the red buttercream into an icing bag until the max fill line.
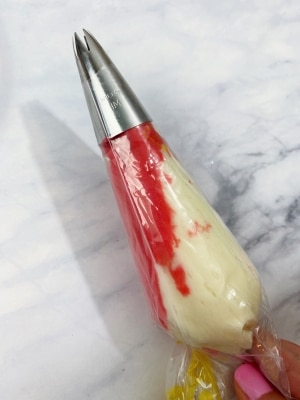
- For the two-tone bag, place red up one side and white up the other. I find this is easiest to do with a butter knife. Fill to the max fill line.
- In the fourth icing bag, place the Wilton 1M cutter in it and cut the bag to size. Check out my Getting Started page for how to do this if you’re not sure.
Part 3: The Tutorial for ONEderland Party Cookies
Check out the tutorial here to see how to do the bag in bag buttercream icing method. I will also be showing you how to make the rosettes.
How to Pipe the Rosettes for Painting the Roses Red ONEderland Party Cookies
- Cut the tip off of one of the bags of buttercream frosting. When making the cut, going “too big” is better than too small. You don’t want part of the bag sticking out past the 1M tip when it is placed into the 1M bag.
- Place the bag of buttercream frosting into the bag that has the 1M tip in it.

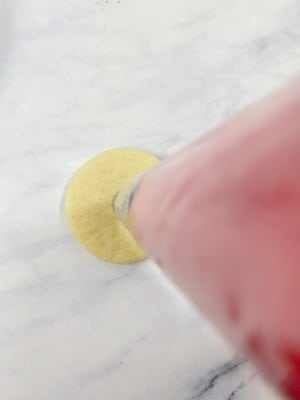
The two toned bag is sitting inside of the bag that has just the 1M tip in it. You can see that at at the top of the tip, the inner bag isn’t sticking through. If the inner bag is sticking through, the resulting rose shape won’t be quite right. Just trim the inner bag more so that it doesn’t poke out at all. - Hold the icing bag perpendicular to the cookie. Starting in the middle of the cookie, squeeze out frosting while you then make a counterclockwise swirl. You can go clockwise if you prefer, but counter clockwise felt easier for me.
- Repeat step 3 for all of the same colored buttercream rosette cookies until you run out of that frosting.
- Remove the bag of frosting from the 1M icing bag and discard. Pop the 1M tip out of the bag by holding the bag upside down. Rinse the 1M tip in hot water and dry with a paper towel or napkin. Replace the 1M tip.
- Repeat steps 1-5 with the two other bags of icing.
How to Display the ONEderland Party Cookies
Allow these rosette cookies to crust overnight on the counter. I like to place them into a large container and cover with a lid to prevent dust from falling. Leave the lid undone so that air can still flow through a bit to help with the crusting process.
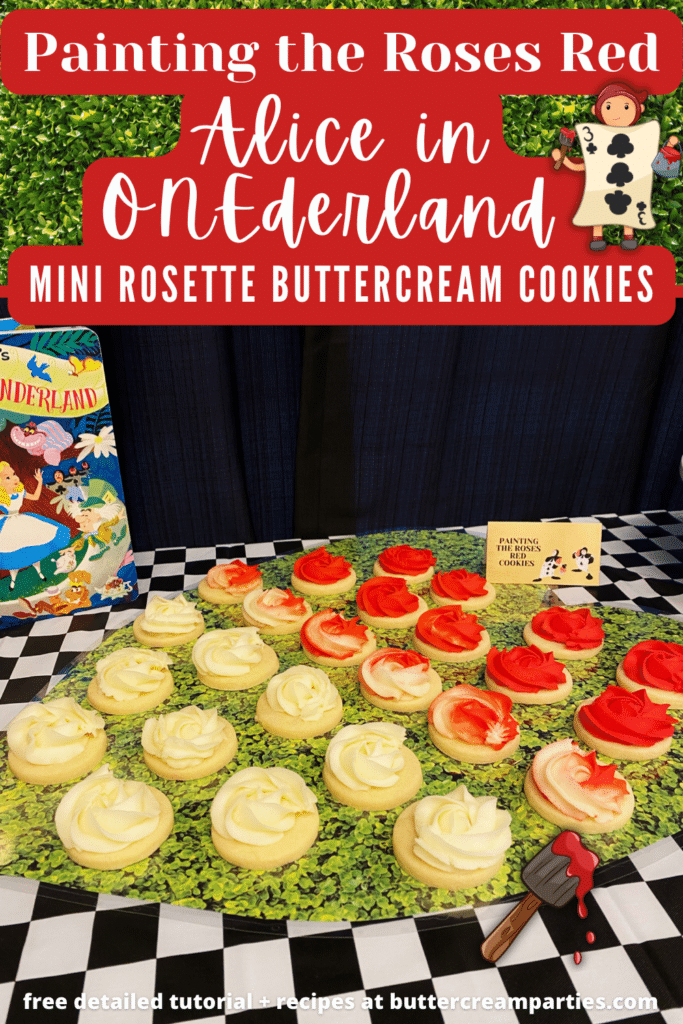
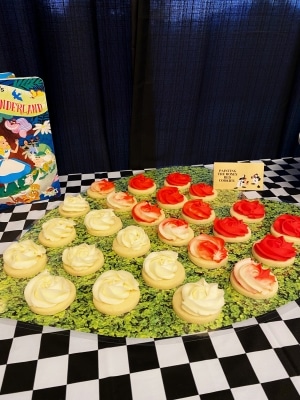
To display the buttercream rosettes, arrange on a green “tree” platter. I simply printed a boxwood print onto four sheets of computer paper, taped them together, cut out a heart shaped tree, and laminated it. Since I don’t have a laminator at home, I bought these self-laminating sheets.
To arrange the cookies, line them up so that they go from white to partly painted to fully painted red roses.
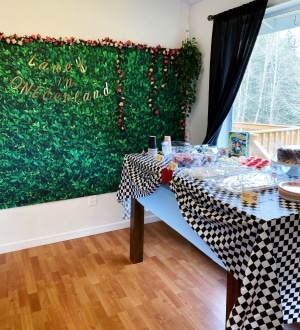
Part 4: Decorating the Alice in ONEderland Birthday Party
It’s so fun to decorate an Alice in Wonderland birthday party. Grab some balloons, streamers, tabletop confetti, and a backdrop and you’re good to go!


As I always say, the buttercream sugar cookies will be part of the decor for the party. But to really glam them up, set them on a ONEderland theme table.
I placed a light blue plastic table cloth on the table first, leaving about a foot of overhang on the front side. Then, I placed a checkerboard table cloth over the light blue one, still with the foot of overhang.
Cinch together the checkerboard table cloth in the center and tape it in place. Add a red glitter heart to cover the tape. Now you have a table that looks like Alice’s dress.
Grab the items from Amazon (Affiliate Links)
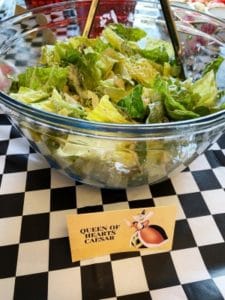
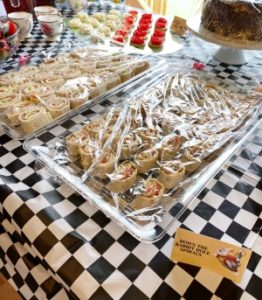
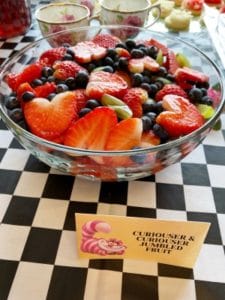
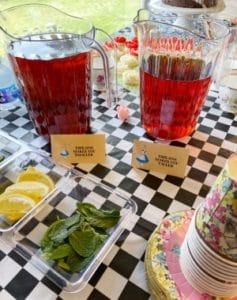
I printed out some fun food tags for our menu with the Canva app. Our menu consisted of: Queen of Hearts Caesar, The Mad Hatter’s Tea, Down the Rabbit Hole Spirals, and a Curiouser & Curiouser Jumbled Fruit salad with heart shaped strawberries.
I placed a card in front of the sweet tea that said This One Makes You Smaller and another in front of the Rooibos tea that said This One Makes You Taller.
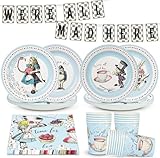
For plates and cups, I found cute paper plates that resembled tea plates and paper tea cups with little platters. I also pulled out a few tea cups from our wedding china.
Grab the items from Amazon (Affiliate Links)
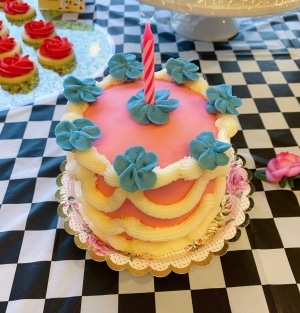
Of course, we had the Painting the Roses Red cookies and a I made a smash cake that resembled Alice’s Very Merry Un-Birthday cake. For the smash cake, I used this delicious chocolate cake recipe and frosted it with pink buttercream frosting. Then, I piped out some white ruffles using a Wilton star tip and some blue flowers using Wilton petal tips.
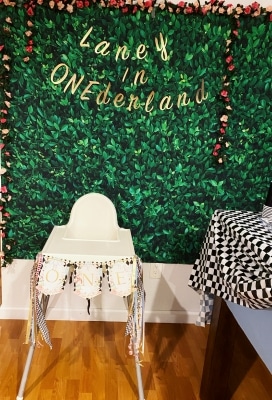
For the rest of the decor, I purchased a boxwood hedge photo backdrop and pink rose garlands. My sister made the Laney in ONEderland letters with her Cricut machine and gold metallic paper.
Grab the items from Amazon (Affiliate Links)
The Etsy shop, Design My Party Studio, is where I purchased my ONE banner for the Ikea high chair. I strung the banner up with some gold ribbon and added some more ribbon onto the sides of the chair for extra fun.
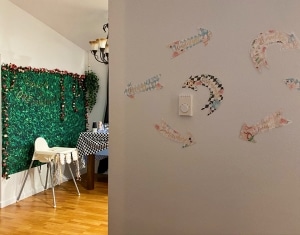
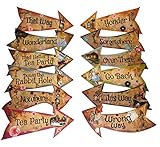
I also purchased the arrows from the same Etsy shop above which made for a fun photo backdrop.
The decor for the party was really fun to do and made for some great photos of baby Laney for her baby book.
Save the ONEderland Party Cookies Tutorial for Your Baby’s First Birthday Party
I hope you were inspired to create your own Painting the Roses Red rosette cookies with this tutorial! Use one of the images below to pin the tutorial to your Pinterest account for later. Alternatively, use the social share icons at the top of the page. Thanks for sharing!