Eerie Skeleton Cat Cookies – 13 Days of Halloween Cookie Decorating
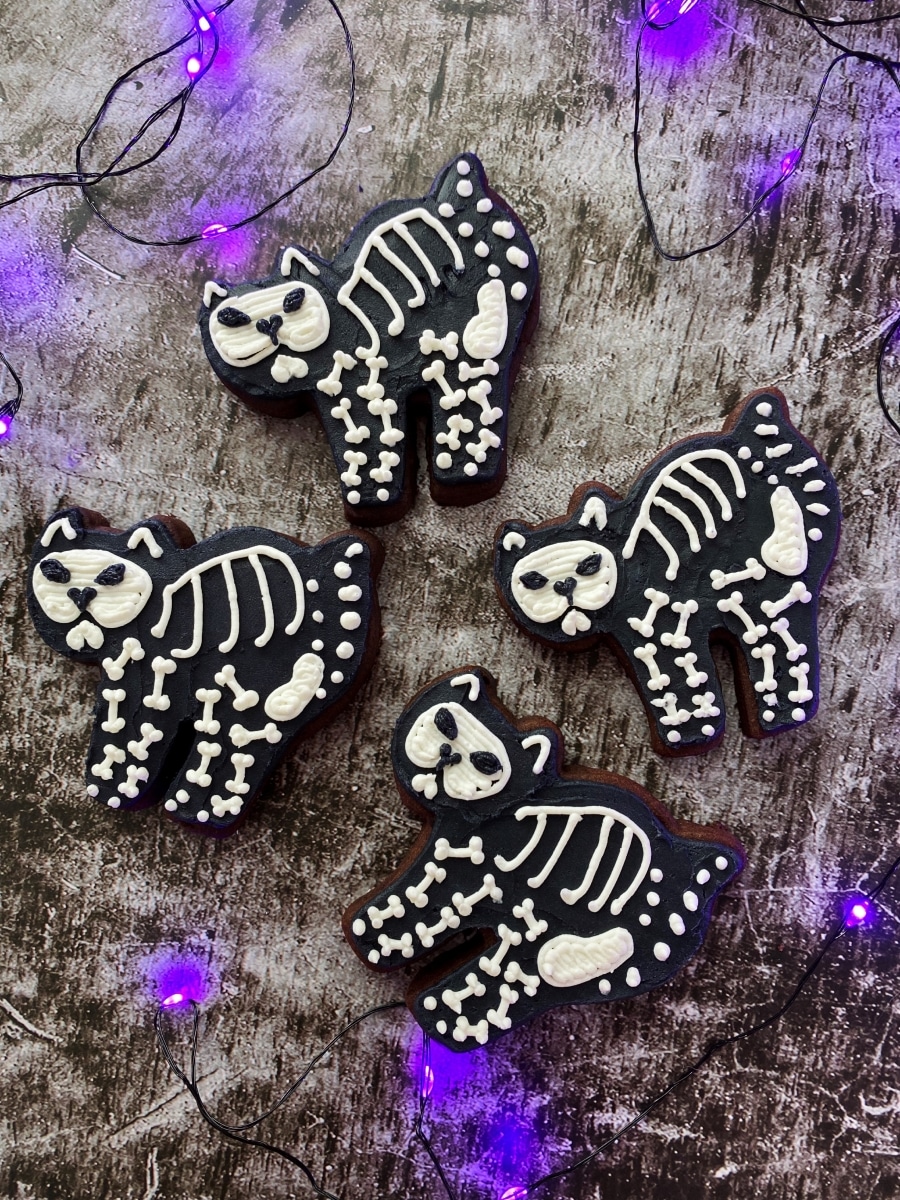
It’s day two of the 13 Days of Halloween cookie decorating tutorials! Today’s post features these eerie skeleton cat cookies.
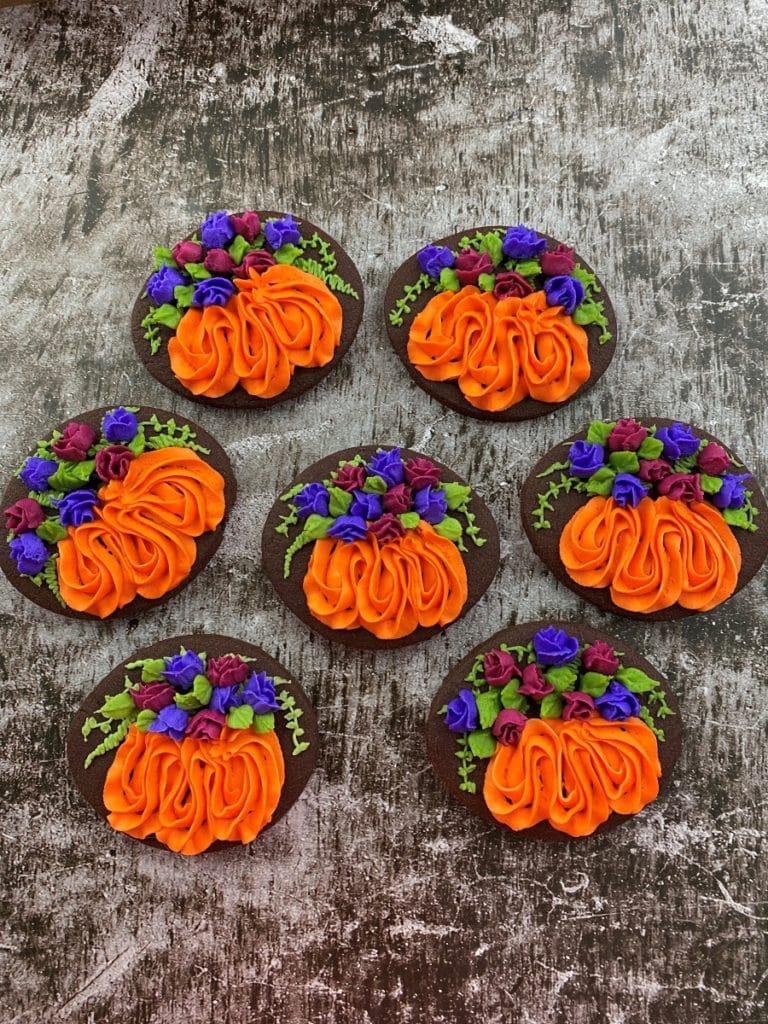
Last year, I decorated some black cat cookies so this year I wanted to change it up a bit. I love how they turned out.
These buttercream iced cookies may look too detailed and complicated for a beginner, but I promise it’s not! In this tutorial, you’ll be walked through each step. I even have some tips for drawing with buttercream frosting if you’re intimidated.
*This post may contain affiliate links, which means I may receive a commission, at no extra cost to you, if you make a purchase through a link. Please see my full disclosure for further information.*
Skip to
Part 1: Gathering the Supplies for the Skeleton Cat Cookies
To make these decorated skeleton cat Halloween cookies, you will want to gather:
- 2 Icing bags
- 1 Coupler
- Wilton #1, #2, and #5 tip sizes – buy these individually at a bake supply store or purchase this kit
- Cat cookie cutter – I use the one in this set by Wilton
- Palette knife or a 9″ angled flat spatula
- Wilton black gel food dye – it’s cheaper at Walmart but if you online shop here’s the Amazon link
- Ingredients for a crusting buttercream, find my crusting buttercream icing recipe here
- Ingredients for sugar cookie dough, find my no spread sugar cookies recipe here
- You can use a chocolate sugar cookie recipe if you want as well, mine is coming soon!
Part 2: Baking the Cookies and Setting up Your Icing Bags
- Roll, cut out, and bake your sugar cookies according to the recipe. You will be able to make about 18-24 sugar cookies with the recipes linked above.
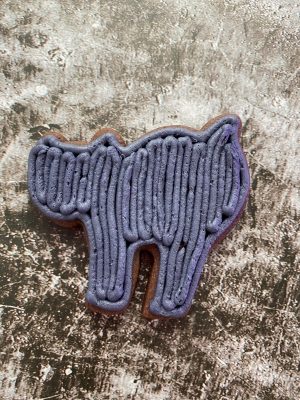
- Make your buttercream icing and pull out about a cup of frosting. Place that cup into an icing bag with the tip #2 in it. In the mixer, add in the black gel color. Remember, the black will deepen as it sets so aim for a dark gray color (just check out the photo series below to see how it goes from gray to black). Add that frosting into another icing bag with a coupler in it.
- If you don’t know how to do to set up icing bags with couplers, just hop over to my Getting Started: Learn How to Decorate Buttercream Cookies page for a detailed explanation.
Part 3: The Tutorial for How to Decorate Skeleton Cat Cookies
Check out the video here to see how to make these decorated buttercream sugar cookies. Then, check out the breakdown step-by-step photo series tutorial below.
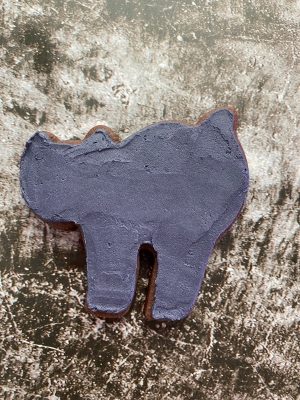
- Attach the tip #5 to the black frosting. Outline and fill in the entire cat. You don’t have to do this step if you use a chocolate sugar cookie, but in my opinion, the more frosting the better!

- Smooth the buttercream frosting with the flat spatula or palette knife. If you have trouble smoothing, check out my how to smooth buttercream frosting post.
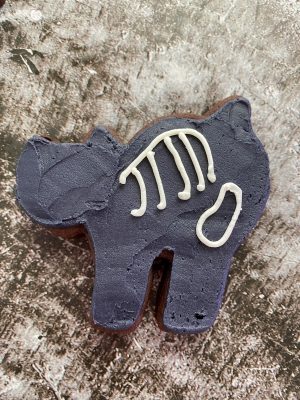
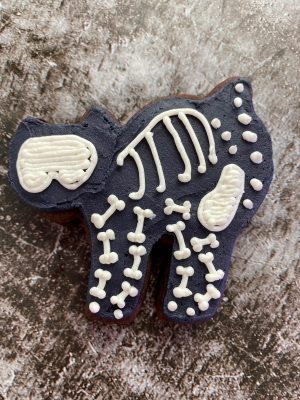
- Use the white frosting to draw in the details of the skeleton. Pro tip: If you are nervous about your drawing skills, use a toothpick to draw the skeleton and erase mistakes with the flat spatula/palette knife!
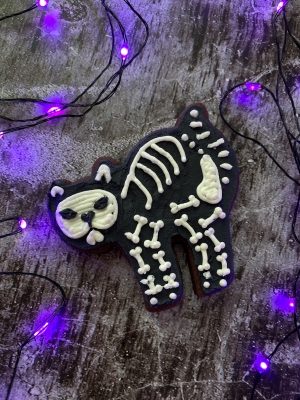
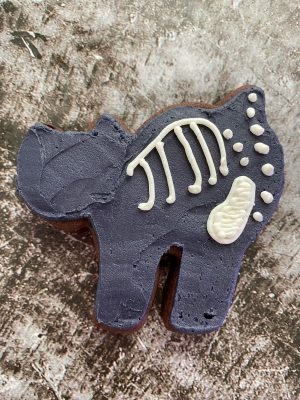
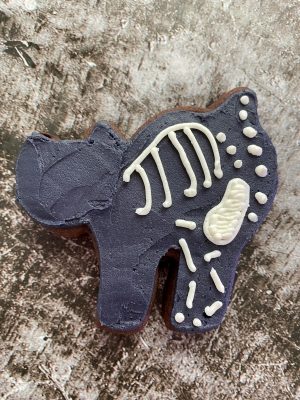
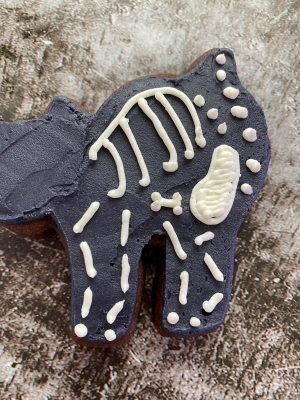
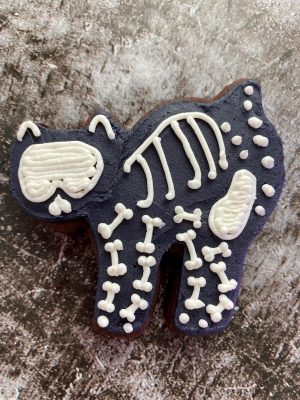
Use a toothpick to sketch if you’re nervous about your drawing skills. If you don’t like what you sketched, erase all or part of it with the palette knife/flat spatula. Draw the rib cage and the tail bone. Fill in the tailbone, add some dots for the spine and for the tail. Begin drawing lines for the cat’s legs. I did a dot at the end for the cat’s foot. Draw in the front two legs/feet. Begin creating bones by adding small dots on each end of the leg bones. All of the leg bones completed. Outline and fill in the cat’s face. Squeeze out two dots below the face and connect them at the top so it looks like an upside down heart. Draw two triangles for the ears. - Remove/rinse/dry the tip #5 from the black frosting and replace it with the tip #1. Draw in the cat’s facial features.


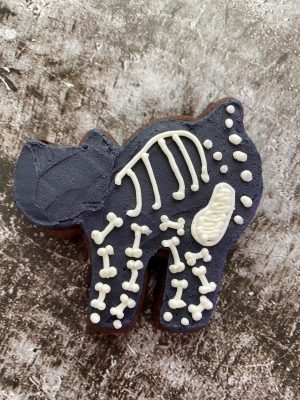

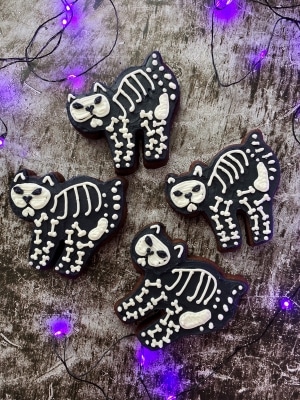
So cute, in a creepy cute kind of way! There were a lot of details on this one, but once you get through the first couple cats, the rest go by really quick. Don’t worry about matching each cat cookie exactly, all cats are a bit different!
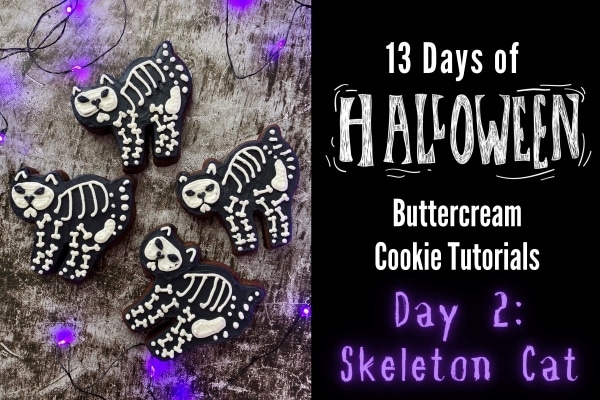
Save the Tutorial for Skelton Cat Cookies
Use the image below to pin this Halloween cookie decorating tutorial to your Halloween party board on Pinterest. Alternatively, use any of the social share icons on the top of the page to share it to your favorite social media site. 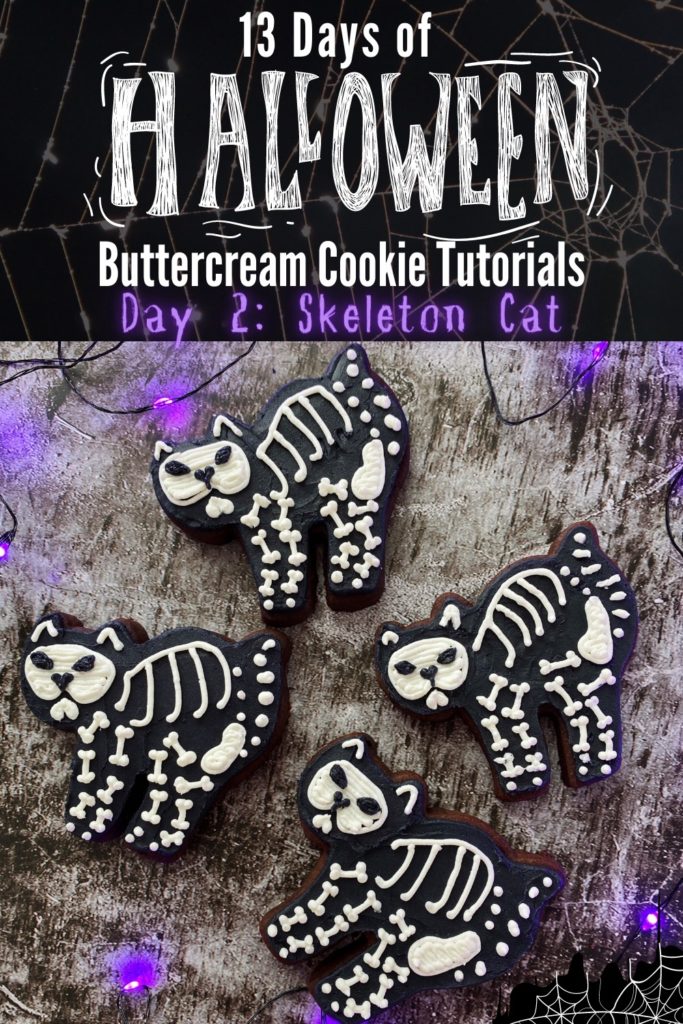
I’d love to know in the comments below, what are your favorite Halloween cookies to decorate?