How to Decorate Tropical Cookies
367 - 367Shares
The summer season is near and COVID restrictions are starting to lighten. I don’t know about you, but I’m ready for some summer sugar cookies that remind me of vacation!
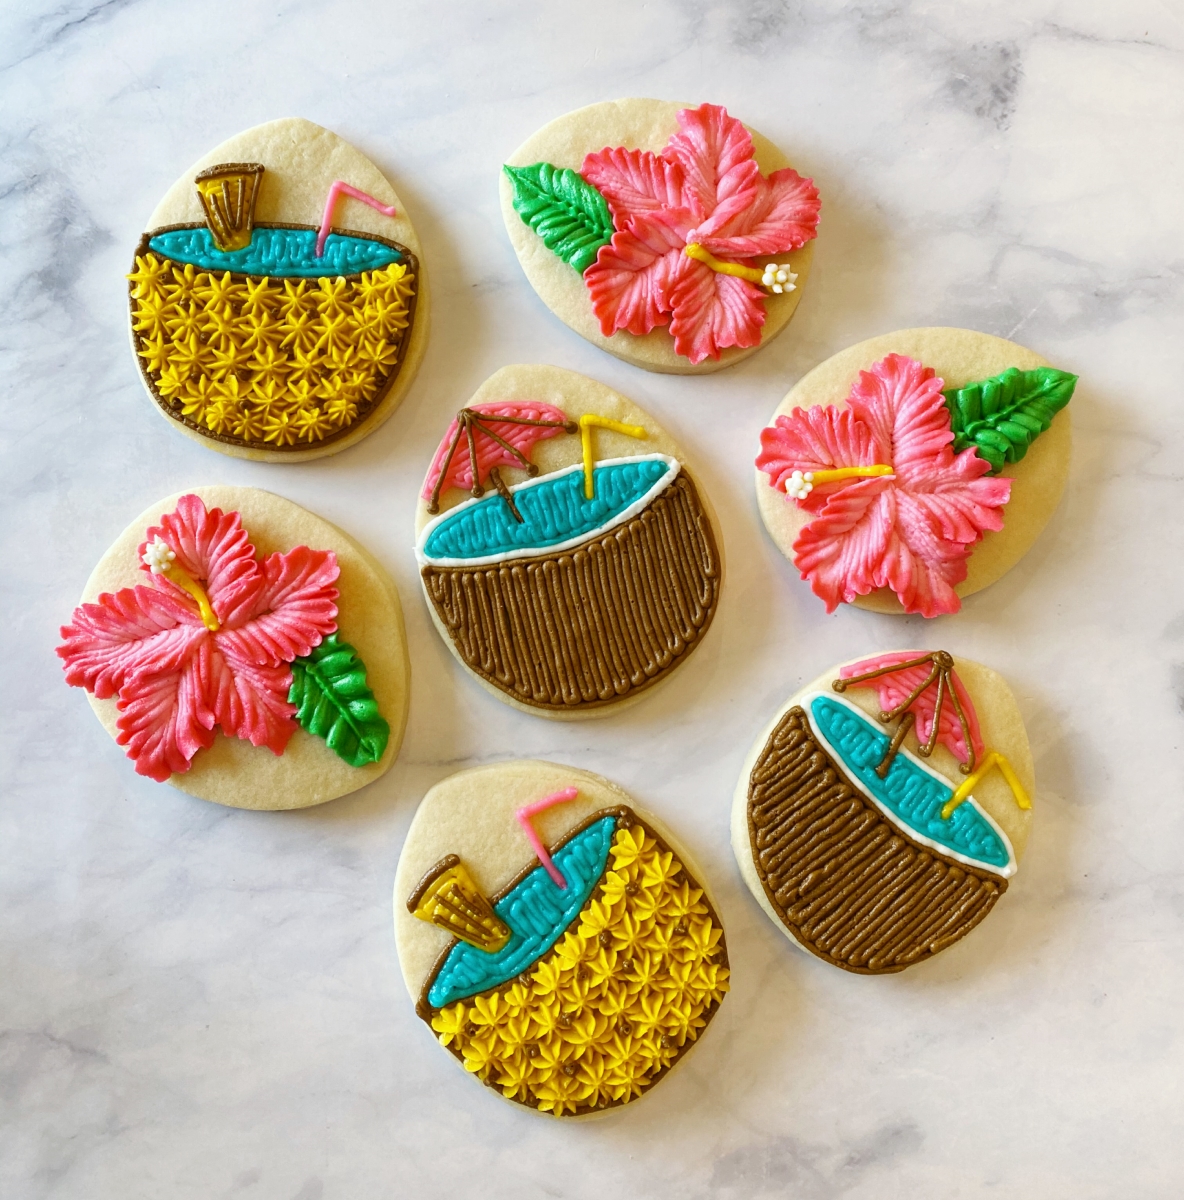
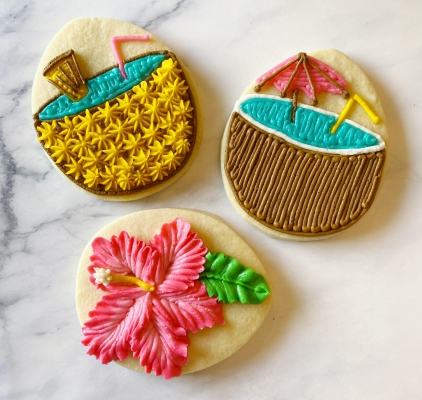
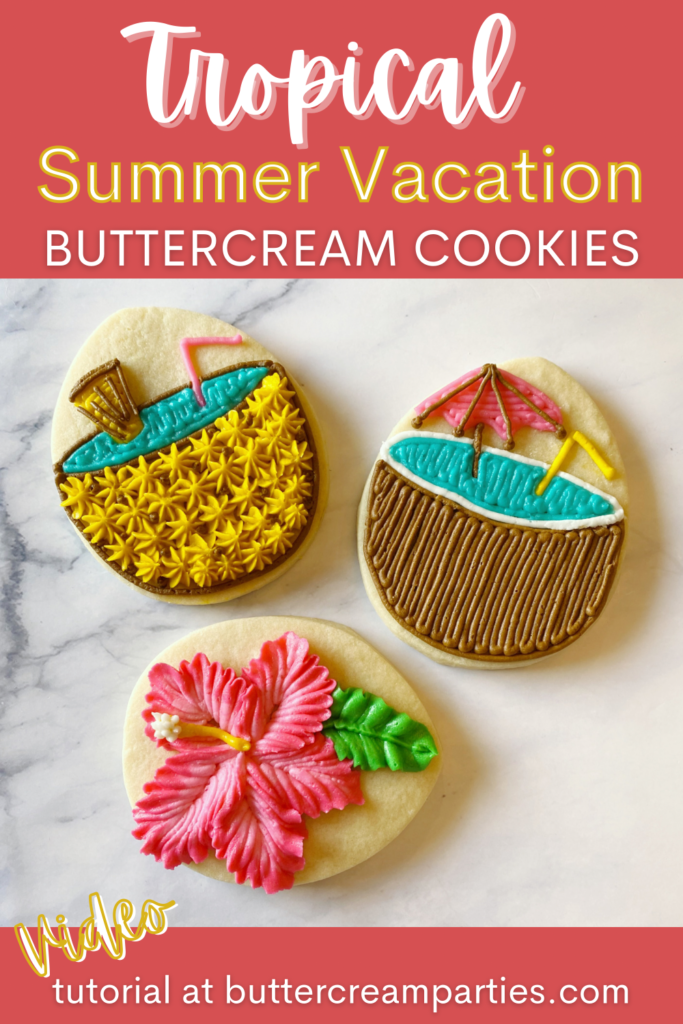
Today’s tutorial is how to decorate tropical cookies including tropical drink cookies & buttercream hibiscus cookies. I love these fun coconut drink cookies with their umbrellas. The pineapple wedge goes perfectly with the pineapple decorated cookies as well.
The best part about these cookies is that they all use one cookie cutter: an Easter egg cutter! Since seasonal cookie cutters are in many kitchen cupboards, I wanted to make these cookies even easier to make. Now you don’t need an excuse to have a tropical summer party. You’re welcome!
Follow along for the step-by-step photo series tutorial, including a video!
*This post may contain affiliate links, which means I may receive a commission, at no extra cost to you, if you make a purchase through a link. Please see my full disclosure for further information.*
Skip to
Part 1: Gathering the Supplies for the Tropical Summer Cookies
All three of these decorated summer cookies use an Easter egg cookie cutter, crusting buttercream frosting, and a no-spread, no-chill sugar cookie dough. Find my crusting buttercream icing recipe here. I love to use Katrina’s sugar cookie recipe. I use Wilton gel food dye since gel is more vibrant (i.e. more cost effective because you use less) than liquid and doesn’t change the consistency of your frosting.
- 5 Icing bags
- 5 Couplers
- One Wilton tip #2 and one #4 – buy these individually at a craft store or purchase this kit
- Buttercream frosting in brown, white, blue, yellow, and pink
- 4 Icing bags
- 4 Couplers
- One Wilton tip #2, #4, and #21 – buy these individually at a craft store or purchase this kit
- Buttercream frosting in brown, blue, yellow, and pink
- 4 Icing bags
- One Wilton tip #2, #4, #69, and #104 – buy these individually at a craft store or purchase this kit
- Buttercream frosting in white, yellow, dark pink, light pink, and green
Want to make all of them for a tropical themed party? Here’s what you need:
- 6 icing bags
- 5 couplers
- One of each Wilton tip #2, #4, #21, #69, and #104
- Buttercream frosting in white, brown, yellow, blue, dark pink, light pink, and green
Part 2: Baking the Cookies and Setting up Your Icing Bags
*This portion will assume you are making the whole set. Adjust accordingly if you are only making one or some of the designs.*
- Roll, cut out, and bake your sugar cookies according to the recipe.
- Make your buttercream icing and separate it into seven bowls. You won’t need much white frosting at all so adjust accordingly. Mix up your brown, yellow, blue, green, dark pink, and light pink frosting shades. Remember that the color will deepen as it sets.
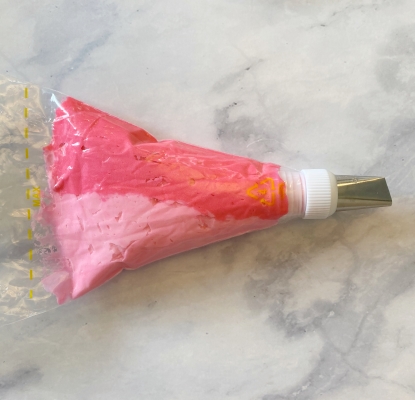
- Set up your icing bags as follows: Place the green frosting into an icing bag with the tip #69 in it. To set up the buttercream hibiscus icing, place the #104 tip into the bag and then put all of the light pink frosting up one side of the bag. Then, put some of the dark pink frosting up the other side. When doing this, the fat side of the tip should have the light pink.
Place the remaining frosting colors into their own icing bags set up with couplers. If you don’t know how to do this, just hop over to my Getting Started: Learn How to Decorate Buttercream Cookies page. You don’t need to attach any tips to the bags yet.
Part 3: How to Decorate Tropical Cookies
Check out the video tutorial for all three of these designs first. Then, go ahead and check out the step-by-step photo series tutorials for each cookie.
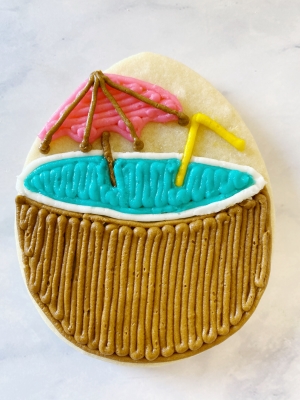
How to Decorate Buttercream Coconut Drink Cookies
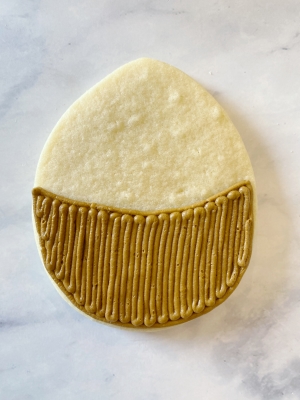
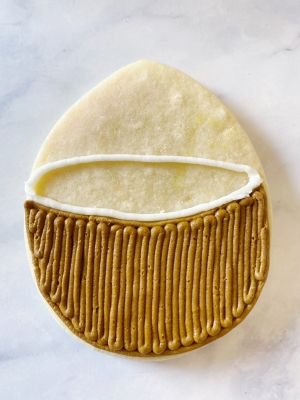
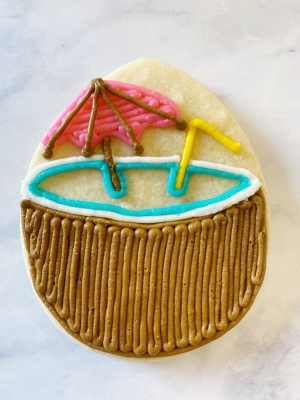
- The first step is to attach tip #4 to the brown icing and outline the coconut cup. Then, fill it in.
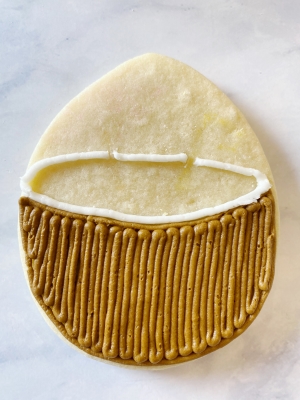
- Once you have completed step 1 for all of your coconut cookies, remove/rinse/dry the tip #4 and attach it to the white icing. Draw the outer rim of the cup. Then, use a knife to cut out a small space for the umbrella and straw.
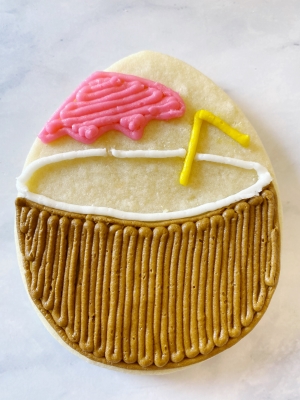
- Once step 2 is done for all of the cookies, remove/rinse/dry the tip #4 and attach it to the yellow frosting. Draw the straw.
- Again, make sure you’ve finished the above steps first and then remove/rinse/dry the #4 tip and attach it to the pink frosting. Outline and fill in the umbrella.
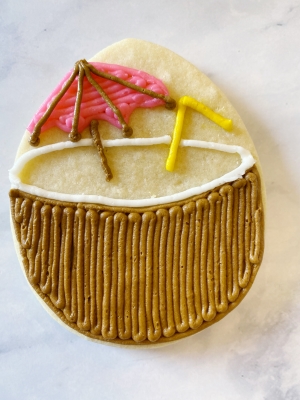
- Attach tip #2 to the brown frosting and create small dots at the points of the umbrella. Connect the dots to the top of the umbrella with straight lines. Then, draw a larger dot at the top of the umbrella where the lines connect.
- Use the tip #4 with the blue frosting to outline the umbrella & straw inside the cup and then fill in the cup.
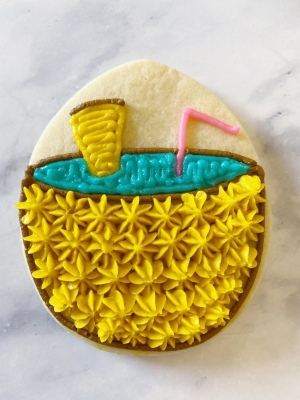
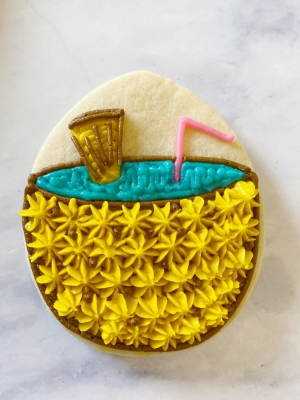
How to Decorate Buttercream Pineapple Drink Cookies
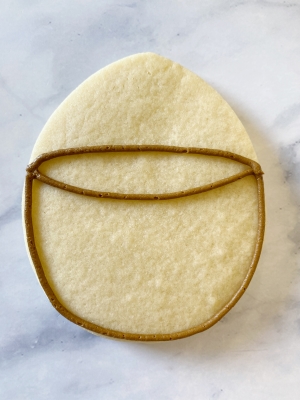
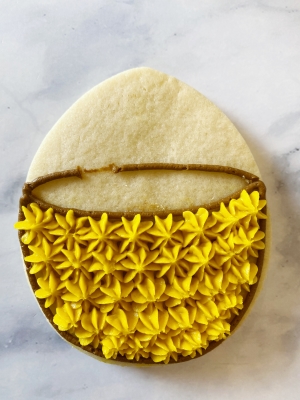
- Use the brown frosting with tip #4 attached to outline the shape of the cup. Make sure to also outline the rim of pineapple cup as well.
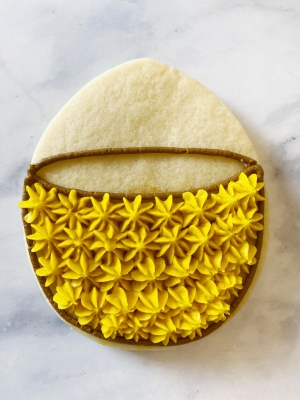
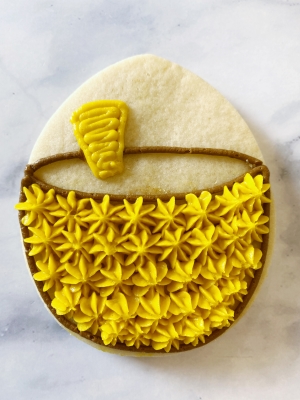
- Attach the tip #21 to the yellow frosting and squeeze out star shapes for the pineapple. I chose to squeeze out slightly larger stars. To do this, just hold the icing bag still while you squeeze frosting past the actual tip size. Fill in the whole pineapple with these stars.
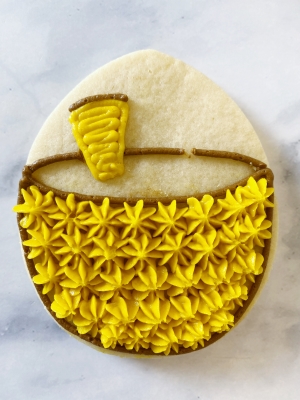
- Remove part of the brown frosting in the rim to make room for the pineapple wedge. Then, remove the tip #21 from the yellow icing and attach tip #4 to it. Again, make sure you completed steps 1 & 2 first for all your pineapple drink cookies. Outline and fill in the pineapple wedge.
- Use the brown icing with either tip #2 or #4 to draw an outer layer on the top of the pineapple wedge.
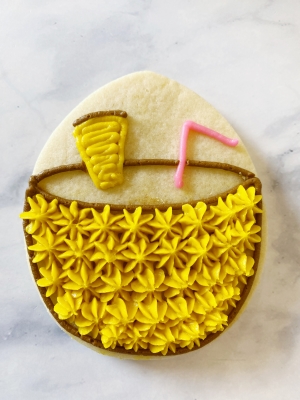
- Use the tip #4, again make sure you’ve completed the steps above, with the pink frosting to draw the straw.
- Remove/rinse/dry the tip #4 from the pink frosting and attach it to the blue frosting. Outline the pineapple wedge and straw on the inside of the cup and then fill it in.
- Use the tip #2 on the brown frosting to draw in small lines in the pineapple wedge and then small dots in between some of the yellow stars on the pineapple.
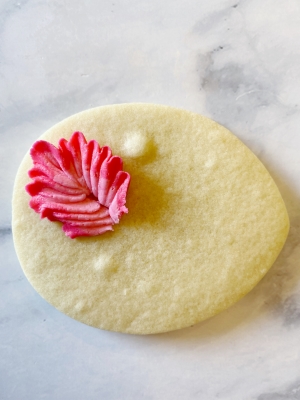
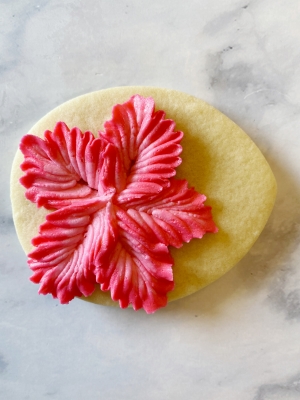
How to Decorate Buttercream Hibiscus Flowers
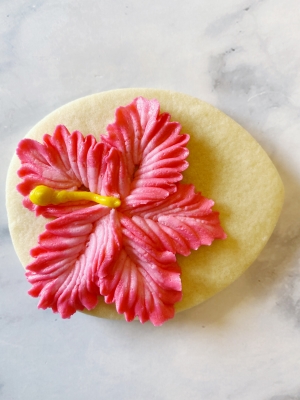
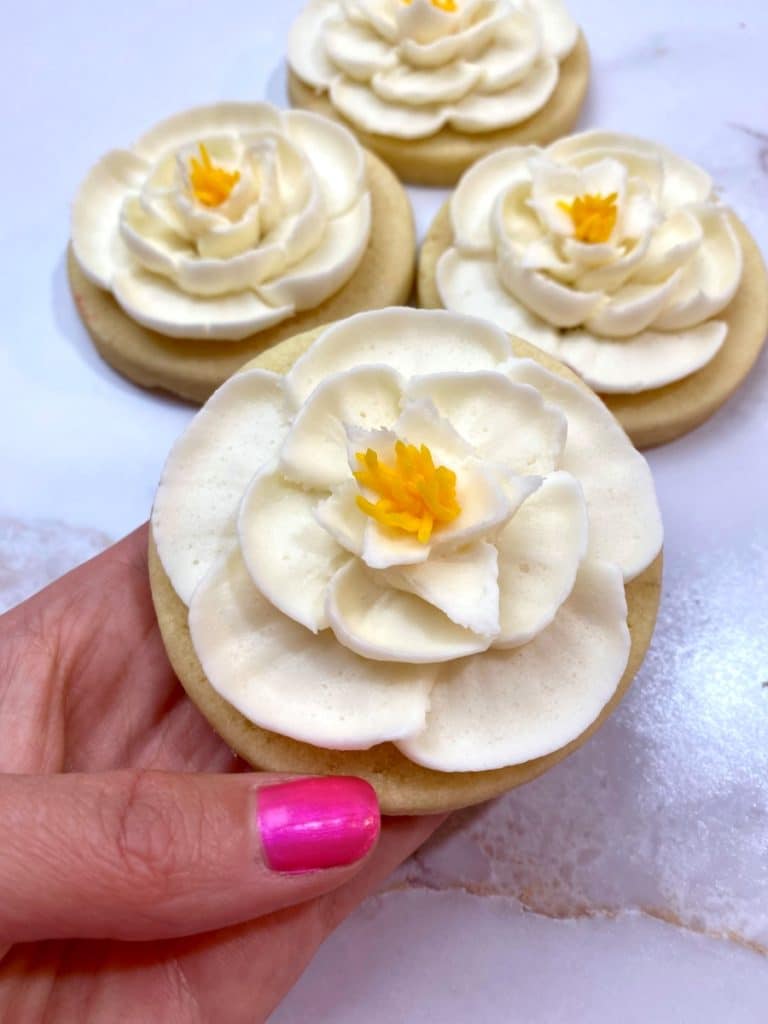
- To create the hibiscus cookies, angle the icing tip so that the thin side is facing away from you and the fat side toward you. When drawing the petal, a good tip to keep in mind is to image a line in the center of the petal. Ice up one side of the imaginary line doing a slight up & down motion and then ice down the other side of the imaginary line doing the same motion.
- Hibiscus flowers have five petals, so make four more petals. They can overlap.
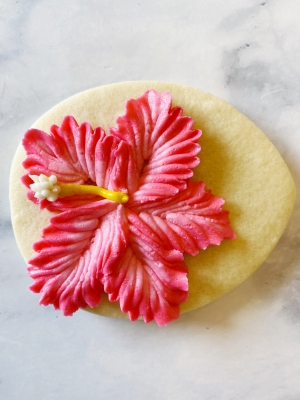
- Use the yellow frosting with tip #4 to draw the stamen. First, squeeze out a dot that is similar height to the flower petals. This will be the end of the stamen. Then, draw a line connecting the dot to the middle of the flower.
- Use the white frosting with tip #2 to pipe out small dots on the end of the stamen.
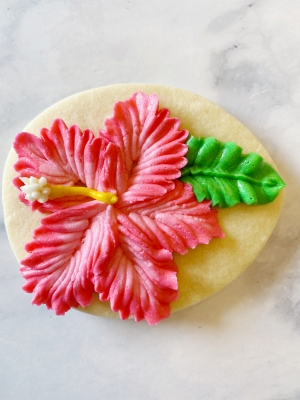
- Lastly, use the green frosting with tip #69 to pipe out a leaf. If the frosting doesn’t want to come together to make a point, use the tip of the bag to pinch the frosting together.
So beautiful! I can’t wait to go on a tropical vacation again. Let me know in the comments, do you prefer tropical vacations in the summer or winter? I prefer the summer.
Save the Tutorial for How to Decorate Tropical Cookies
Make sure to save this cookie decorating tutorial for later! Use the image below to pin it to your Pinterest account. Alternatively, use the social share icons at the top of the page. Thanks for sharing!

 Place the remaining frosting colors into their own icing bags set up with couplers. If you don’t know how to do this, just hop over to my


Those cookies are looking so cute! I love them! Thanks for sharing!
Thanks so much and you are welcome!
You always have the most creative and beautiful cookies. I really like these tropical ones and hope I can make some close to yours for my next patio party!
A patio party sounds so fun! I bet these cookies would pair beautifully with your wonderful cocktail recipes!
Right now, I prefer any vacation, anytime, anywhere! But these cute cookies kind of make you feel like relaxing on a beach with a nice cocktail…
Ugh yes, I agree about the vacation anywhere! It’s been such a year. Thank you, Mihaela!
These cookies are so fun! They’d be perfect for a summertime party! Thank you for sharing.
Yes, I can’t wait for summer to arrive! Thank you!
These cookies are so fun! They’d be perfect for a summertime party! Thank you for sharing.
Thank you so much! I hope you get the chance to make them this summer.