Pool Party Fun! Gummy Bear Cookies & 3 Ingredient Recipe for Piping Gel
73 - 73Shares
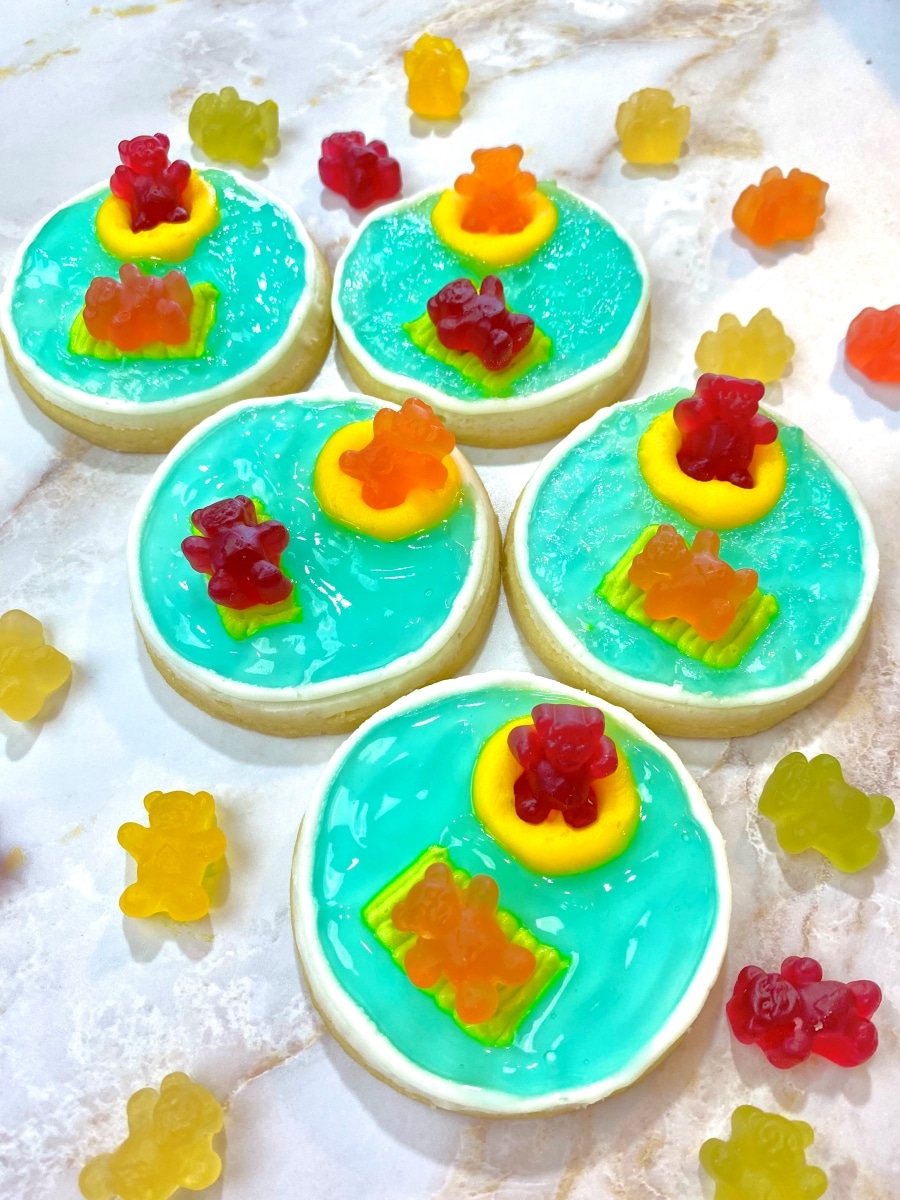
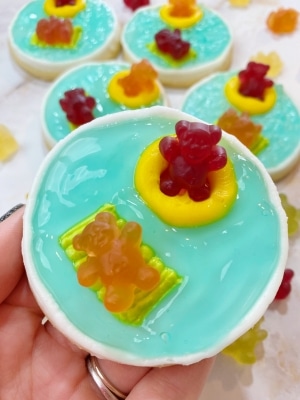
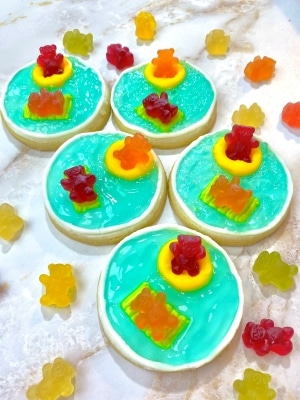
Yay summer is here! These super cute gummy bear cookies are just waiting to be invited to your pool party.
In this cookie decorating tutorial, you will learn a simple 3 ingredient recipe for piping gel that resembles water. You can add flavor and gel food coloring too, depending on the color & flavor of buttercream you go with under the gel.
I will be using white buttercream as my “pool” base, so I will add teal gel food coloring to the piping gel. If you want to keep it clear, use teal (or any other fun water color) buttercream as your pool base. It’s up to you!
As usual, you will then find a full step-by-step photo & video tutorial for assembling these floating gummy bear cookies.
*This post may contain affiliate links, which means I may receive a commission, at no extra cost to you, if you make a purchase through a link. Please see my full disclosure for further information.*
Skip to
- Part 1: Gathering the Supplies for Your Pool Party Cookies
- Part 2: Baking the Cookies and Setting up Your Icing Bags
- Part 3: The Recipe for Piping Gel
- Simple 3-Ingredient Piping Gel Recipe
- Part 4: Decorating the Gummy Bear Cookies for The Pool Party
- Save the Tutorial for These Pool Party Cookies For Later
Part 1: Gathering the Supplies for Your Pool Party Cookies
To decorate these super cute swimming gummy bear cookies, you will want to gather:
- 4 Icing bags (If using an icing bottle to pipe the piping gel, then you only need 3 icing bags.)
- 2 Couplers
- One Wilton #5 tip and one Wilton #12 tip – buy these at Walmart or purchase this kit I use for almost every tutorial
- Circle cookie cutter – I used the medium sized one in this kit by Wilton
- Gel food dye for buttercream frosting in teal (for the piping gel), yellow, and lime green (or whatever colors you want for your pool floats)
- Palette knife or your favorite buttercream smoothing method
- Gummy bears
- Ingredients for piping gel, recipe below
- Ingredients for a crusting buttercream, find my crusting buttercream icing recipe here
- Ingredients for sugar cookie dough, find my no spread sugar cookies recipe here
Part 2: Baking the Cookies and Setting up Your Icing Bags
- Roll, cut out, and bake your sugar cookies according to the recipe. Allow the cookies to cool before decorating them with buttercream.
- Make your buttercream icing and scoop out about a 1/4 of the buttercream. The remaining 3/4 of the buttercream will remain undyed. Scoop about a cup of that into an icing bag with a coupler.
- Split the reserved 1/4 of frosting into two bowls.
- Color one bowl yellow and the other lime green. These are your pool float colors, so you can use whatever two colors you would like here.
- Place the yellow (or innertube color) into an icing bag with the tip #12 in it.
- Place the lime green (or flat pool floatie color) into an icing bag with a coupler.
Part 3: The Recipe for Piping Gel
Once your cookies have been baked and your buttercream frosting has been prepared, it is time to make the homemade piping gel.
You will need light corn syrup, corn starch, teal food dye, a microwave safe bowl, and a whisk.
Pour 1/4 of a cup of light corn syrup into a microwave safe bowl. Add in one tablespoon of corn starch and whisk together until there aren’t any lumps.
Whisk in 1/4 cup of cold water.
Microwave until boiling and clear. For me, this only took about one minute and 15 seconds.
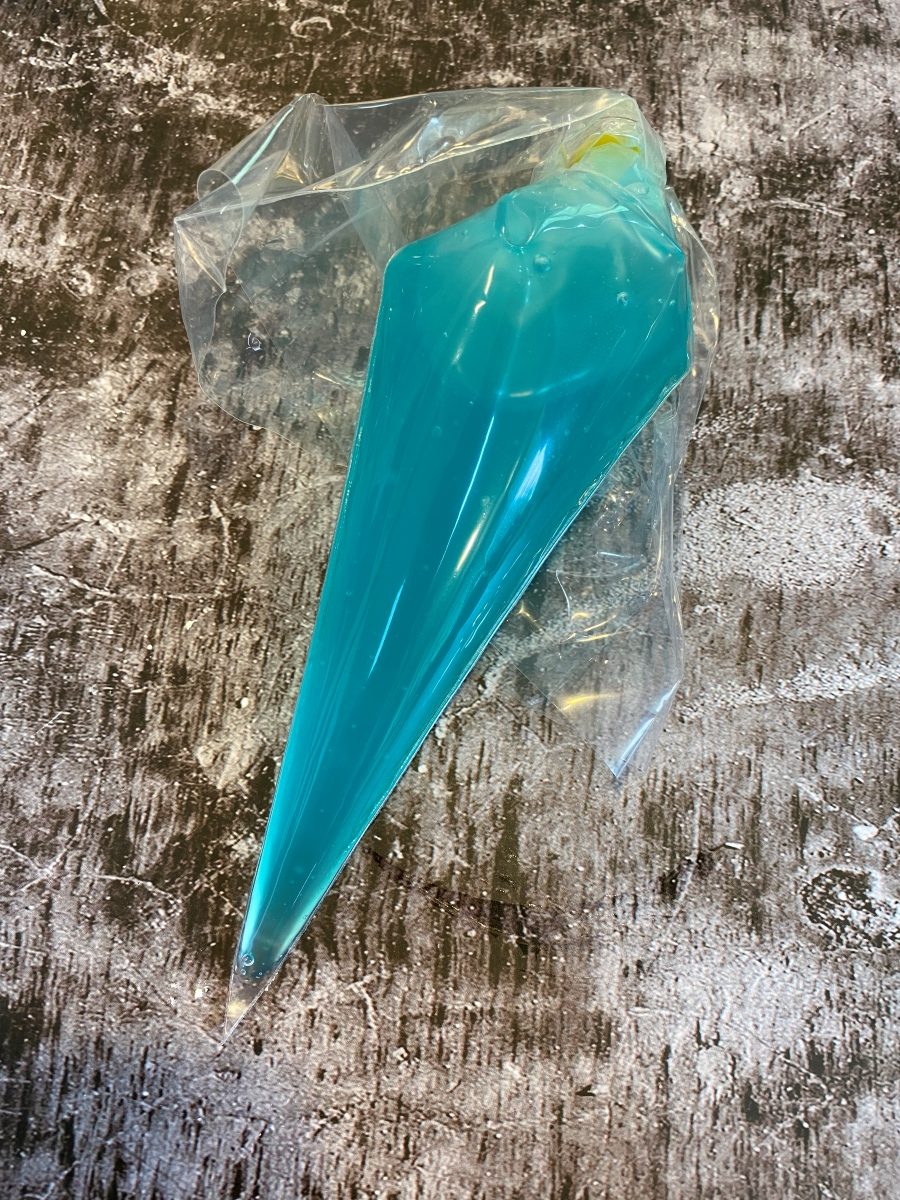
Whisk the piping gel until the bubbles are gone. Then, add in just a bit of teal gel food dye. A little goes a long way.
Allow this mixture to cool for about five minutes and then scoop into the 4th piping bag. Make sure the piping bag doesn’t have a hole cut into it yet. If you prefer to use a piping bottle, you can do that instead.
Simple 3-Ingredient Piping Gel Recipe
Equipment
- Microwave Safe Bowl
- Measuring Cup & Spoons
- Whisk
- Piping Bag or Icing Bottle
Ingredients
- 1/4 cup Light Corn Syrup
- 1 tbsp. Corn Starch
- 1/4 cup Cold Water
- 1/4 tsp. Vanilla Extract Optional
- Gel Food Dye Optional
Instructions
- In a microwave safe bowl, combine the corn syrup with the corn starch. Whisk until the corn starch is dissolved.
- Whisk in the cold water.
- If using flavor, add in 1/4 teaspoon of extract such as vanilla or almond extract. Keep in mind, it is better to use clear extract if you don't want a tinted piping gel. *I omitted flavor since piping gel sits on top of my vanilla buttercream.
- Microwave on high until the mixture is boiling and turns clear. This only took about a minute and 15 seconds for me.
- Whisk the homemade piping gel until the bubbles are gone.
- Allow the mixture to cool for about 5 minutes.
- Stir in the gel food color if adding color and then pour the mixture into a piping bag or icing bottle. Use immediately.
Notes
Part 4: Decorating the Gummy Bear Cookies for The Pool Party
Check out the video above to see how to make homemade piping gel and how to decorate these pool party gummy bears. Then, check out the photo series below when you are ready to decorate.
Step-by-Step Gummy Bear Pool Party Cookie Tutorial
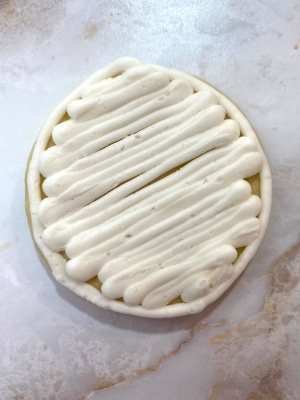
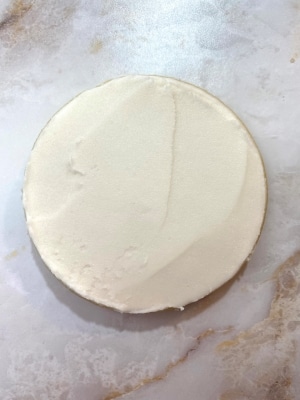
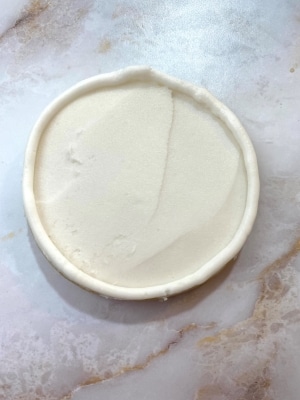
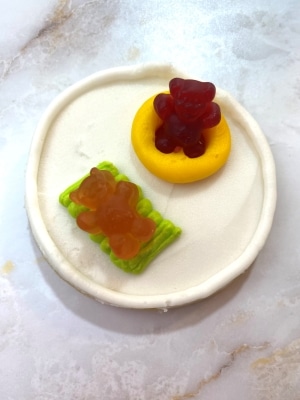
- Attach the tip #5 to the bag of white (undyed) buttercream. Outline and fill in the cookies, a few at a time, with the frosting. Then, smooth the frosting using a palette knife or your preferred smoothing method.
- Use the tip #5 to outline the circle cookies once again to create the pool edge/water barrier.
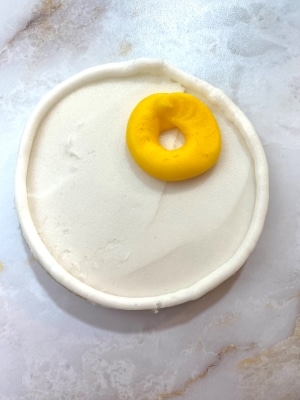
- Using the yellow (or innertube color of frosting) pipe a circle that will fit the gummy bear.
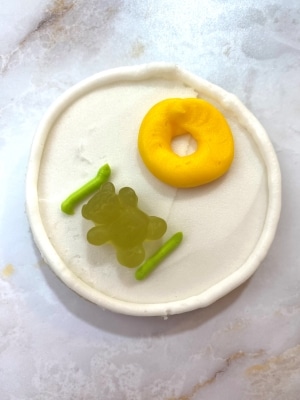
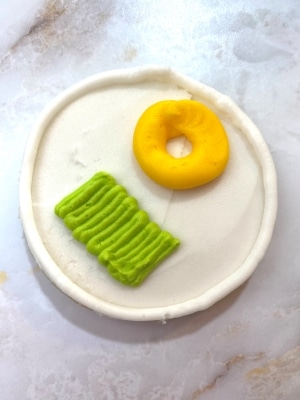
- Using the lime green (or flat pool floatie color) pipe the other gummy bear’s floatie. You will use the tip #5 for this, so make sure to rinse and dry the tip since you used it on the white frosting previously.
- I found this step easiest to first lay the gummy bear onto the cookie in the desired spot and draw a line above and below the bear. This way, I knew that the floatie I piped for him will fit his body.
- Place the gummy bears onto the floaties. I pushed the bears into the frosting just a bit so they would be more secure.
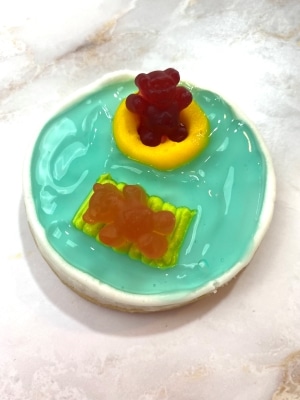
- Cut open the bag of piping gel or open the bottle of piping gel. Fill in the “water,” covering all of the cookie except for the floaties.
- If using an icing bag like I did, fold the icing bag into a cup so that both open ends of the bag are up. This will prevent the piping gel from coming out of the bag if you need to rest between cookies.
I imagine these gummy bears are just having the time of their lives in these cute little pool floaties. You can allow these cookies to dry/crust overnight on the counter or you can serve them right away.
If you serve right away, keep in mind that the piping gel will be more liquid-y, as it hasn’t fully set yet. No one will be bothered because the cookies are delicious.
If you serve them several hours later (or longer than that) you can expect the piping gel to have a gummier consistency. Again, the taste will still be amazing since the bite will include a delicious sugar cookie base and vanilla buttercream frosting.
Do keep in mind that the piping gel will not form a crust, it will just be bouncy. I would skip individually packaging these ones. For tips on storing, transporting, and packaging buttercream sugar cookies, check out my detailed post on the subject.
You can keep these cookies stored at room temperature safely if using a crusting buttercream frosting under the gel.
Save the Tutorial for These Pool Party Cookies For Later
Make sure to save these floating gummy bear cookies for your upcoming pool party! Use the image below to pin it to your pool party and summer party idea boards on Pinterest. Alternatively, use any of the social share icons on the top of the page to share it to your favorite social media site.

