Decorating Cute Cat Valentine Cookies with Tasty Buttercream
These cat Valentine cookies are for all of your kitty loving friends! Decorating Valentine’s cookies is such a fun way to spend the love season.
These cute kitty cookies use delicious buttercream frosting on a soft sugar cookie.
If you are like me and can’t draw free-hand any better than a toddler can, use purchased PNG files. I found the cutest kitty Valentine’s day images from Cat and Me Digital on Etsy. It’s so easy to create a stencil and then use an edible marker to transfer the image to the cookie.
In this tutorial, I will show you how decorating Valentine cookies can be so easy with a little help from PNG downloads.
Follow along for the full tutorial on how to decorate the cutest cat Valentine cookies.
*This post may contain affiliate links, which means I may receive a commission, at no extra cost to you, if you make a purchase through a link. Please see my full disclosure for further information.*
Skip to
- Part 1: Gathering the Supplies for Decorating Valentine Cookies
- Part 2: Baking the Cookies and Setting up Your Icing Bags
- Part 3: The Tutorial for Using Image Files for Decorating Buttercream Cookies Without a Projector
- Part 4: How to Decorate Cat Valentine Cookies with Buttercream
- Save the Tutorial for Decorating Cat Valentine Cookies
Part 1: Gathering the Supplies for Decorating Valentine Cookies
To decorate the cutest cat Valentine cookies, you will want to gather:
- 3 Icing bags
- Wilton #1, #2, and #3 tip sizes – buy these individually at a bake supply store or purchase this kit
- 3 Couplers
- Heart cookie cutter, I used the middle sized one in this set – p.s. I use this set all the time, totally worth the purchase!
- Gel food dye for buttercream frosting in pink
- Palette knife
- If using purchased PNG/SVG image files, you will need: Valentine cat images, parchment paper, printer, computer paper, scissors, permanent marker, and edible ink pen
- Ingredients for a crusting buttercream, find my crusting buttercream icing recipe here
- Ingredients for sugar cookie dough, find my no spread sugar cookies recipe here
Part 2: Baking the Cookies and Setting up Your Icing Bags
- Roll, cut out, and bake your sugar cookies according to the recipe. You will be able to make about 18-24 heart sugar cookies with the recipe linked above.
- Make your buttercream icing and separate it into three bowls:
- One bowl will only contain about a cup of frosting. Keep that bowl undyed.
- The two remaining bowls will be equal in amount. One bowl will be dyed a light pink and another a hot pink.
- Set up your icing bags as follows:
- Place each color of frosting into its own icing bag set up with a coupler. If you don’t know how to do this, just hop over to my Getting Started: Learn How to Decorate Buttercream Cookies page for a detailed explanation.
Part 3: The Tutorial for Using Image Files for Decorating Buttercream Cookies Without a Projector
I have a full step-by-step photo series tutorial with detailed explanations on my Golden Girls cookies which you can check out here. Here, I have included a quick video tutorial of the process which also includes me decorating the cat Valentine cookies.
Part 4: How to Decorate Cat Valentine Cookies with Buttercream
Check out the video above for decorating Valentine cookies or check out the photo tutorial below.
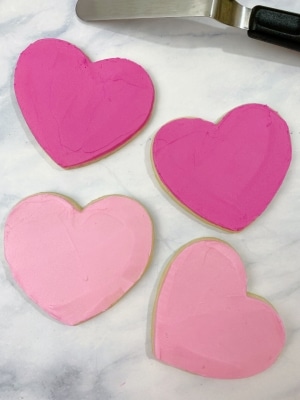
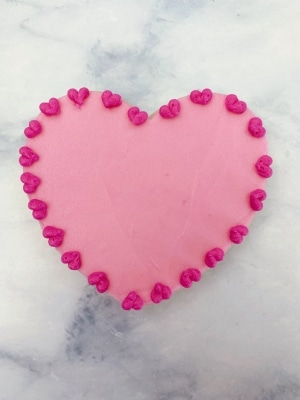
- Outline and fill in the heart cookies using the tip #3. I chose to do half of the hearts a light pink and other half the hot pink.

- Smooth the surface of the frosting using the palette knife or an angled flat spatula. If you struggle with smoothing, totally understandable by the way, check out my parchment paper tip here.
I smoothed with both my 9″ angled flat spatula and my palette knife – both my favs! - Prepare the image transfer while the heart cookies are forming a crust:
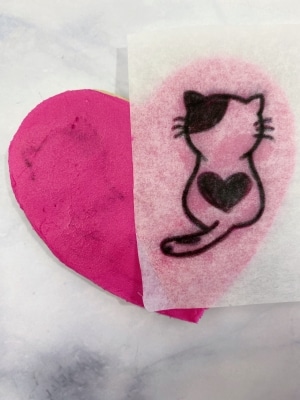
- Trace the printed image file(s) onto parchment paper using a permanent marker.
- Cut the parchment paper images out and double check that the image will fit onto the heart cookie.
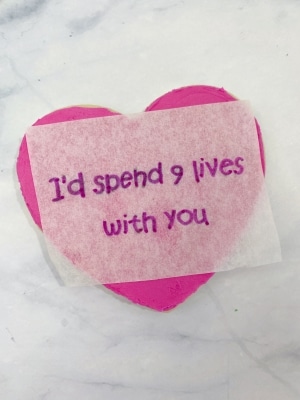
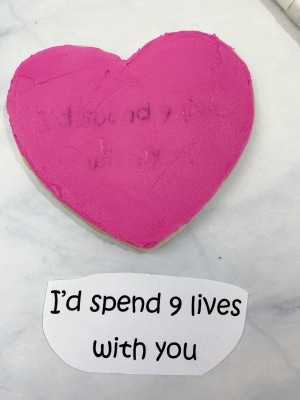
- Flip the parchment paper image upside down and trace the back side of the image with the edible marker. Work quickly so the marker doesn’t dry.
- Apply the image transfer onto the heart. Peel up a corner of the image to see if the design is transferring. If it’s not, press the paper into the cookie again. Repeat this process for all of the heart cookies with the desired images on each. I chose to keep the light pink hearts free from images.
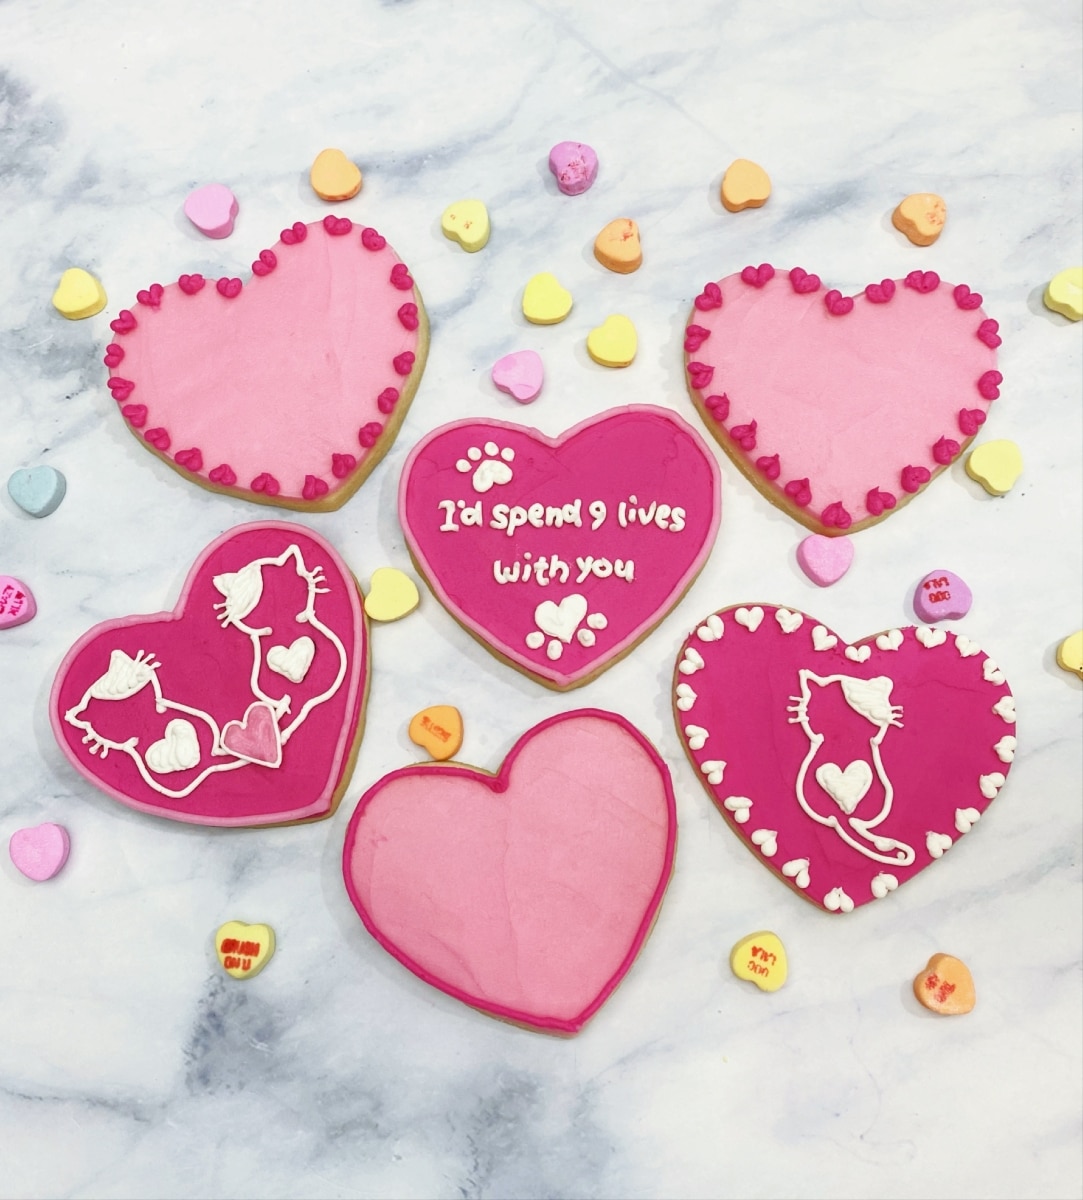
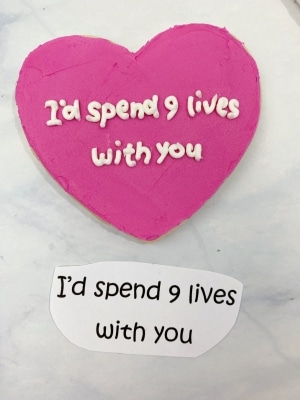
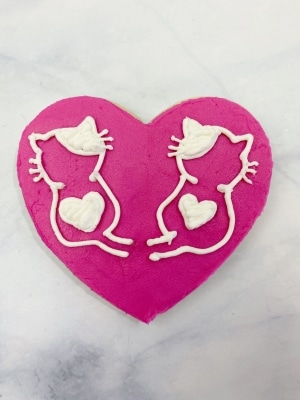
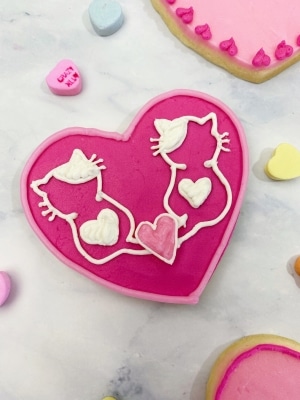
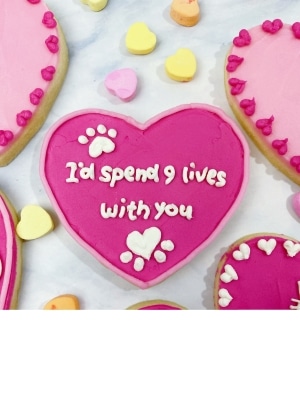
The top line “I’d spend 9 lives” was traced over twice with the edible marker and the bottom line only once. I recommend tracing over 2x before flipping onto the cookie. I traced both sides of this parchment paper with edible marker to create a couple of kittens in love. - Use the tip #2 with the white frosting to draw over the traced images. If you have some cookies with small details, it is best to use the tip #1. I also like to use a tip #2 for word cookies.
I didn’t fill in the tails all the way so I could add a heart detail later. - Attach the tip #3 to any of the icing bag colors to create fun accents onto the cookies. I squeezed small hearts along the borders of some of the cookies, drew straight lines along some, and created little heart paws on others.


I love how cute these kitty Valentine cookies turned out. Are you more of a cat or a dog fan? I’d love to know in the comments below. I hope you found this decorating Valentine cookies tutorial helpful and that you have a lovely holiday. Make sure to check out some of my other Valentine’s Day cookie tutorials here as well.
Save the Tutorial for Decorating Cat Valentine Cookies
This tutorial was jam packed with techniques for how to decorate buttercream sugar cookies. Make sure to save this decorating Valentine cookies tutorial! Use the image below to pin it to your Valentine party board on Pinterest. Alternatively, use any of the social share icons on the top of the page to share it to your favorite social media site.