Decorate How to Lose a Guy in 10 Days Inspired Cookies

Okay, so I don’t know if you’d plan a party around this movie but it is a great movie! I can see this being a fun set for a girl’s night in with plenty of snacks, chocolate, wine, a few romantic comedies, and whatever else your heart needs.
*This post may contain affiliate links, which means I may receive a commission, at no extra cost to you, if you make a purchase through a link. Please see my full disclosure for further information.*
You will need:
- 6 icing bags
- 4 Wilton #2 tips, 1 Wilton #5 tip, and 1 Wilton #69 tip
- circle cookie cutter
- rectangle cookie cutter
- oval cookie cutter
- Your favorite sugar cookie dough recipe – if you don’t have a favorite, here’s mine
- Wilton gel coloring to obtain red, light green, dark green, yellow, gray, and white buttercream frosting, here’s my crusting buttercream recipe
- butter knife
Roll out, cut, and bake your cookies and allow them to cool. While they are cooling, whip up your frosting. To set up your icing bags, put your white frosting into a bag with a tip #5 in it. Put your yellow frosting, gray frosting, red frosting, and dark green frosting *excluding about a quarter of green frosting aside* into their own bags, each with a tip #2 attached. Fill a bag of frosting with tip #69 with the remaining dark green frosting & your light green frosting. I like to use a butter knife to put one color on one side of the bag and the other color on the other side of the bag. It is okay if there is more of one shade than the other, the point is to just have a little bit of variation.
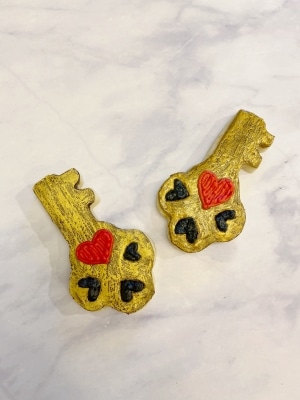
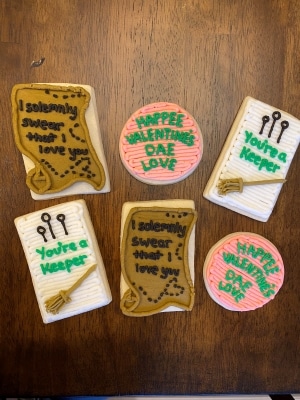
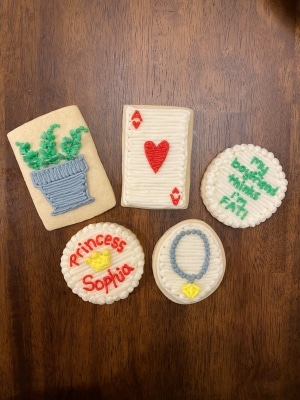
First up, you will want to do the “love fern” cookies. Using your gray frosting, outline the pot and fill it in.


Take your frosting bag that has the two shades of green in it and the tip #69 attached. Starting at the top of the pot, told the bag vertically and squeeze out a tiny bit of frosting, pulling up toward you. Often times, your frosting will want to stay on your tip and not on the cookie. You can use your butter knife to gently scrap it off and place it onto the cookie. It’s easier to use your fingers to do this, so you can always use a gloved hand or, if they are for you and your friends, a clean hand. Continue making these small vertical bursts of frosting to create the bottom of the leaf. Reference the photo below.

To finish the fern, take your green frosting that had tip #2 in it and make small dots.

For the rest of the cookies, take your white frosting and outline and fill them in.
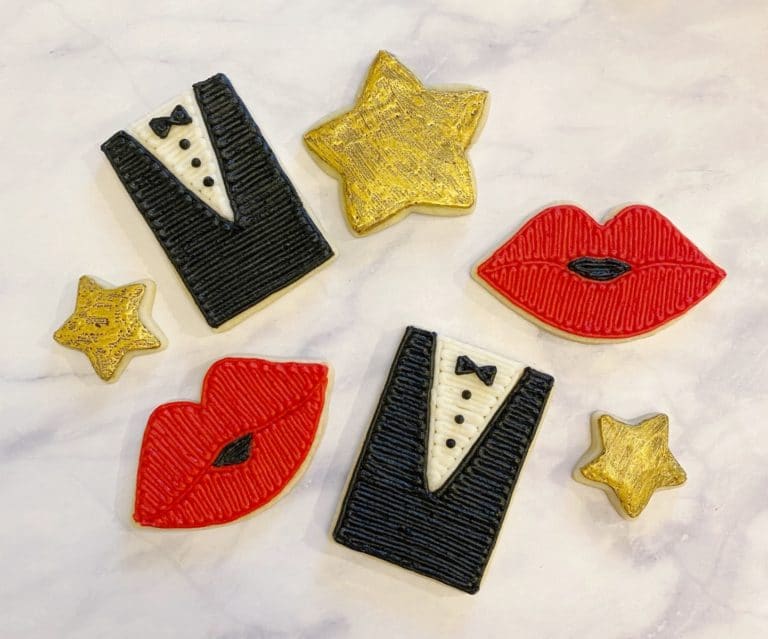
To create the necklace, use your gray frosting to make small dots in an oval shape. Take your yellow frosting and draw a diamond shape. Use your butter knife to flatten out the top of the yellow stone.

For the Ace of Hearts, using the red frosting, draw the “A” with a small heart below it in the top left corner. Spin the cookie around and do the same in the top left corner. Then, draw in a red heart in the center of the cookie.

To finish up, write “my boyfriend thinks I’m fat!” using the green frosting with tip #2 attached on half of the circles, and, using the red frosting, write “Princess Sophia” on the other half of the circles. Draw a yellow crown in the middle of your Princess Sophia cookies. Use your white frosting to create dots around the edges of your circle.
If you created these cookies, send a photo to my e-mail [email protected] or tag me on Instagram at buttercreamparties for your chance to be featured on the blog!