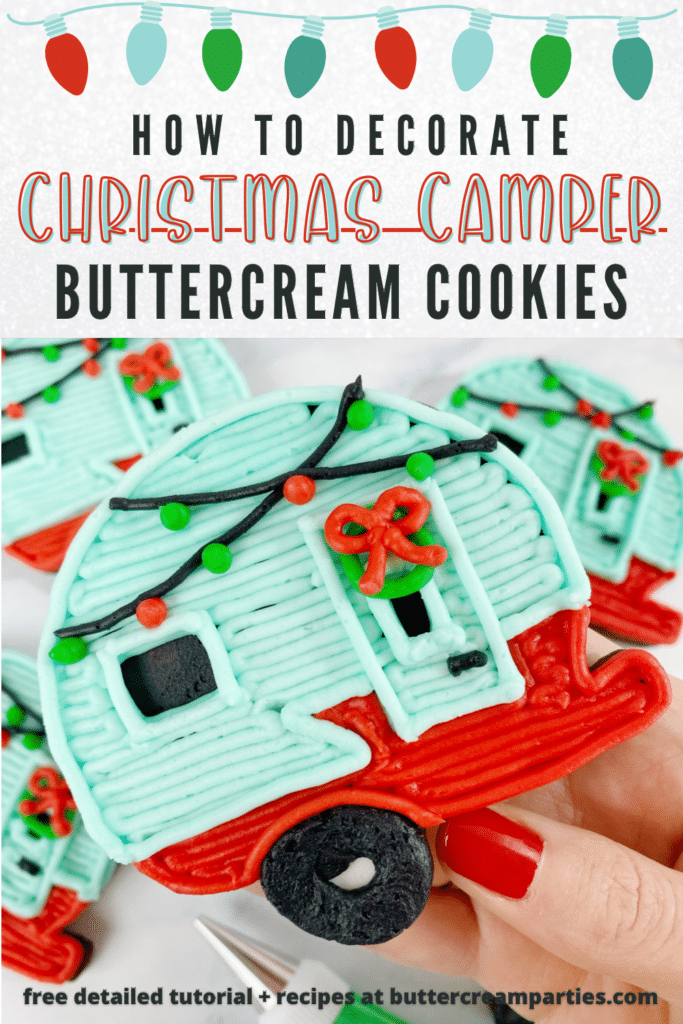
How to Decorate Christmas Camper Cookies with Buttercream Frosting
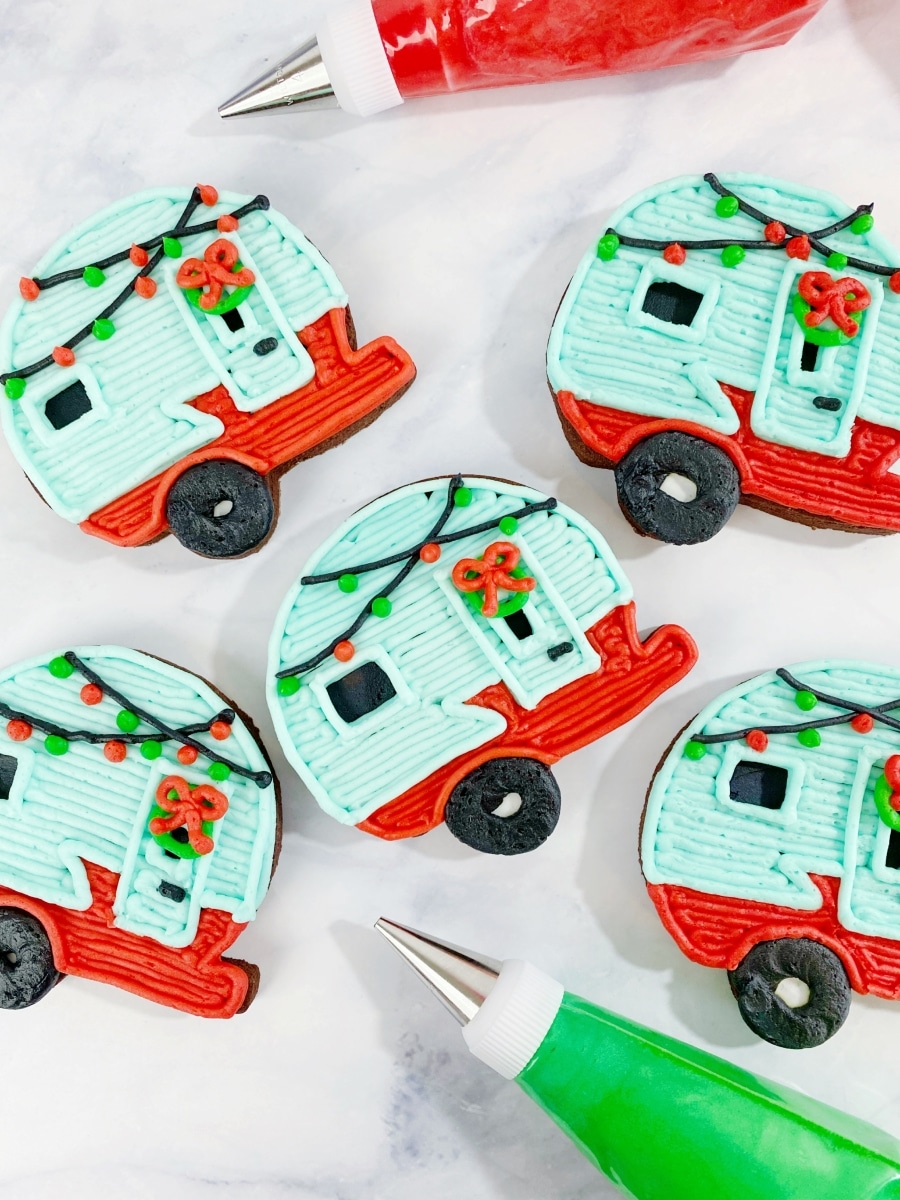
These Christmas camper cookies are so fun and perfect for vintage & boho Christmas lovers. For today’s post, I want to teach you how to decorate Christmas camper cookies with buttercream frosting.
I’m using my chocolate sugar cookies for this tutorial – who doesn’t love chocolate during Christmas?
Follow the beginner-friendly tutorial with step-by-step photos plus a video to decorate these cute cookies for Christmas.
*This post may contain affiliate links, which means I may receive a commission, at no extra cost to you, if you make a purchase through a link. Please see my full disclosure for further information.*
Skip to
Part 1: Gathering the Supplies for the Christmas Camper Cookies
For how to make Christmas camper cookies with buttercream frosting, you will want to gather:
- 5 Icing bags
- 5 Couplers
- Wilton #2, #4, and #12 tip sizes – buy these individually at a bake supply store or purchase this kit
- Camper cookie cutter
- Wilton black, red, teal, and green gel food dyes, I’ve found the best price at Walmart for the larger sizes but if you want the set of smaller sizes, I recommend this kit
- Palette knife or angled flat spatula
- Ingredients for a crusting buttercream, find my crusting buttercream icing recipe here
- Ingredients for sugar cookie dough, find my no spread sugar cookies recipe here
Part 2: Baking the Cookies and Setting up The Icing Bags
- Roll, cut out, and bake your sugar cookies according to the recipe. You will be able to make about 24 sugar cookies with the cookie cutter & recipes linked above.
- Make your buttercream icing and split it up into five bowls. Two of the bowls will have the majority of the frosting for the red & teal icing – a cup each. Mix the red, teal, black, and green gel colors. Remember, the colors will deepen as it sets, so you only need to get to a dark gray/light red.
- Add each color of icing into its own icing bag, each set up with a coupler. You don’t need to add the tips yet.
- If you don’t know how to set up icing bags, just hop over to my Getting Started: Learn How to Decorate Buttercream Cookies page for a detailed explanation.
Part 3: The Tutorial for How to Make Buttercream Vintage Christmas Camper Cookies
Check out the video here to see how to decorate these fun Christmas cookies. Then, check out the breakdown step-by-step photo series tutorial below. I know it seems like a lot of steps, but remember that doing each step on each cookie before moving to the next step speeds up the process.
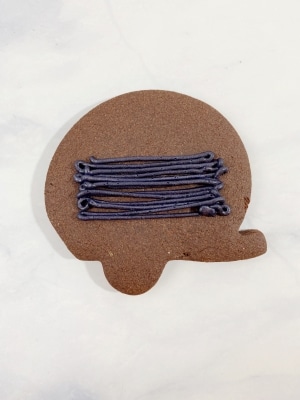
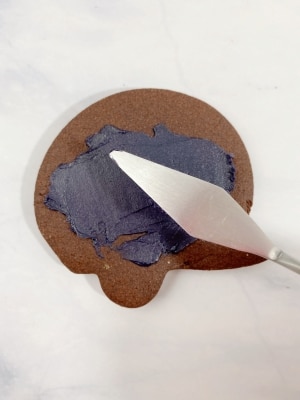
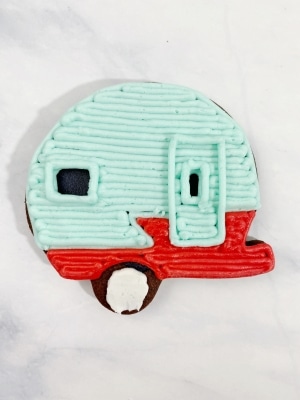
- Attach the tip #2 to the black frosting. Fill in the center portion of the camper cookie. It can be rough, as you will then smooth out the frosting with the palette knife. Do this step for all of the cookies before going to step #2.

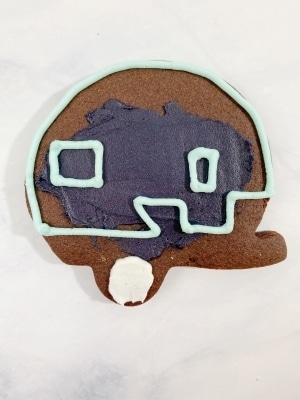
Pipe out enough black icing to cover where the window & door will be. - Remove/rinse/dry the tip #2 from the black frosting and attach it to the white frosting. Pipe out some white frosting onto the wheel area and smooth it out with the knife.
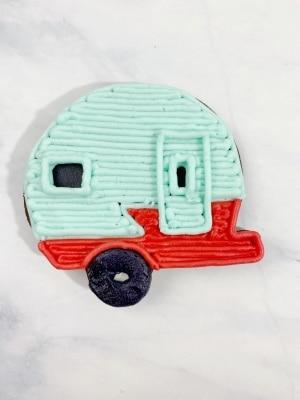
- Attach the tip #4 to the teal frosting and outline the shape of the camper, including the window and door window. If you struggle with the line work, remember, you can always use the palette knife to pick up the frosting to erase it and try again.
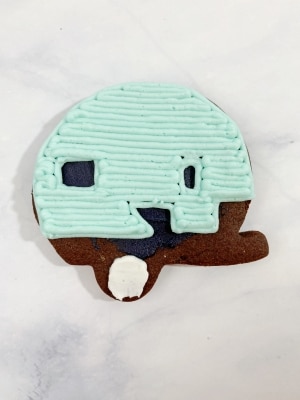
- Fill in the area of the camper with the teal frosting using the same tip size.
- Outline the window and door window with the same teal frosting/tip size. Then, outline the entire door shape.
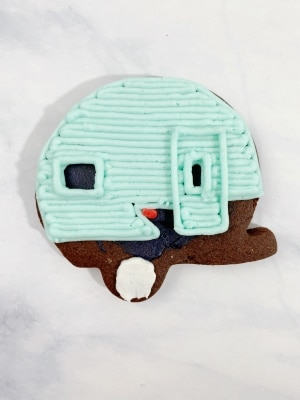
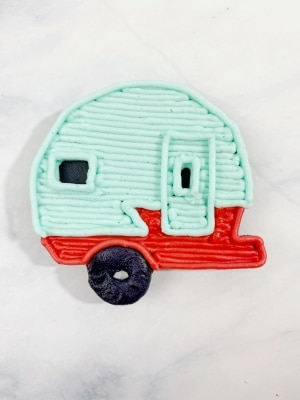
- Outline and fill in the bottom part of the camper cookie by removing the tip #4 from the teal icing, rinsing/drying it, and attaching it to the red icing bag. Pro tip: To outline angles, draw a line going toward the angle so that you can pull up the frosting to create a point.
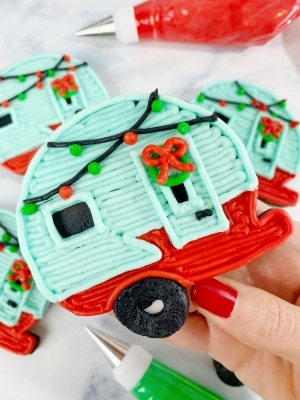
I started the line just to the right of the corner/angle, squeezed the frosting moving in the direction to the corner, and release pressure as you end the line. - Attach the tip #12 to the black frosting and pipe out the tire. Remember when using these larger tip sizes to hold the piping bag perpendicular & close to the cookie to prevent logs of frosting. We want a flat top for the tire.
- Use the red frosting, still with tip #4 attached, to outline the outer edge of the camper where the red frosting is filled. You don’t want to outline the part where the teal and red connect, as that will be outlined in teal.
- Once you’ve completed step 8 on all of the camper cookies, remove/rinse/dry the tip #4 from the red and add it to the teal. Now, outline the outer edge of the teal portion of the camper. You don’t need to re-outline the bottom of the door since that is already done.
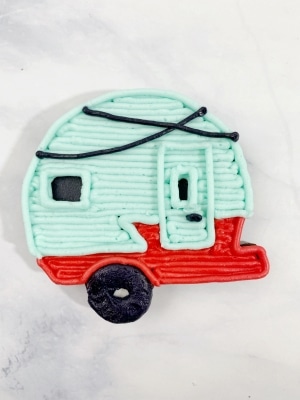
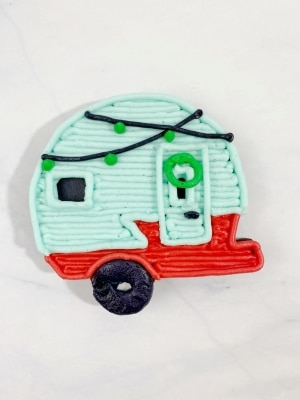
- Remove the tip #12 from the black frosting and place the tip #2 on it. Remember to rinse/dry the tip since you probably used the white frosting with tip #2 most recently. Draw a small line for the camper door handle and then two curved lines for the string lights.
- Rinse/dry the tip #4 and attach it to the green frosting. Draw a circle on the door and pipe dots for the Christmas lights.
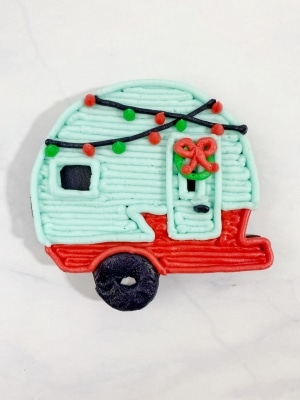
- Once you’ve completed step 11 on all of the cookies, remove/rinse/dry the tip #4 and attach it to the red frosting. Draw a bow over over green wreath and pipe out small dots for the Christmas lights.


I just love the vintage teal in this Christmas camper cookie. These would surely impress everyone at the Christmas cookie exchange!
If you are sharing these cookies and need to transport them, check out my post on storing, packaging, and transporting buttercream sugar cookies.
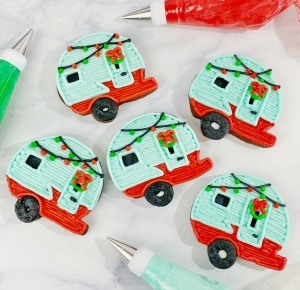
Save the Tutorial for These Delicious & Vintage Inspired Christmas Camper Sugar Cookies
Use the image below to pin this cookie tutorial to your Christmas party or dessert board on Pinterest. Alternatively, use any of the social share icons on the top of the page to share it to your favorite social media site.