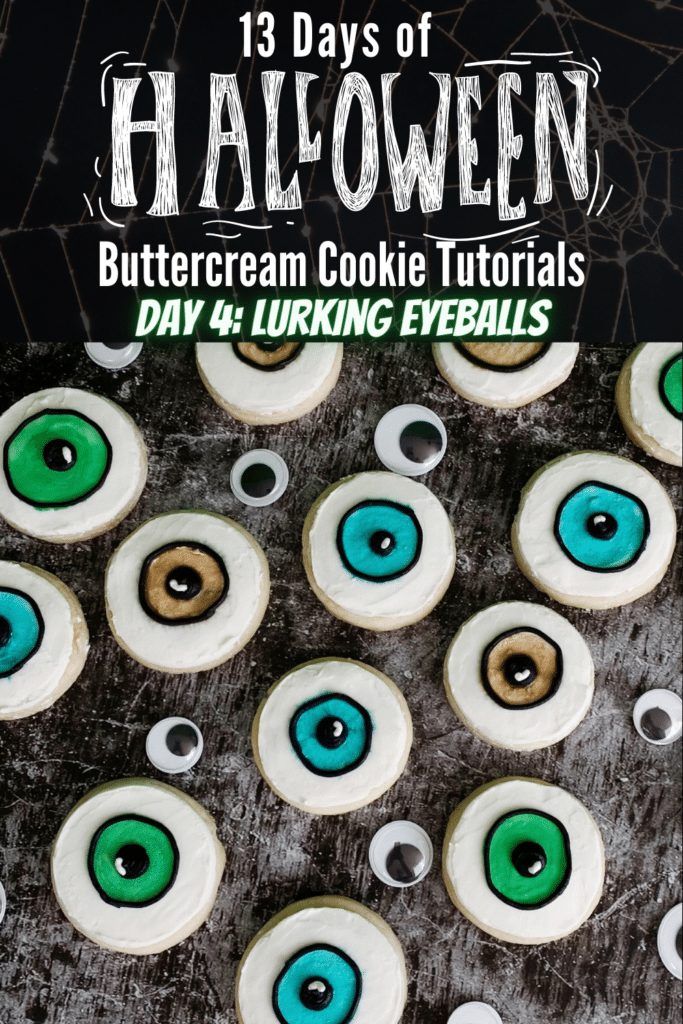
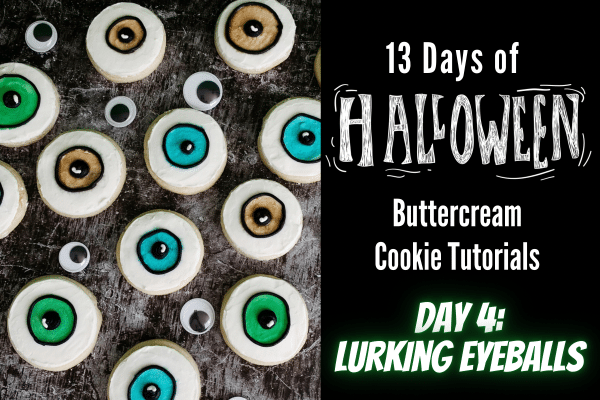
Lurking Eyeball Cookies – 13 Days of Halloween Cookie Decorating
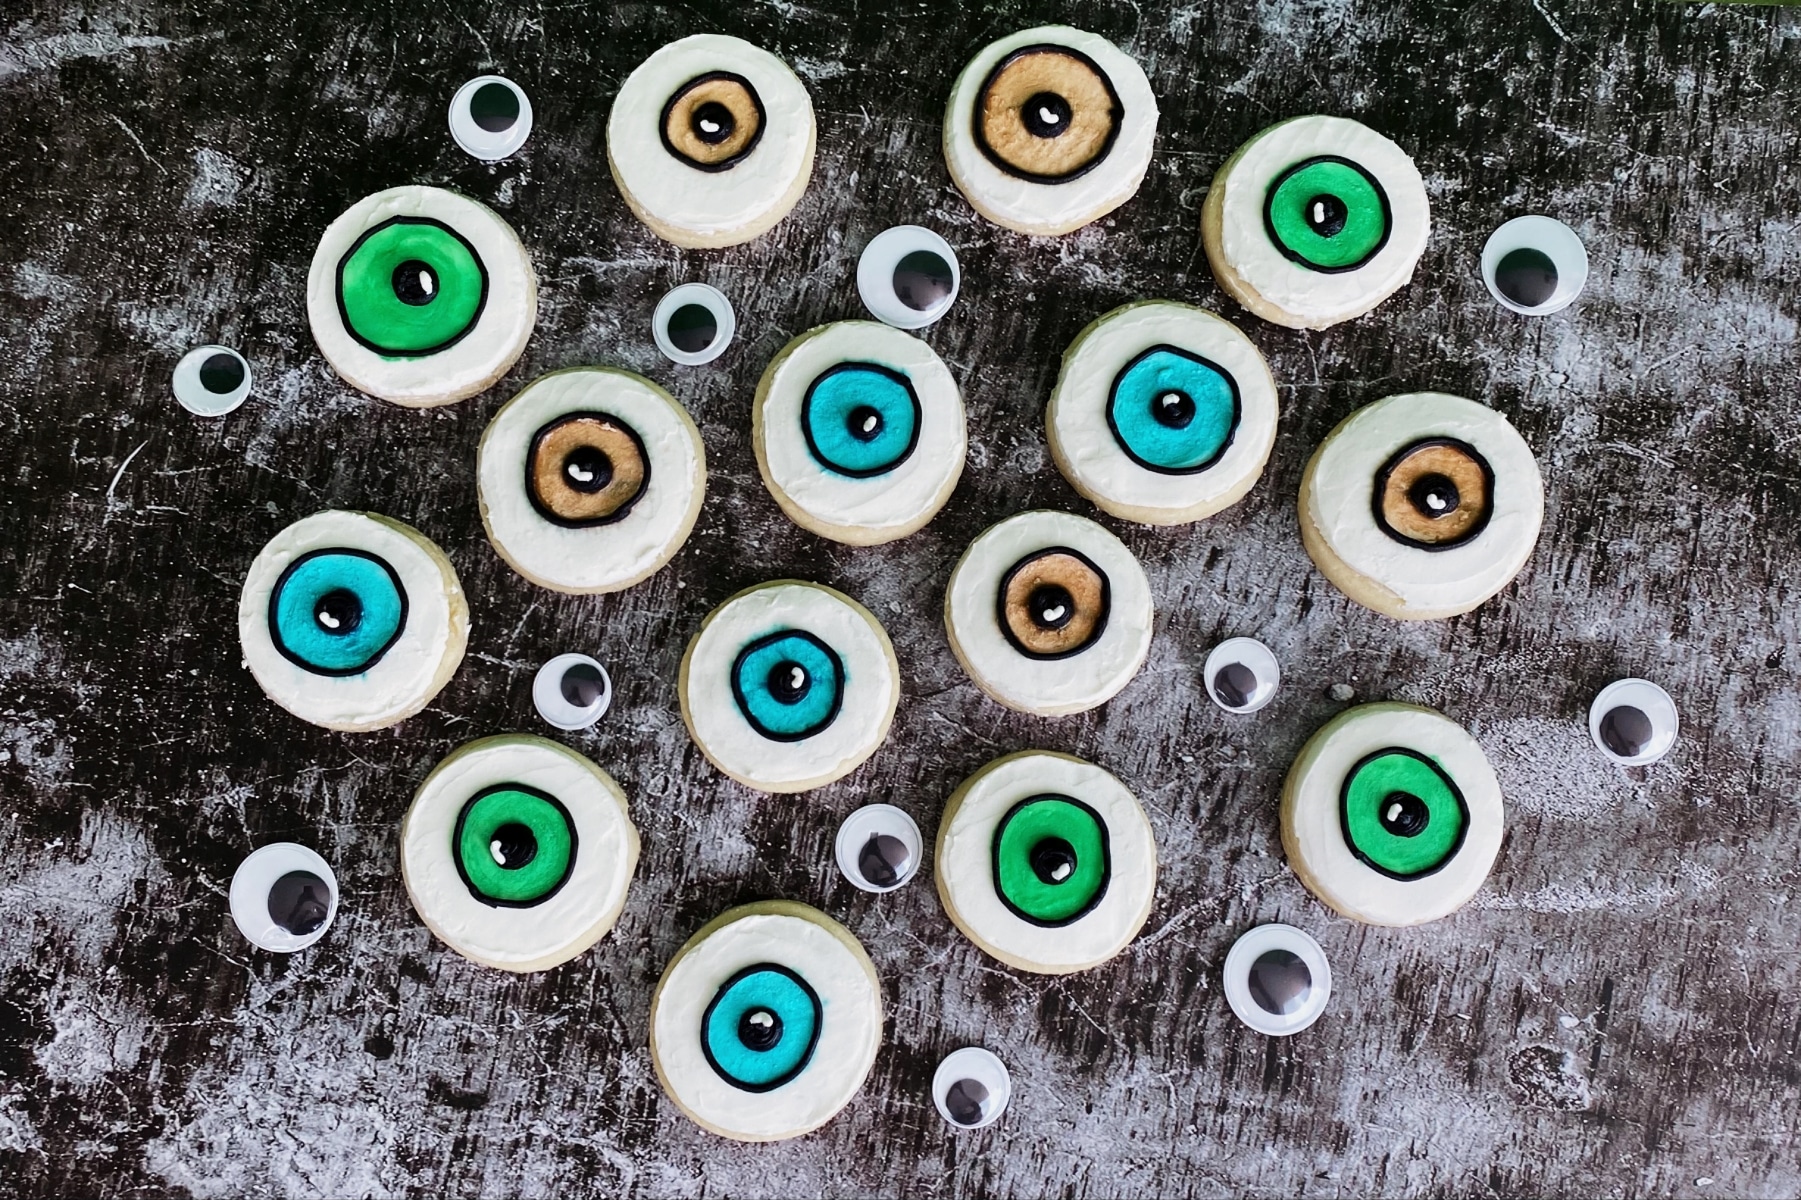
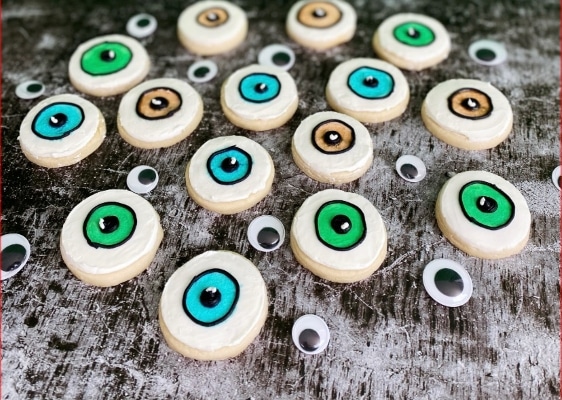
It’s day four of the 13 Days of Halloween cookie decorating tutorials! These Halloween eyeball cookies are the perfect balance of gross-but-delicious (is that a thing?) treats to serve your party guests.
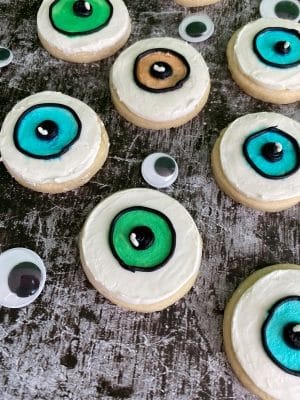
I’d love to see these eyeball cookies at a haunted forest Halloween party theme. Arrange the cookies on a black plate or contact paper surrounded by greenery to set the scene. Don’t forget to turn off the lights and add just a small amount of ambient lighting.
These decorated cookies are also the perfect bite-size Halloween treat. Your guests will appreciate being able to squeeze in one more sugary dessert without feeling like they are going overboard on the sweets.
I often see questions on painting buttercream with vanilla extract as opposed to vodka so I will be going over how to do this in this post as well.
Included is a step-by-step photo series tutorial as well as a video tutorial so you can feel confident decorating these creepy treats.
*This post may contain affiliate links, which means I may receive a commission, at no extra cost to you, if you make a purchase through a link. Please see my full disclosure for further information.*
Part 1: Gathering the Supplies for the Halloween Eyeball Cookies
To make these decorated buttercream eyeball cookies for your Halloween party, you will want to gather:
- 2 Icing bags
- 2 Couplers
- Wilton #2 and #5 tip sizes – buy these individually at a bake supply store or purchase this kit
- Small circle cookie cutter – I use the smallest one in this set by Wilton
- Pack of gel food dye
- 9″ angled flat spatula to smooth the whites of the eyeballs
- Small paintbrush, I like the one in this set
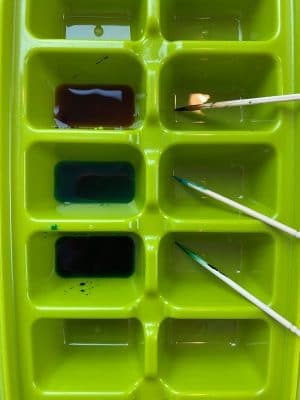
- Small dishes to mix the gel food watercolors, I used an ice cube tray
- Clear vanilla extract for painting the buttercream frosting
- Ingredients for a crusting buttercream, find my crusting buttercream icing recipe here
- Ingredients for sugar cookie dough, find my no spread sugar cookies recipe here
Part 2: Baking the Cookies and Setting up Your Icing Bags
- Roll, cut out, and bake your sugar cookies according to the recipe. You will be able to make about 48 sugar cookies with the cookie cutter & recipes linked above.
- Make your buttercream icing and pull out about a half cup of frosting. Place that half cup into a small bowl and mix in the black gel color. Remember, the black will deepen as it sets so no need to add the whole container of black gel dye!
- Set up your icing bags as follows:
- Place the black frosting into an icing bag with a coupler. Place about a cup of the white (undyed) frosting into an icing bag with a coupler. If you don’t know how to do this, just hop over to my Getting Started: Learn How to Decorate Buttercream Cookies page for a detailed explanation.
- Prepare your watercolor paints by pouring a 1/2 teaspoon of clear vanilla extract into 3 small dishes. Use a toothpick or pointed knife to add in a small amount of gel food dye in each dish. I used green, teal, and brown. You could add an additional red watercolor as well if you want red eyes or even red bloodshot eyes.
Part 3: The Tutorial for How to Decorate Painted Buttercream Eyeball Cookies
Check out the video here to see how to make these decorated buttercream sugar cookies. Then, check out the breakdown step-by-step photo series tutorial below.
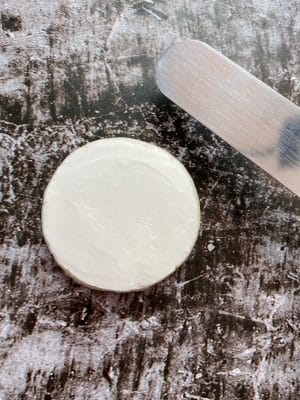
- Attach the tip #5 to the white icing bag and pipe out the white of the eyeball.

- Smooth the frosting with the angled flat spatula. For tips on how to do this, check out my post on two ways to smooth buttercream frosting like a pro.
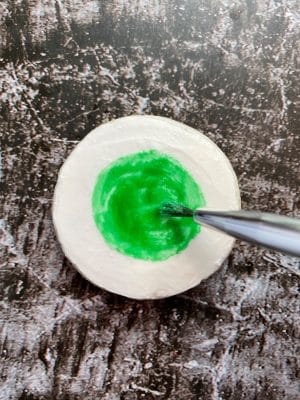
- Paint the iris onto the cookie. It’s easiest to do all of the same color for each eyeball cookie before going to the next color. This way, you don’t need to rinse the paintbrush as often. To rinse, just rinse under hot water and wipe off the excess water with a clean towel.
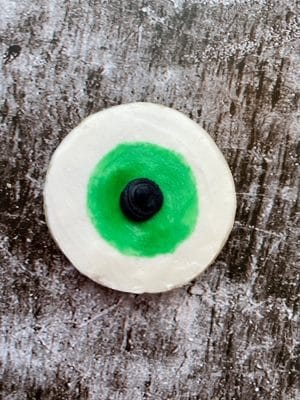
- Allow the watercolors to dry completely before using the black frosting to pipe out the pupil. You can go right into piping the pupil if you don’t mind the black bleeding into the iris. This can add a cool effect so it’s up to you and/or your level of patience. Remove/rinse/dry the tip #5 from the white icing and attach it to the black icing bag. Use the black frosting to pipe out the pupil. You can adjust the size of the pupil by squeezing out more or less frosting.
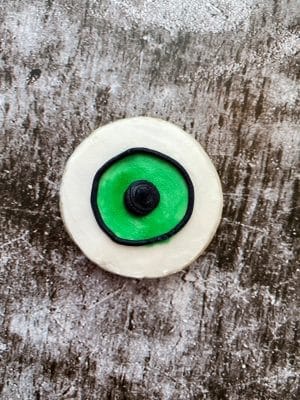
- Remove the tip #5 from the black frosting and replace it with the tip #2. Outline the edge of the iris.
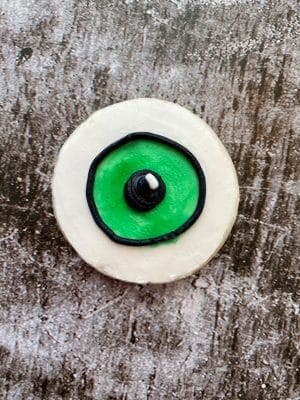
- Remove/rinse/dry the tip #2 from the black frosting and attach it to the white icing bag. Add in a reflection onto the eye.

Vanilla extract does have alcohol in it, so if you didn’t wait for the irises to dry before piping in the pupils, allow the cookies to dry before eating them. This way, they are still kid-friendly.
A benefit of painting buttercream with vanilla extract is that the room will smell like vanilla instead of vodka. It’s also nice if you don’t typically keep alcohol in the house.
Save the Tutorial for Vanilla Extract Painted Eyeball Cookies
Use the image below to pin this Halloween cookie decorating tutorial to your Halloween party board on Pinterest. Alternatively, use any of the social share icons on the top of the page to share it to your favorite social media site.