Dye Free Mario Cookies for a Mario Kart 64 Birthday Party
My son wanted a Mario Kart 64 themed birthday party and since I grew up playing the game, I was excited for his theme!
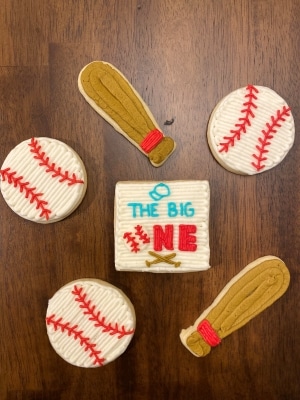
These Mario cookies are therefore inspired by Mario Kart 64 specifically but can also be used for other Mario party themes.
I have been experimenting with artificial dye free food coloring so I used that for these cookies. I think they turned out with bright, bold colors! You can read about what natural dyes I have been experimenting with here!
Follow along for the full step-by-step photo series and video cookie decorating tutorials PLUS the recipes!
Let’s get started!

This post may contain affiliate links to Amazon and Etsy, which means I may receive a commission, at no extra cost to you, if you make a purchase through a link. Please see my full disclosure for further information.*
Skip to
Part 1: Gathering the Supplies for the Mario Cookies

To decorate these Mario sugar cookies, you will want to gather:
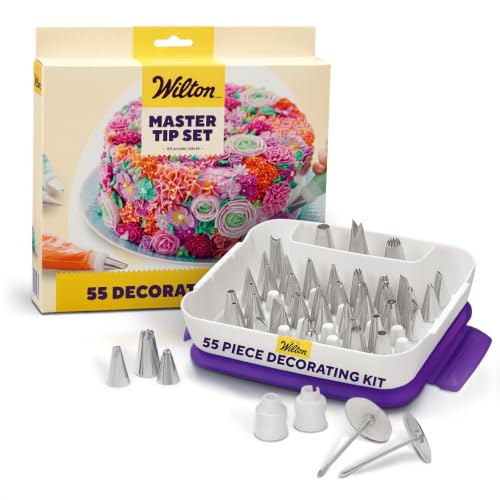
- 8 Icing bags
- One Wilton #2 tip, one #4 tip, one (or more, see question box cookie instructions) #5 tip, and one #10 or #12 tip
- 8 Couplers
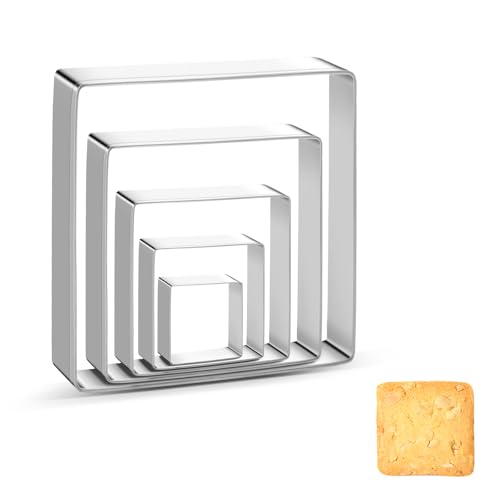
- Flag cookie cutter, square cookie cutter, trophy cookie cutter, and star cookie cutter
- Red, orange, yellow, green, blue, purple, and black gel food dye (I used natural dyes for the rainbow shades and black cocoa powder for the black)
- Palette knife (I use this one for these cookies!)
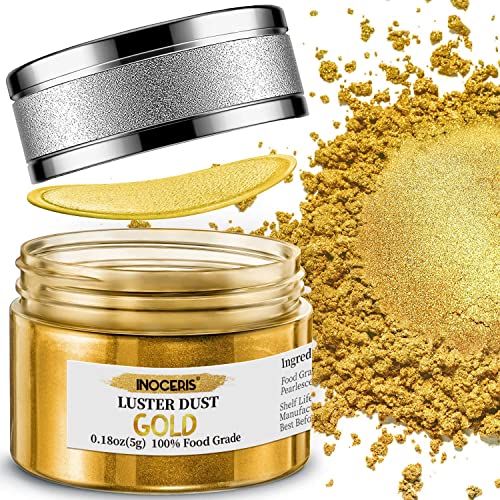
- Gold luster dust (this one is FD&C dye free but does have titanium dioxide), vodka or extra vanilla extract, food grade paintbrush, small dish
- Dye free star sprinkles
- Ingredients for a crusting buttercream & sugar cookie dough – found below in recipe card
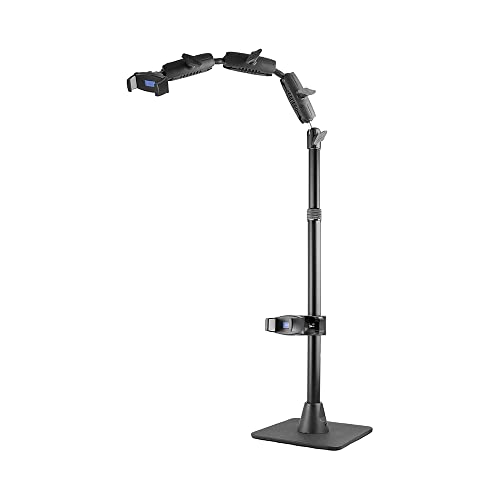
- Projector and projector stand (optional) – here are mine plus a review/tutorial for how to use


Part 2: Baking the Cookies and Setting up the Icing Bags
Use the recipe card below for the sugar cookie and buttercream frosting recipes.

Decorated Mario Cookies with Buttercream Frosting
Equipment
- Stand Mixer with Paddle Attachment
- Rubber Spatula
- Measuring cups and spoons
- Medium Sized Mixing Bowl
- Lined aluminum cookie sheet parchment paper or silicone lined baking sheet
- Rolling Pin
- Cookie cutters and tools see part 1 on this post for the specific tools needed
- Gel food dye I used TruColor natural food dyes & black cocoa powder
Ingredients
Buttercream Frosting
- ½ cup room temperature unsalted butter 4 ounces
- ½ cup room temperature salted butter 4 ounces
- 4 cups powdered sugar
- 1 tbsp. vanilla extract
- 1-3 tbsp. whole milk
Sugar Cookies
- 1 cup cold salted butter cubed
- 1 cup granulated sugar
- 3 cups all purpose flour measured with the scoop & level method
- 2 tsp. baking powder
- 1 egg
- 1.5 tsp. vanilla extract
Luster Powder Paint
- ¾ tsp. vodka or additional vanilla extract
- ½ tsp. gold luster powder
Instructions
- Remove all of the butter from the refrigerator. You will make the sugar cookies first but the butter for the frosting needs to come to room temperature before mixing.
Sugar Cookies
- Preheat the oven to 350℉ and prepare an aluminum cookie sheet by placing either parchment paper or a silicone baking mat on it.
- In a medium sized mixing bowl, combine the flour and baking powder and mix together. Set this aside.
- Cube a cup of salted butter and then, in a stand mixer with the paddle attachment, combine the cubed butter with the granulated sugar. Mix until creamed together well.
- To the stand mixer, add in the egg and vanilla extract and mix until combined.
- Slowly add in the dry ingredients in the mixing bowl to the stand mixer.
- Roll the dough out to 3/8" thick and use the cookie cutters to cut out the cookies. Place the cookies onto the prepared baking sheet and bake for 9-11 minutes or until the tops of the cookies no longer look wet. When baking the cookies, only bake 6-8 cookies at a time to leave proper space between each cookie to cook without spreading. Overcrowding the cookie sheet will cause spread.
Buttercream Frosting
- In a stand mixer with the paddle attachment, add the room temperature salted and unsalted butter and mix on high until light and fluffy.
- Mix in the powdered sugar little by little. Add in the vanilla extract and milk about halfway through adding the sugar to help the frosting come together. Start with one tablespoon of milk and work up to three if needed, depending on the consistency you want. I like to aim for a peanut butter consistency or thinner.
- Follow the directions in Part 2 for the specific way you will divide the buttercream, color the buttercream, make the luster powder paint, and set up the icing bags.
How to Decorate the Mario Cookies
- Please refer to Part 3 of this blog post for all of the cookie decorating tutorials.
Notes
Make your buttercream icing according to the recipe and separate it equally into eight bowls:
-
-
- Remove about half of the frosting from one of the eight bowls and add it to another bowl. Dye the bowl with more frosting yellow and the bowl with less frosting green.
- Remove about half of the frosting from another bowl and add it to another half. Dye the bowl with more frosting blue and the less purple.
- The rest of the bowls will be dyed red, orange, black, and one left undyed. For black, I mixed in black cocoa powder until it was a dark brown. The dark brown will turn black quickly and also dries black.
-
For tips on working with TruColor natural dyes, check out my TruColor review and process for making the colors. I did need to add more dye to some of the colors than what is on this set but it was still the same process.
I also added more red dye and WAITED an hour or two before determining if I needed to add more again. Just cover the bowl with plastic wrap while you wait for it to saturate. Here is the red I got!

To set up the piping bags:
- Place couplers into each icing bag and then add the frosting. You do not need to add the tips yet.
To create the gold luster powder paint:
- In your small dish, pour about a half teaspoon of luster dust into the dish. Add one drop at a time of vodka or vanilla extract until the luster powder paint is similar to an acrylic paint consistency. If you added too much, simply wait until it evaporates a bit and work on other cookies in the set first.
Part 3: Decorating the Mario Cookies with Buttercream Frosting

Check out the video tutorial showing the overall process for decorating these Mario sugar cookies then follow the step-by-step photo series tutorial below.
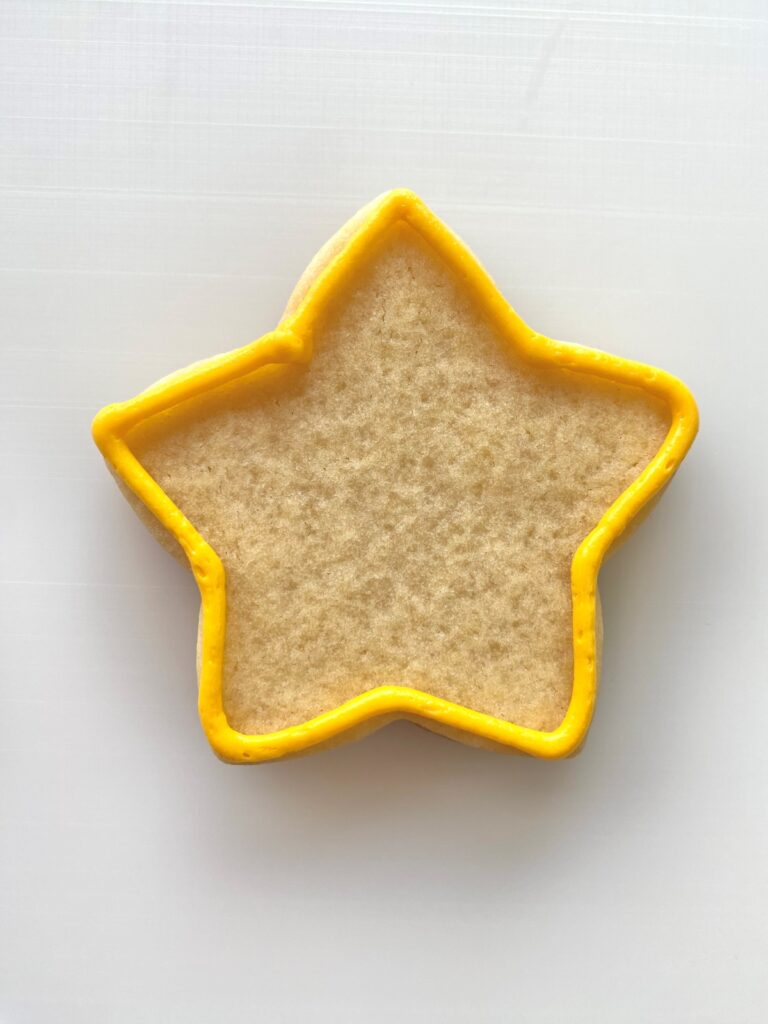
How to Decorate the Mario Star Cookies with Buttercream

- Attach the tip #5 tip to the yellow bag of buttercream. Outline and fill in the star cookie.

- Using the palette knife, smooth the buttercream frosting.
- Remove/rinse/dry the tip #5 from the yellow bag of buttercream and attach it to the black bag. Pipe two short lines for the star’s eyes.
- Attach the tip #3 to the white bag of buttercream to pipe two teardrop shapes at the top of the black lines. To do this, start at the top, squeeze and pull down and away as you pipe down, releasing the pressure after you’ve piped what would be a dot.


How to Decorate the Question Box Cookies with Buttercream

- I found this easiest to pipe one color as the center color each time so I chose blue. Outline and fill in part of the diamond cookie with the blue buttercream, using a tip #5.
- Use the palette knife to smooth this first color. This makes it easier to avoid making muddy colors when we blend the other colors.
- Using the red, orange, yellow, green, and purple colors, pipe along the edge. This is where it is nice to have several tip #5s available, otherwise you will need to rinse/dry the #5 tip in between each color. Make sure to leave some blue along an edge.
- Using the palette knife, begin to smooth the colors out. I found it best to smooth parallel to the edge of the cookie and then gradually and carefully smooth some of the color toward the center where the blue is. When you are happy with your gradient, smooth the edges.
- If using a projector, set it up to project a question mark. Otherwise, freehand the question mark. To do this, attach a tip #2 to the white buttercream.
Projected Image


How to Decorate the Checkered Flag Cookies with Buttercream

- Attach a Wilton tip #10 or #12 to the black buttercream. Pipe a dot at the top of the flag pole.
- Pipe a line for the pole, making use to keep the tip #10 somewhat close to the cookie so that a flat line appears as opposed to a round log.
- Remove the tip #10 from the black buttercream and replace it with a tip #2. Outline the flag, following the cookie’s edge.
- I found the flag easiest to first pipe the vertical lines rather than the wavy horizontal lines. Once the vertical lines are piped, then go ahead and pipe the horizontal lines.
- Fill in every other space with the black buttercream using the classic back & forth buttercream piping method.
- Remove/rinse/dry the tip #2 from the black buttercream and attach it to the white buttercream to fill in the remaining spaces.


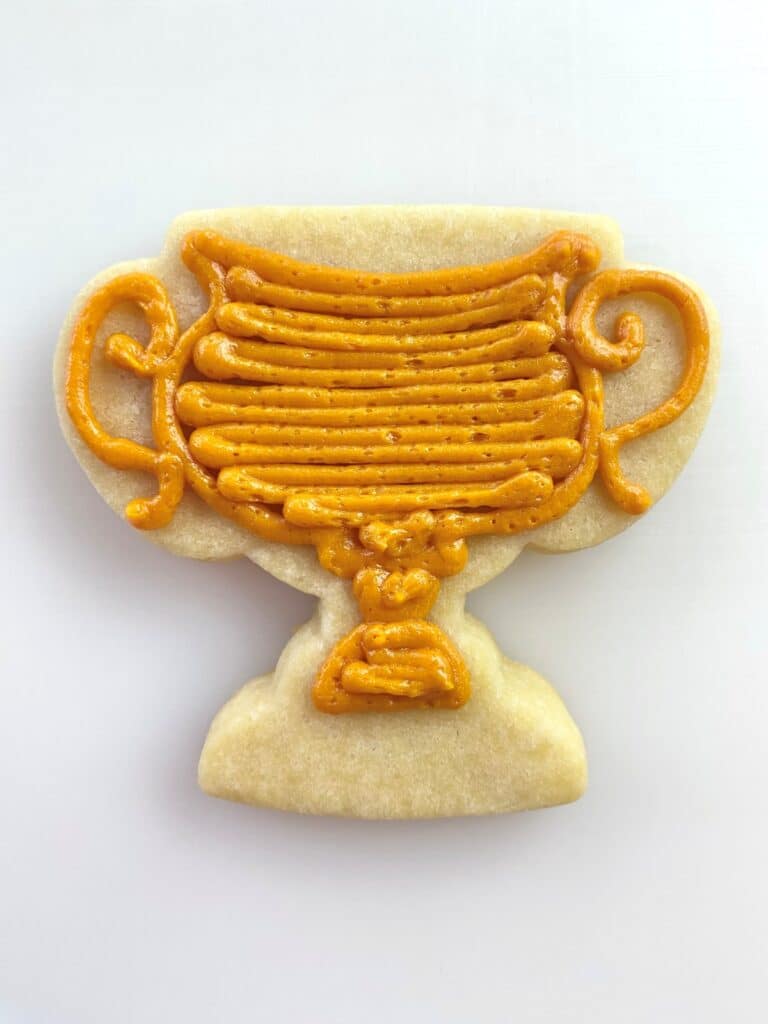
How to Decorate the Trophy Cookies with Buttercream Frosting
- Attach the tip #4 to the orange or yellow buttercream, whatever you have more of. If you haven’t piped the star cookies yet, use orange. Outline the shape of the Mario Kart N64 first place trophy. I looked up an image on Google AND checked on the actual game to make sure because it’s been probably a decade since I last played.
- Fill in the trophy shape using the back & forth method. You will be painting over this so it’s okay if it’s not perfect but try to not leave gaps between the lines.
- For the trophy stand, I went with red. In the video game it appears to be a reddish brown but I didn’t want to make even more colors. You could go with red or black depending on your style preference. Outline and fill in the stand using a tip #4.
- Next, using your small food-safe paint brush, begin painting on the luster powder paint that you prepared before. If the paint is too thick, add a small drop of vodka or vanilla extract. If it’s too runny, either wait for it to evaporate more or pour off some of the liquid.
- While the paint is wet, add star sprinkles onto the wet paint. To add stars around the trophy, pipe small dots of frosting to act as the glue.


How cute are these? I think the artificial dye free frosting turned out really well for these Mario decorated cookies!


Save the Tutorial for These Mario Cookies
Use the image below to pin this tutorial for buttercream Mario sugar cookies to your cookie party board on Pinterest. Alternatively, use any of the social share icons on the top of the page to share it to your favorite social media site.