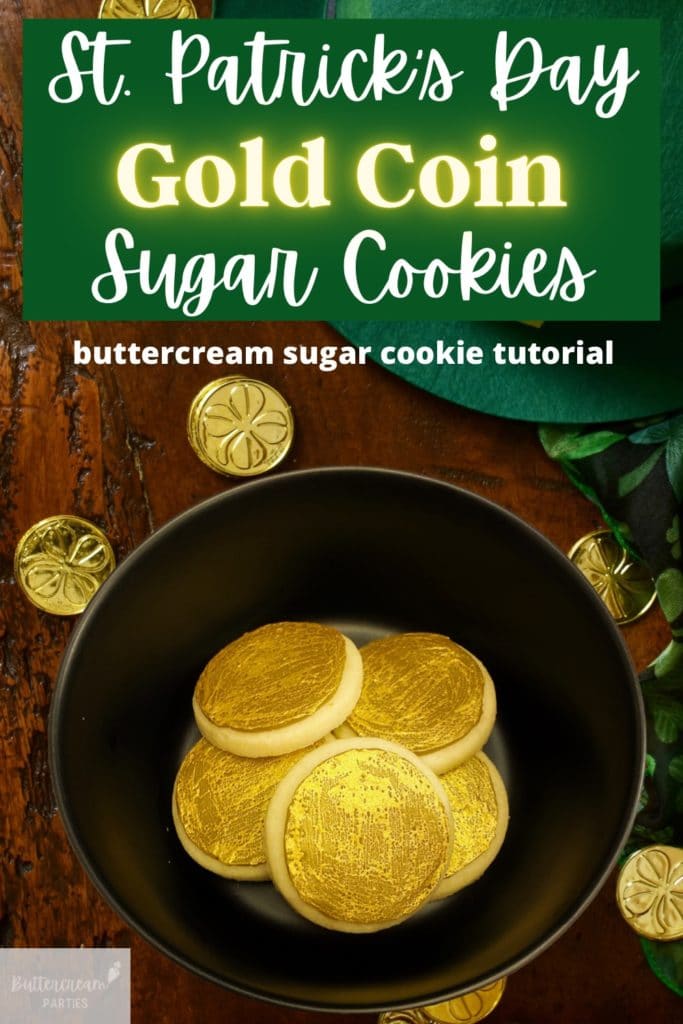
Fun St. Patrick’s Day Dessert: Gold Coin Cookies
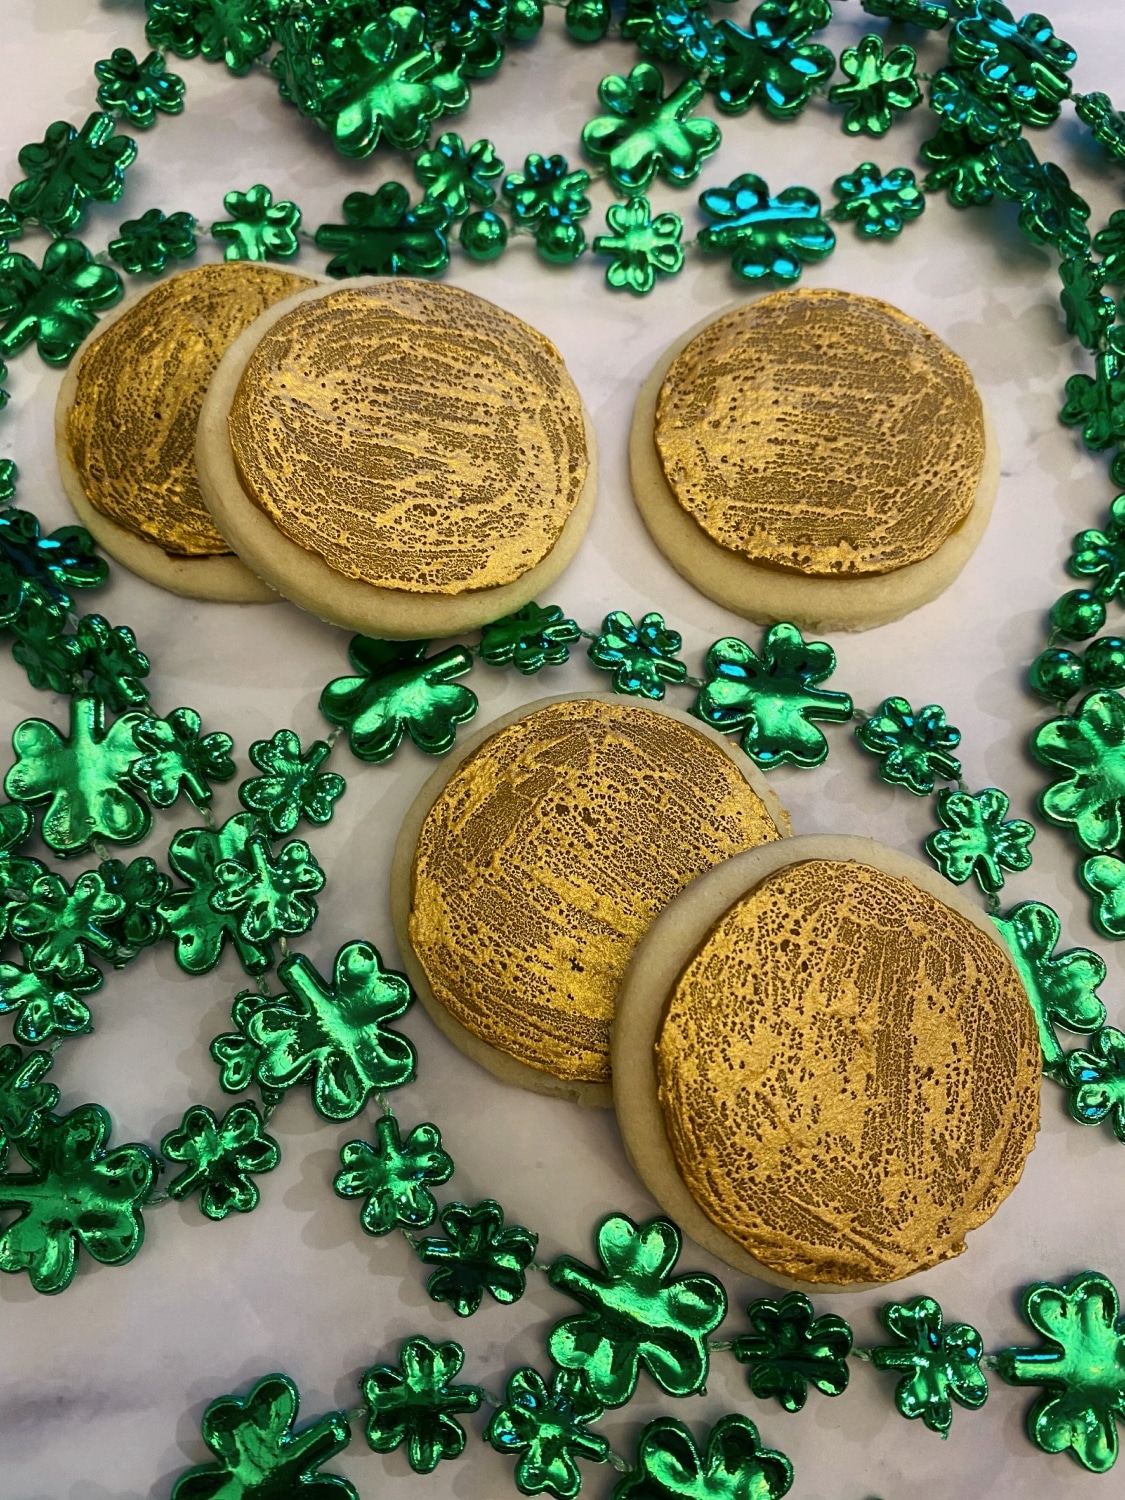
I just love these gold coin cookies for a St. Patrick’s Day dessert! These buttercream cookies are perfect for those kid’s Saint Patrick’s Day party ideas as well as adult parties.
For kids, pair these gold coin cookies with plenty of green foods, shamrock necklaces, Lucky Charms cereal, and fun activities.
For the grown-ups, these gold coin cookies are great with a nice Guinness beer and some pretzels! Talk about your mix of sweet and salty.
In this tutorial, you will learn how to smooth buttercream frosting if you aren’t familiar (I have some tips & tricks to share!) and how to paint buttercream frosting. Follow along for the full step-by-step tutorial!
Part 1: Gathering your Supplies for the Perfect St. Patrick’s Day Dessert: Gold Coin Cookies
To create these fun buttercream cookies, perfect for all your Saint Patrick’s Day party ideas, you will want to gather:- 1 Icing bag
- A Wilton tip #3
- Small circle cookie cutter – I used the smallest circle in this essential cookie cutter set by Wilton
- Brown gel food dye
- Luster powder paint supplies – Luster Powder in Gold, small paint brush – I always use the smallest in this Wilton Cake Decorating Tools – 5 Pc Brush Set & I love it, small dish to mix your luster powder paint, and a splash of vodka (not to drink, unless it’s the adult St. Patrick’s Day party, in which case you’d probably want more than a splash!)
- Angled flat spatula and/or a pointed knife
- Ingredients for a crusting buttercream, find my crusting buttercream icing recipe here
- Ingredients for sugar cookie dough, find my no spread sugar cookies recipe here
I prefer to use the Wilton gel food dye since gel is more vibrant (i.e. more cost effective because you use less) than liquid and doesn’t change the consistency of your frosting. You can get that here: Wilton Gel Coloring 12 Count.
Part 2: Baking the Cookies, Setting up Your Icing Bags, & Preparing Your Gold Paint
- Roll, cut out, and bake your cookies according to your cookie dough recipe. You will be able to bake a lot of these cookies so feel free to create other designs too! These buttercream shamrock cookies would look great paired with these gold coin cookies. Or, if you want to stick with using just the small circle cookie cutter, make some of these Lucky Charms inspired sugar cookies!
- While your cookies are cooling, make your buttercream frosting. Once you have it all mixed up, add in your brown Wilton gel food dye. The shade isn’t too important, since you will be painting gold luster powder over it. But it’s nice to get a brown shade underneath that gold, rather than the white buttercream.
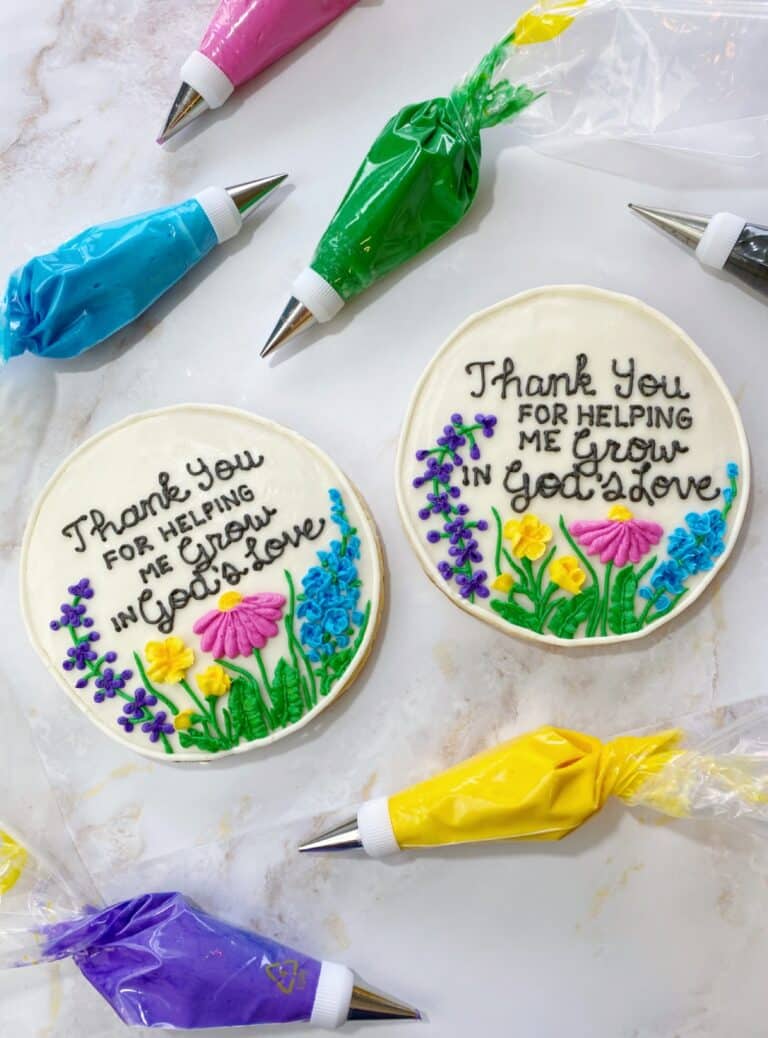
- Set up your icing bag by placing the tip #3 into the bag and then adding in your brown buttercream. If you aren’t sure how to do this, no worries, just hop over to my Getting Started: Learn How to Decorate Buttercream Cookies page.
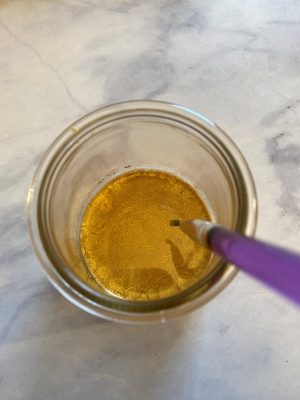
- Prepare your gold paint. To do this, pour about two teaspoons of vodka into a small dish. The vodka will evaporate once the frosting dries, so don’t worry about your kids consuming alcohol! Now, dump some of the gold luster powder into the dish. You will probably add about two teaspoons as well to start. Give it a mix with your small paint brush and see how it feels. It should be runny like paint, but not so watery that it is like painting with water colors your kids mixed up. It’s probably best described like an acrylic paint. Play with the amounts of vodka and luster powder until it feels right. If you think you poured too much vodka, let it sit out for a bit so some evaporates, rather than pouring tons of luster powder in right away.

Part 3: The Fun Part! Creating Your Gold Coin Cookies!
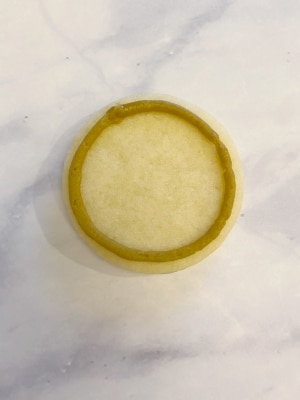
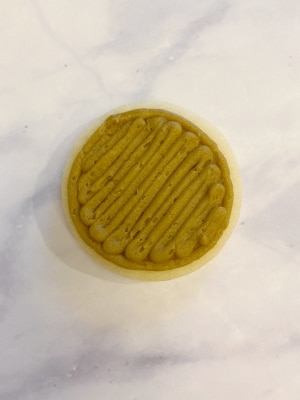
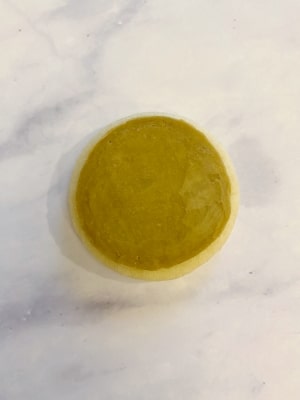
- Your first step will be to outline and fill in the cookie with the brown frosting. Try to create a nice circle edge, but you can be messy filling it in with the frosting. Repeat this process for about half of your cookies and then place them into the freezer (this is a tip for how to smooth buttercream) for about ten minutes while you frost the second half of your cookies.
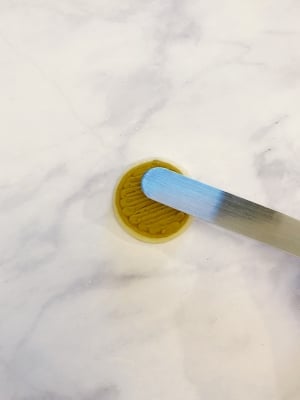
- Remove the cookies from the freezer and replace them with the second half of the cookies. Use an angled flat spatula to smooth the buttercream frosting. Because you froze the cookies, the icing should keep it’s overall shape (i.e. the circle shape) while you smooth it out. If the edges get a bit wonky, use the side of the spatula to clean it up. Buttercream frosting is very forgiving!
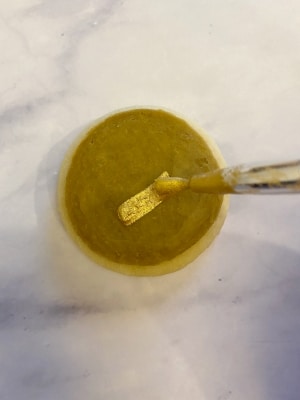
- Once all of your buttercream cookies have been smoothed out, now is the time to paint! This is our last step for creating gold coin cookies and it is the most fun step, in my opinion. Use your small paint brush to begin painting, just as you would if you were painting anything. The only difference, from say painting a piece of wood, is that you will want to apply only a small amount of pressure. You don’t want to carve into your frosting.
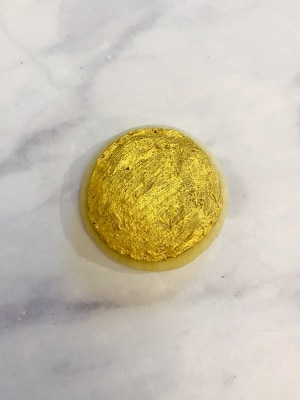
I just love these little gold coin cookies so much. They are fun to paint and just the perfect dessert for your Saint Patrick’s Day party ideas.

Remember how I mentioned the buttercream shamrock cookie tutorial earlier? Take a look at how great these gold coin cookies look with those shamrock buttercream cookies!
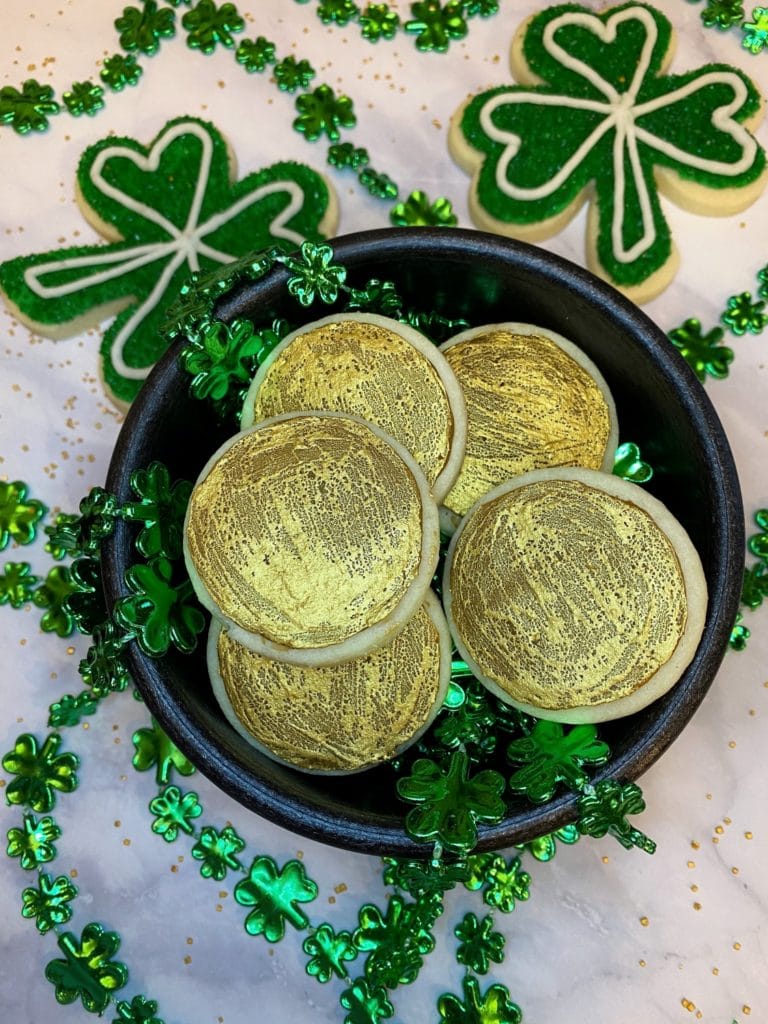
They look perfect plated this way. All I did was purchase some shamrock necklaces, some small plastic salsa bowls, and then some gold pearlized sprinkles! So cheap and easy, yet perfectly festive. The shamrock necklaces can of course be worn by the party guests and I actually use these salsa bowls all the time, usually for salsa. Hmm, I’m now thinking some chips and guac are needed for the St. Patrick’s Day party as well! The more green food, the better!
Save The Tutorial for These Gold Coin Cookies for Later
To save the tutorial for these buttercream cookies for later, simply click on any of the social share icons on the top or side of this page. Alternatively, hover over one of the images below to pin the image to your Pinterest page!
What a super cute idea – thank you!
Thank you!!
This cookies are so fun to make. I love your decorations ideas are so original
Thank you! And I agree, it’s so fun to decorate cookies for parties!
Omg these are so cool! Love your work!
Thanks so much, Gregory!
So simple but super cute for St. Patrick’s Day!!
Thank you!!
These look so incredible and fun! Happy St. Patty’s Day.
Thank you! Have a Happy St. Patrick’s Day!!
beautiful cookies! so clean and looks delicious
Thank you! I love the texture of these ones – the frosting is smooth but the paint adds a nice used coin look!
Super cute cookies!
Thanks so much!
These are so cute and perfect for St. Patrick’s Day! I need to try these with my kids!
I think your kids will love painting the cookies! Plus, the vodka will evaporate so the cookies are totally safe to eat once dried.