Buttercream Shamrock Cookies in 4 Easy Steps
167 - 167Shares
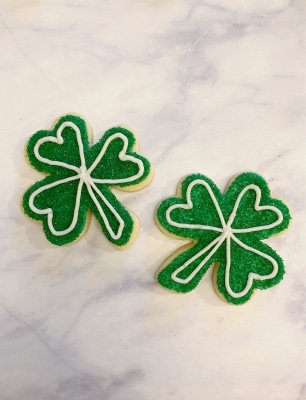
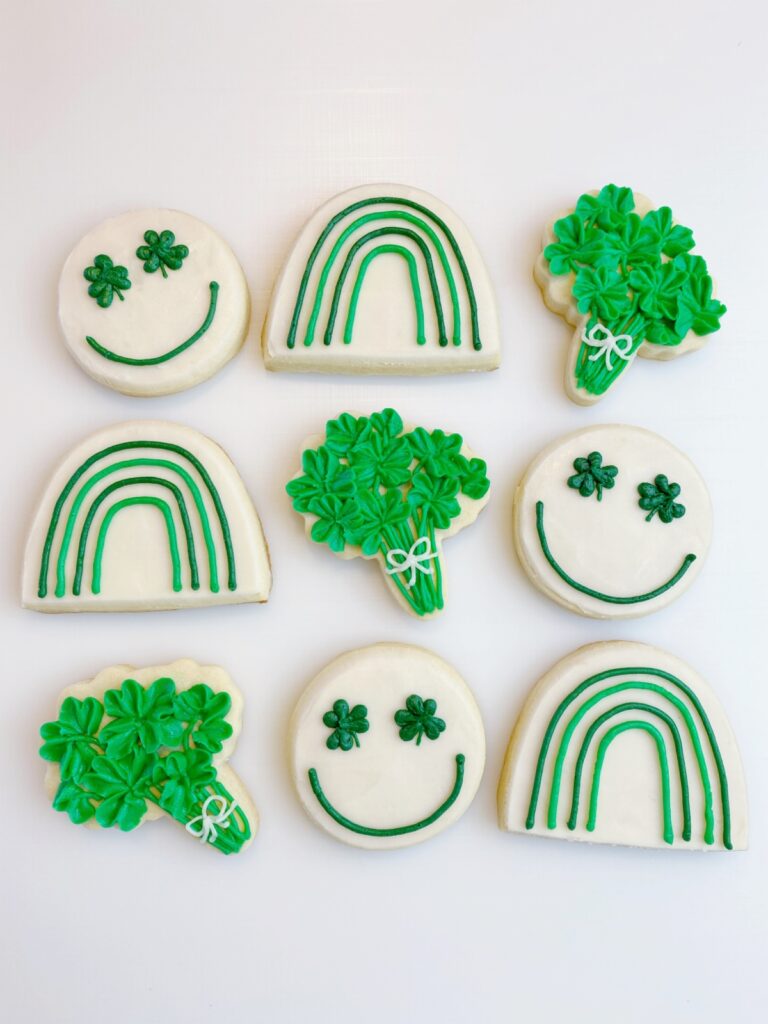
Buttercream shamrock cookies are the perfect dessert for your St. Patrick’s Day party! We all know how important it is to have green desserts for St. Patrick’s Day.
These cookies come together in 4 easy steps, making them great for beginners. For a fun texture, you will be covering the frosting in green sanding sugar, hiding any possible imperfections! I love the crunch of the sanding sugar, too.
To create these easy buttercream shamrock cookies, follow along for the step-by-step photo series tutorial. I have also included a video tutorial!
Skip to
Part 1: Gathering the Supplies for Your Buttercream Shamrock Cookies
To create these tasty green buttercream shamrock cookies you will want to gather:- 2 Icing bags
- Wilton tip #s 10 and 5
- Shamrock shaped cookie cutter – Get the exact one I used here: Ann Clark Shamrock Cookie Cutter
- Green gel food dye
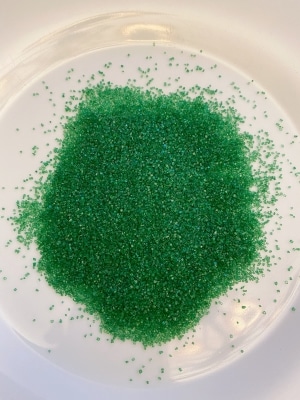
- Green sanding sugar
- Angled flat spatula and a plate for the sanding sugar
- Ingredients for a crusting buttercream, find my crusting buttercream icing recipe here
- Ingredients for sugar cookie dough, find my no spread sugar cookies recipe here
If you don’t want to make buttercream frosting yourself, just buy a tub of already made buttercream frosting. I prefer to use the Wilton gel food dye since gel is more vibrant (i.e. more cost effective because you use less) than liquid and doesn’t change the consistency of your frosting. You can get that here: Wilton Gel Coloring 12 Count.
Part 2: Baking the Cookies and Setting up Your Icing Bags
- Roll, cut out, and bake your shamrock shaped sugar cookies according to your cookie dough recipe.
- While your cookies are cooling, make your buttercream frosting. Separate the frosting into 2 different bowls and add in the green gel food dye to one of the bowls. You only need a small amount of white frosting compared to the green frosting, so adjust accordingly.
- Set up your icing bags as follows: Place the green frosting into an icing bag with the tip #10 in it. Place the white frosting into a bag with the tip #5 in it. If you aren’t sure how to do this, no worries, just hop over to my Getting Started: Learn How to Decorate Buttercream Cookies page.
- Pour some of the green sanding sugar onto a plate.
Part 3: The 4 Steps for Decorating Your Buttercream Shamrock Cookies
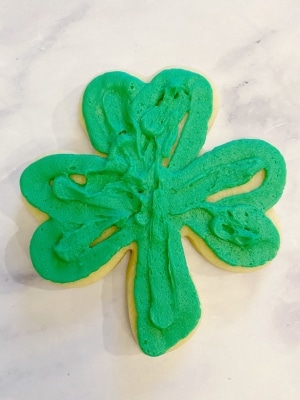
- Your first step will be to roughly outline and fill in the shamrock with your green frosting. Hold the tip of the frosting close to your cookie when piping out the frosting. This will allow the frosting to come out thinner, rather than in large round logs.
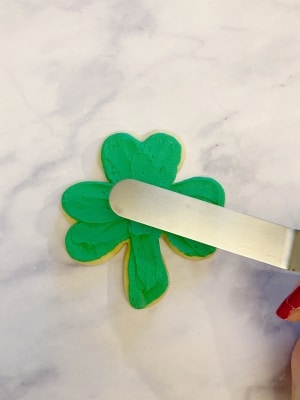
- Next, take your angled flat spatula and even out the frosting just a bit. Pay attention to how the frosting looks along the edges of the cookie, as this will be your outlined edge for the shape of the shamrock.
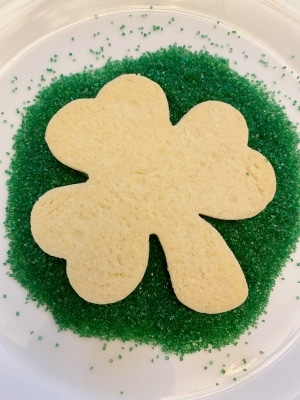
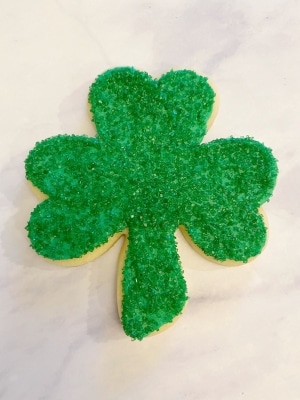
- Carefully pick up your shamrock cookie and flip it over, placing it into the bed of sanding sugar on the plate. Press the sanding sugar into the buttercream shamrock cookies a few times so that the frosting is fully coated.
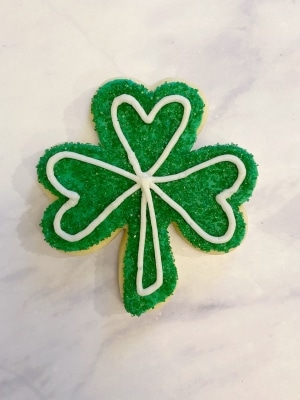
- Flip the cookie back over and use the white frosting to draw three hearts, all connected at the center. Then, draw the stem.
Those were your 4 easy steps for decorating buttercream shamrock cookies! These cookies are perfect to set out for your St. Patrick’s Day party guests. Plus, you didn’t spend all day decorating cookies. More time for fun!
Don’t forget to grab your party supplies!
Windy City Novelties has lots of fun stuff for your St. Patrick’s Day party! You can get shamrock bowls, leprechaun center pieces, gold coins, necklaces, beer mugs, and tons more. You can even create your own custom banner. Of course, they have party supplies for just about any party. Check them out by clicking the photo link below! *Not a sponsored post but I may receive a commission, at no extra cost to you, if you make a purchase through this link, as I am an affiliate partner.
Save the Tutorial for These Buttercream Shamrock Cookies
Save the tutorial for these buttercream shamrock cookies for later by pinning the image below. You can also use any of the social share icons on this page to share it to your favorite social media site.
Have a Happy St. Patrick’s Day with your green desserts for St. Patrick’s Day! I’d love to know in the comments below what you are doing to celebrate this year!




WOW! These cookies look really Good. As they say: You eat with your eyes first 😋
So true! Thank you!
Yum! These look delicious!!
They are pretty tasty!
Easy recipe big rewards – Perfect baking ideas with children. Thanks for sharing!
I love how you’ve put that! So true. Kids love to get into the kitchen and be allowed some creativity!
These are adorable. Seriously, your cookies always make me want to get creative with my baking.
Thank you! I’m happy to hear that!