Soft St. Patrick’s Day Cookies with Buttercream Frosting
To make sure you have some fun green treats for Saint Patrick’s Day, I’m sharing these soft St. Patrick’s Day cookies with you.
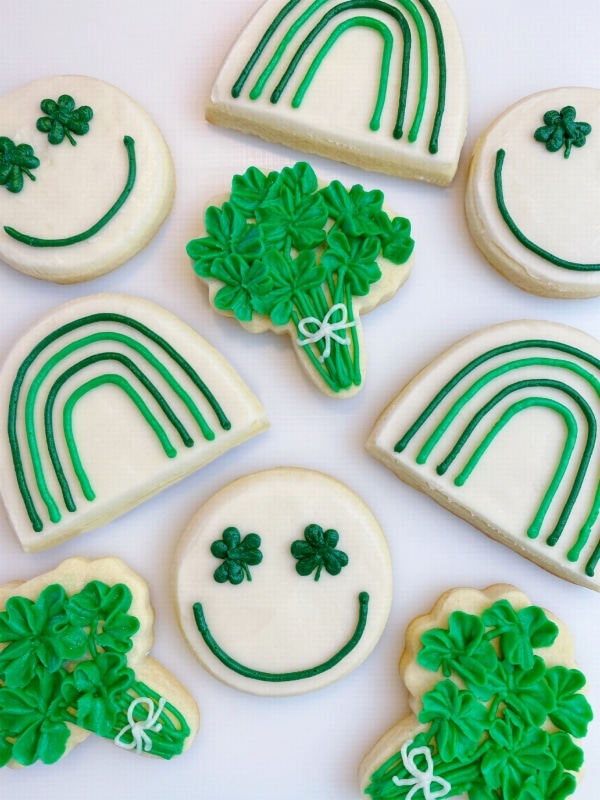
These cut out sugar cookies are so festive, fun for both adults and kids. Included in this St. Patrick’s Day cookie decorating tutorial, you’ll get:
- the best cut out sugar cookie recipe that both holds it’s shape & is soft
- a delicious vanilla buttercream recipe that forms a slight crust, helping to protect your designs
- a full video tutorial for each of the three cookie designs
- step-by-step photo series tutorial for each of the designs
You’ll want to make these cookies at least a day before St. Patrick’s Day to allow them to dry. The cookies taste so much better when the frosting has had a chance to “seep” into the cookie a bit, too.
I don’t know if the frosting actually seeps into the cookie during the drying process but it tastes like it does… if that makes sense.
Let’s get started!
This post may contain affiliate links to Amazon, which means I may receive a commission, at no extra cost to you, if you make a purchase through a link. Please see my full disclosure for further information.*
Part 1: Gathering the Supplies for the St. Patrick’s Day Cookies
To decorate these St. Patrick’s Day cookies, you will want to gather:
- 3 Icing bags
- One PME 1.5 tip, three Wilton #4 tips, and one Wilton #102 tip
- 3 couplers
- Large oval cookie cutter, broccoli cookie cutter (I used the one in this set), and circle cookie cutter
- Green and black gel food dye
- Palette knife (I love this one for cookies!) or 9″ angled flat spatula
- Ingredients for a crusting buttercream & sugar cookie dough – found below in recipe card
Part 2: Baking the Cookies and Setting up the Icing Bags
Use the recipe card below for the sugar cookie and buttercream frosting recipes. Do make sure that you cut each of the oval cookies in half PRIOR TO BAKING so that you get a half oval for rainbows.

St. Patrick's Day Cookies with Buttercream Frosting
Equipment
- Stand Mixer with Paddle Attachment
- Rubber Spatula
- Measuring cups and spoons
- Medium Sized Mixing Bowl
- Lined aluminum cookie sheet parchment paper or silicone lined baking sheet
- Rolling Pin
- Cookie cutters and tools see part 1 on this post for the specific tools needed
Ingredients
Buttercream Frosting
- ½ cup room temperature unsalted butter 4 ounces
- ½ cup room temperature salted butter 4 ounces
- 4 cups powdered sugar
- 1 tbsp. vanilla extract
- 1-3 tbsp. whole milk
Sugar Cookies
- 1 cup cold salted butter cubed
- 1 cup granulated sugar
- 3 cups all purpose flour measured with the scoop & level method
- 2 tsp. baking powder
- 1 egg
- 1.5 tsp. vanilla extract
Instructions
- Remove all of the butter from the refrigerator. You will make the sugar cookies first but the butter for the frosting needs to come to room temperature before mixing.
Sugar Cookies
- Preheat the oven to 350℉ and prepare an aluminum cookie sheet by placing either parchment paper or a silicone baking mat on it.
- In a medium sized mixing bowl, combine the flour and baking powder and mix together. Set this aside.
- Cube a cup of salted butter and then, in a stand mixer with the paddle attachment, combine the cubed butter with the granulated sugar. Mix until creamed together well.
- To the stand mixer, add in the egg and vanilla extract and mix until combined.
- Slowly add in the dry ingredients in the mixing bowl to the stand mixer.
- Roll the dough out to 3/8" thick and use the cookie cutters to cut out the cookies. *Make sure to cut the oval cookies in half prior to baking to make the rainbow cookies.* Place the cookies onto the prepared baking sheet and bake for 9-11 minutes or until the tops of the cookies no longer look wet. When baking the cookies, only bake 6-8 cookies at a time to leave proper space between each cookie to cook without spreading. Overcrowding the cookie sheet will cause spread.
Buttercream Frosting
- In a stand mixer with the paddle attachment, add the room temperature salted and unsalted butter and mix on high until light and fluffy.
- Mix in the powdered sugar little by little. Add in the vanilla extract and milk about halfway through adding the sugar to help the frosting come together. Start with one tablespoon of milk and work up to three if needed, depending on the consistency you want. I like to aim for a peanut butter consistency or thinner.
- Follow the directions in Part 2 for the specific way you will divide the buttercream and set up the icing bags.
How to Decorate the St. Patrick's Day Cookies
- Please refer to Part 3 of this blog post for all of the cookie decorating tutorials.
Notes
Make your buttercream icing according to the recipe and separate it into three equal bowls:
- one bowl will remain undyed
- one bowl will be dyed green
- one bowl will be dyed dark green (dye the buttercream green and then add a bit of black until the desired depth is reached)
Add each of these colors into their own icing bags with a coupler. You don’t need to add the tips yet but if you’re worried about them drying out, add a tip #4 to each of the icing bags.
Part 3: Decorating the St. Patrick’s Day Cookies with Buttercream Frosting
Check out the video tutorial showing the overall process for decorating the St. Patrick’s Day cookies then follow the step-by-step photo series tutorial below.
How to Decorate the St. Patrick’s Day Green Rainbow Cookies with Buttercream
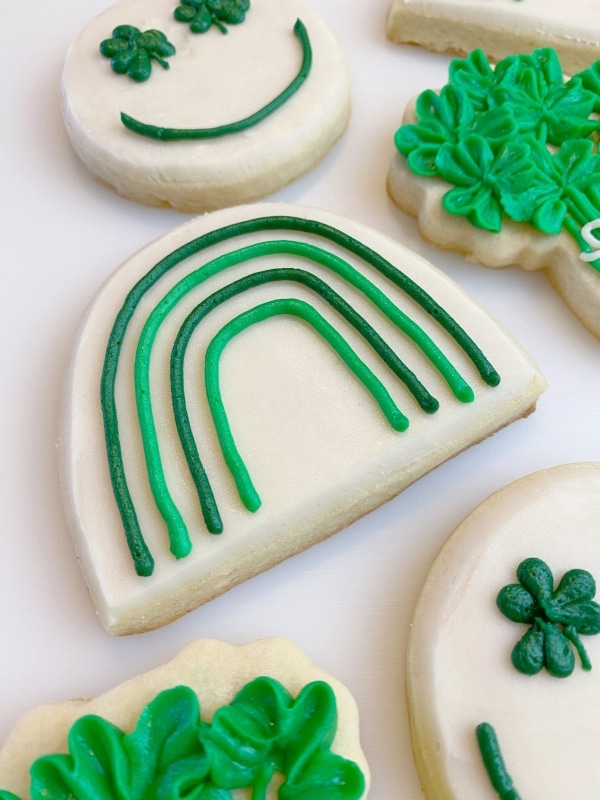
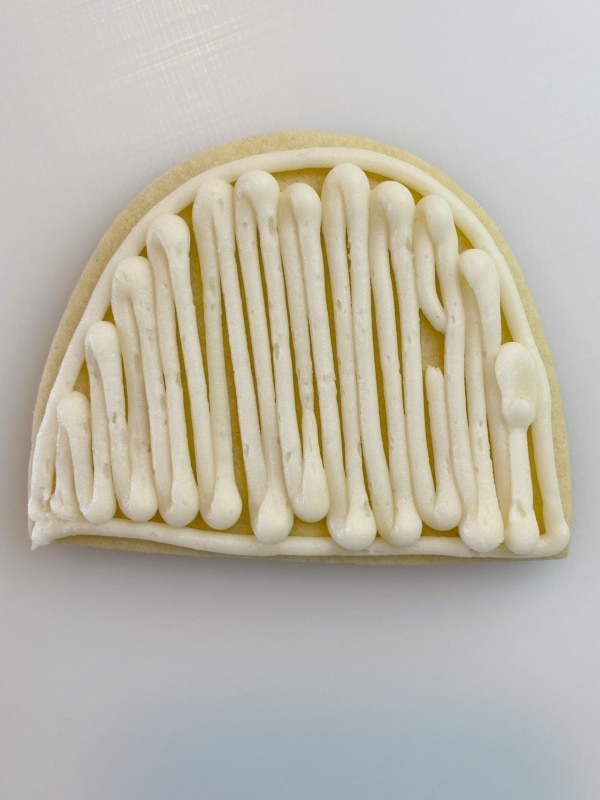
- Attach one of the Wilton tip #4s to the white/undyed buttercream and outline/fill in the half oval cookies.

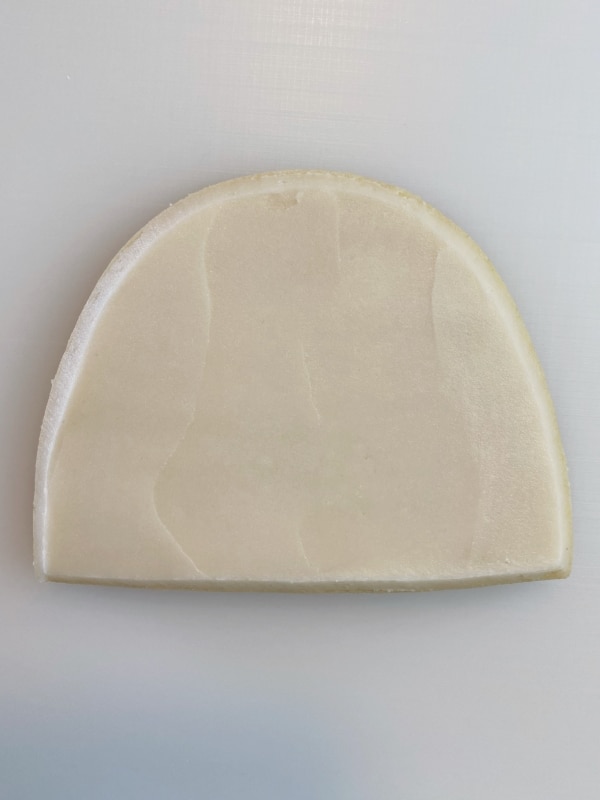
- Use the palette knife or angled flat spatula to smooth the buttercream. If you struggle with smoothing buttercream, my Merry Cookies online cookie decorating class details 5 ways to successfully smooth buttercream on cookies.
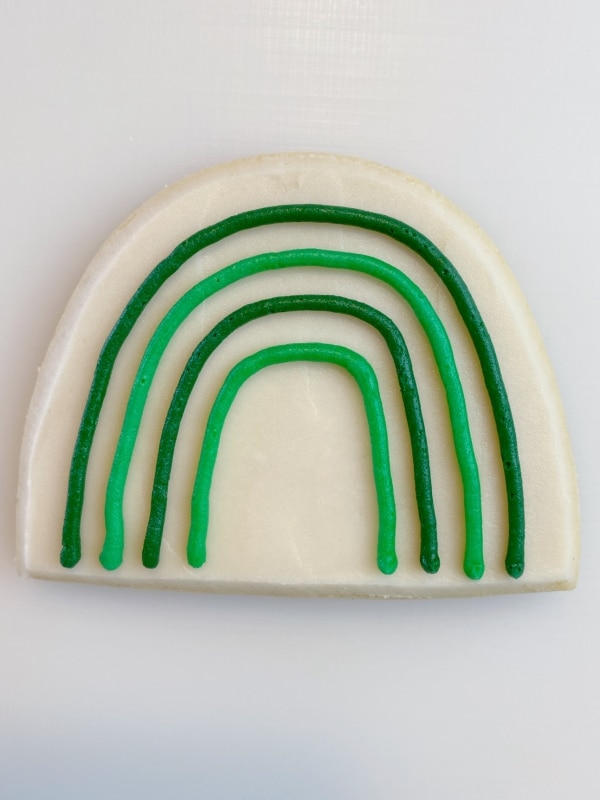
- Attach the remaining two Wilton #4 tips to the green and dark green buttercream icing bags. Start with one of the greens and draw the first rainbow arch. Then, fill in the rest of the rainbow alternating between the two shades of green. Try to keep equal spacing.
- Pro tip: Use the palette knife or a butter knife to move the frosting around if you struggle piping straight lines.
- Pro tip: Use the palette knife or a butter knife to move the frosting around if you struggle piping straight lines.
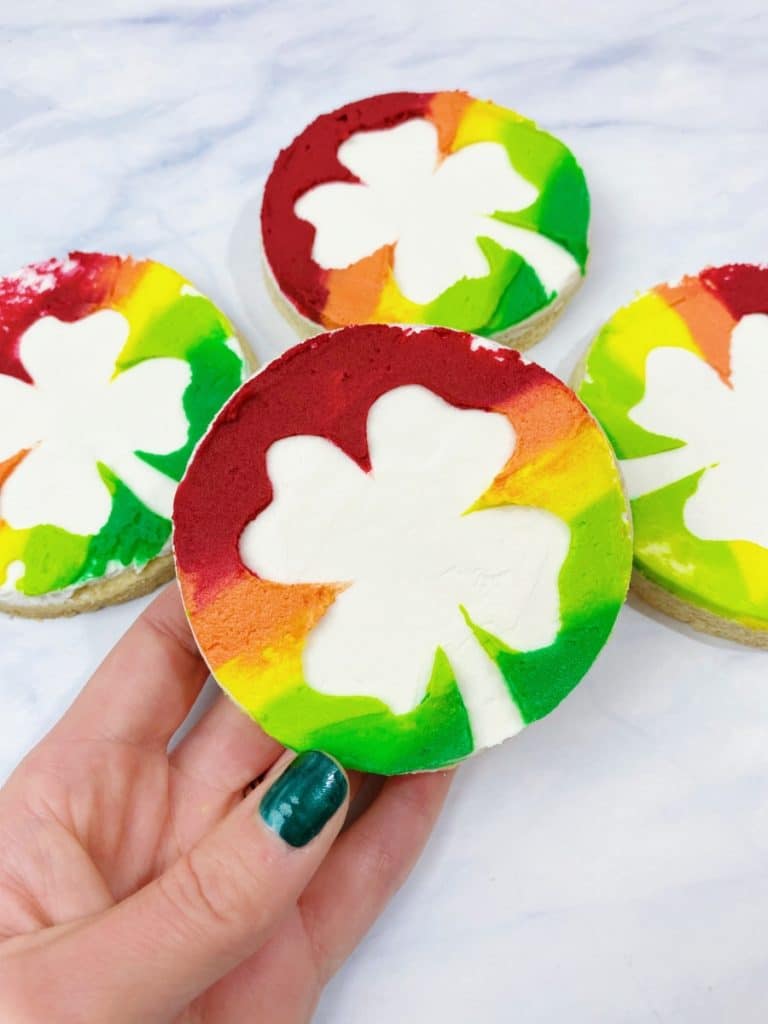
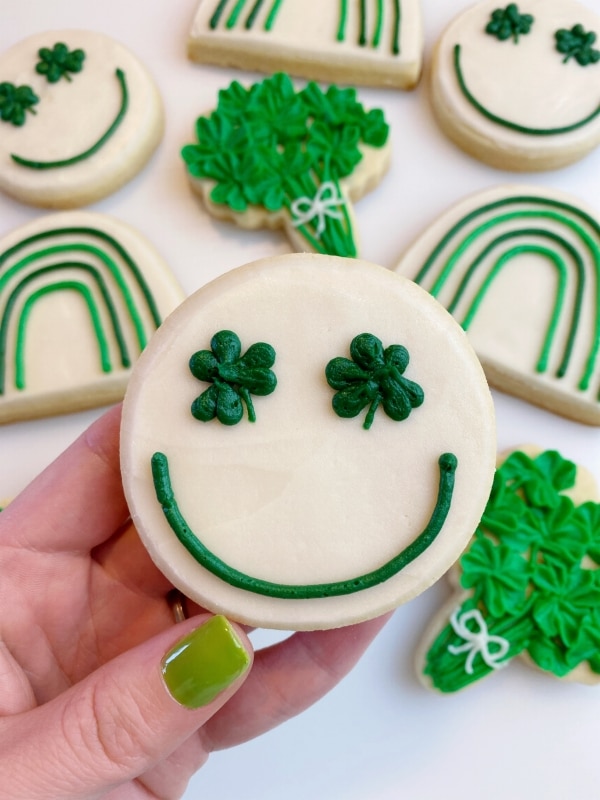
How to Decorate the Shamrock Smiley Face Cookies with Buttercream
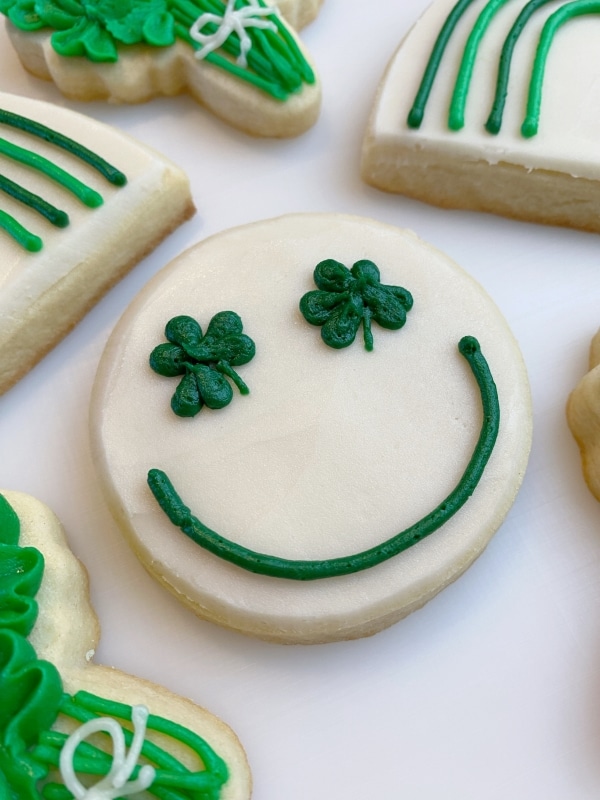
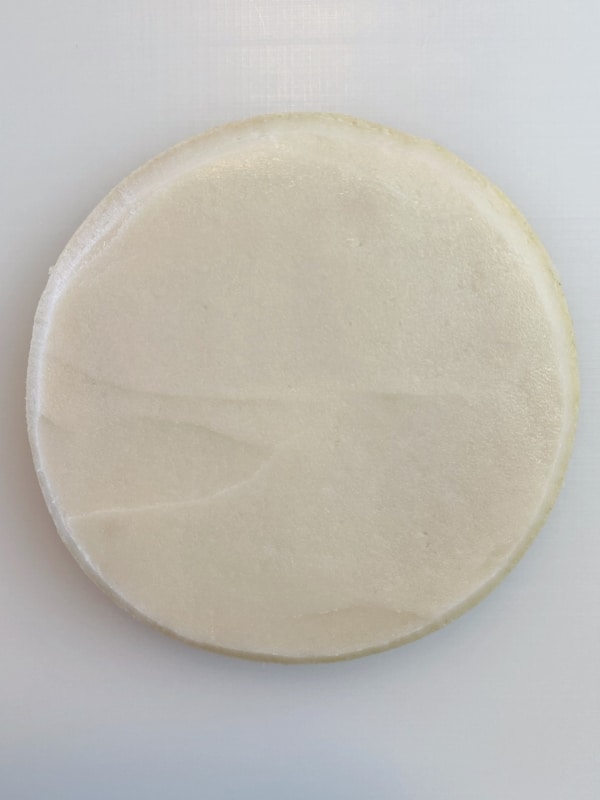
- Attach the Wilton tip #4 to the white buttercream to outline and fill in the circle cookies.
- Smooth the buttercream using the palette knife or the 9″ angled flat spatula.
- Attach a different Wilton tip #4 to the dark green buttercream and draw a half circle for the smile.
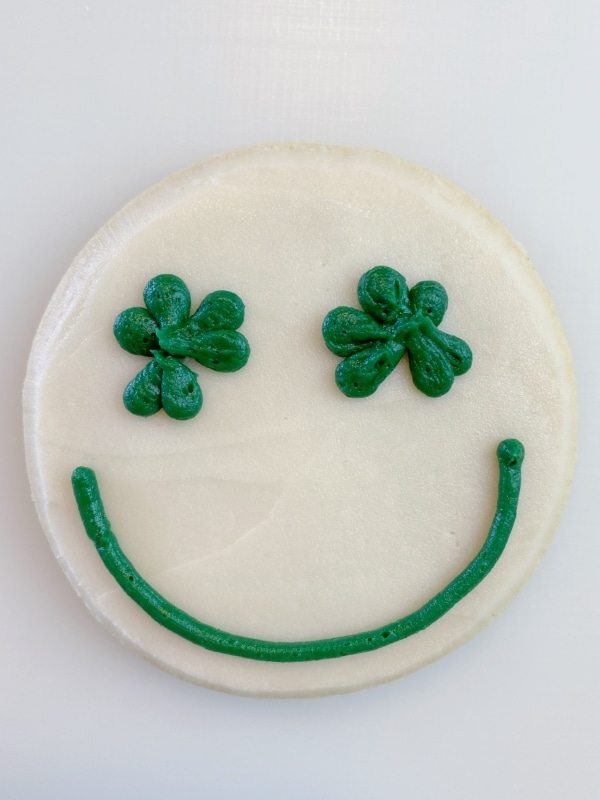
- Use the same tip to pipe out a tear shape. Make another tear shape right next to it to create a heart. Then, create two more heart shapes to complete the 3 leaf clover. Do this twice, one for each eye. Complete steps 1-3 on all the smiley face cookies before moving to step 4.
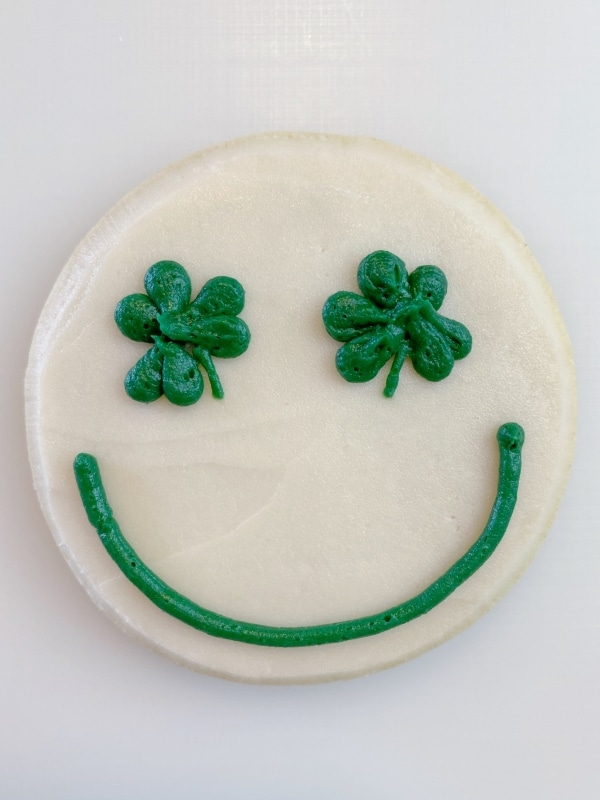
- Replace the tip #4 with the PME 1.5 tip. Draw two small lines coming off of the 3 leaf clovers to represent the stems.
 Attach a different Wilton tip #4 to the dark green buttercream and draw a half circle for the smile.
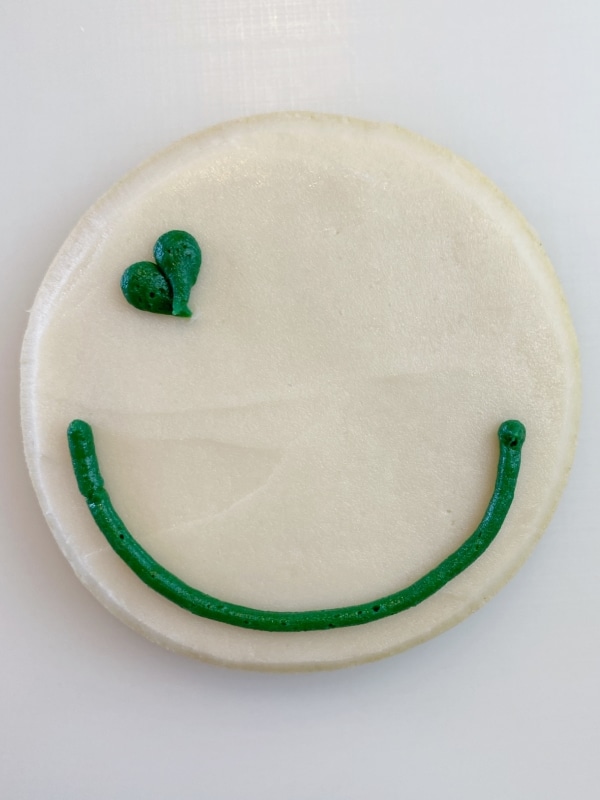
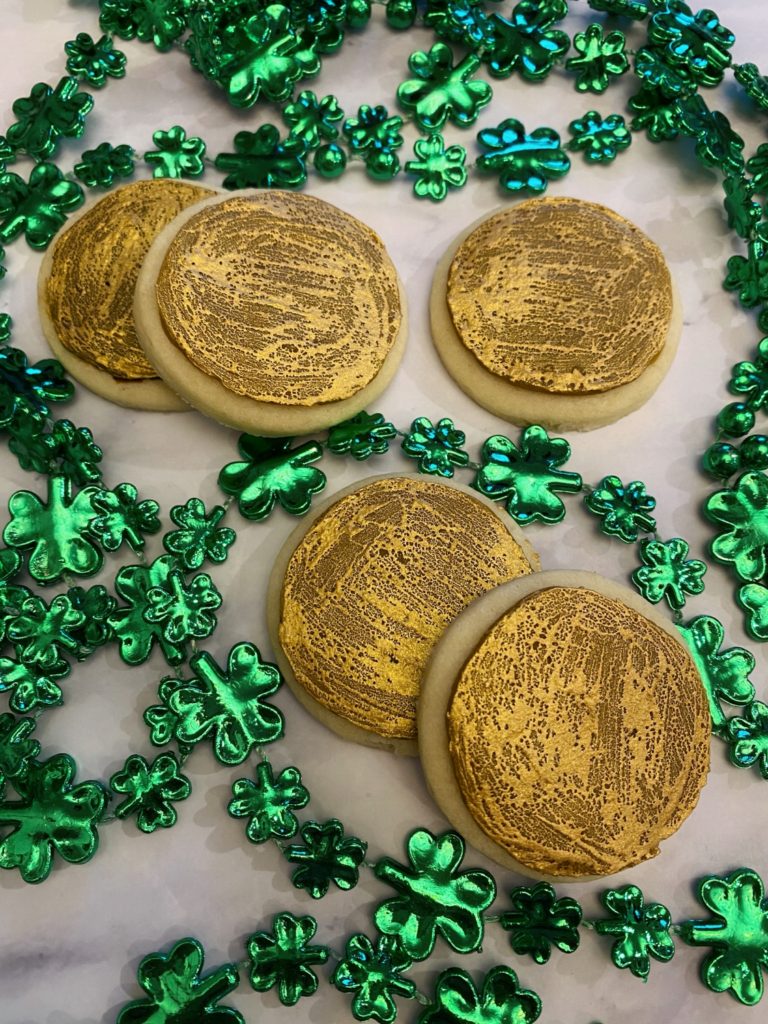
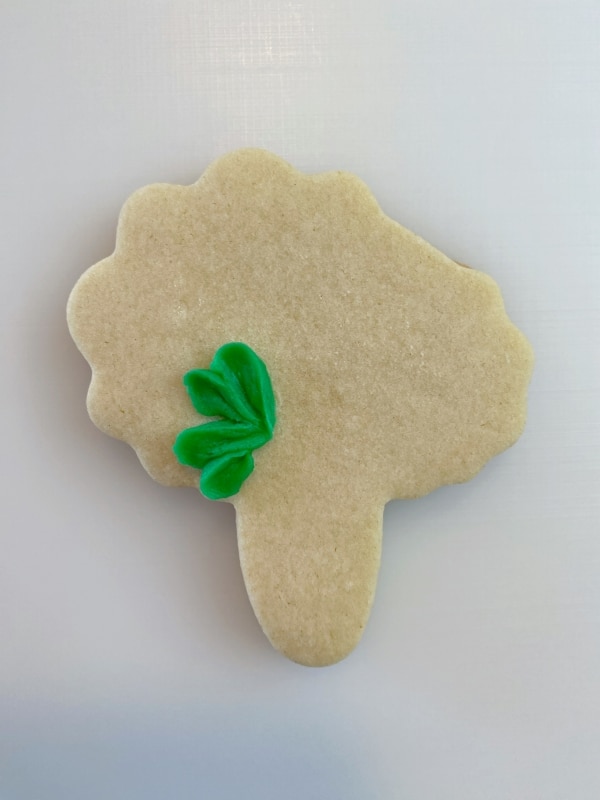
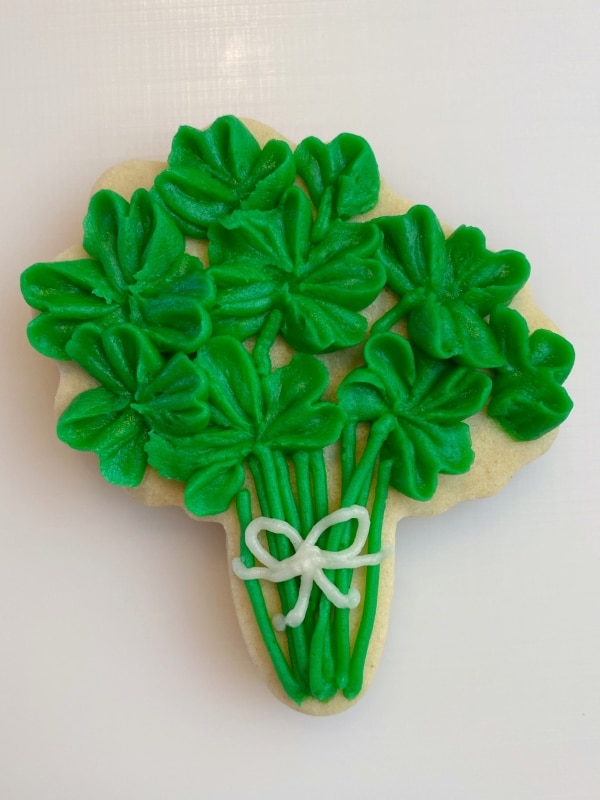
How to Decorate the Shamrock Bouquet Cookies with Buttercream
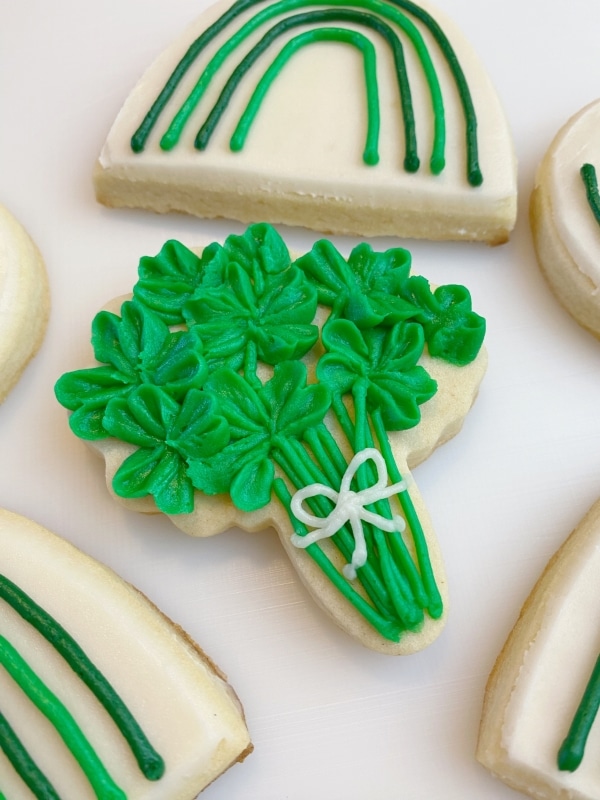
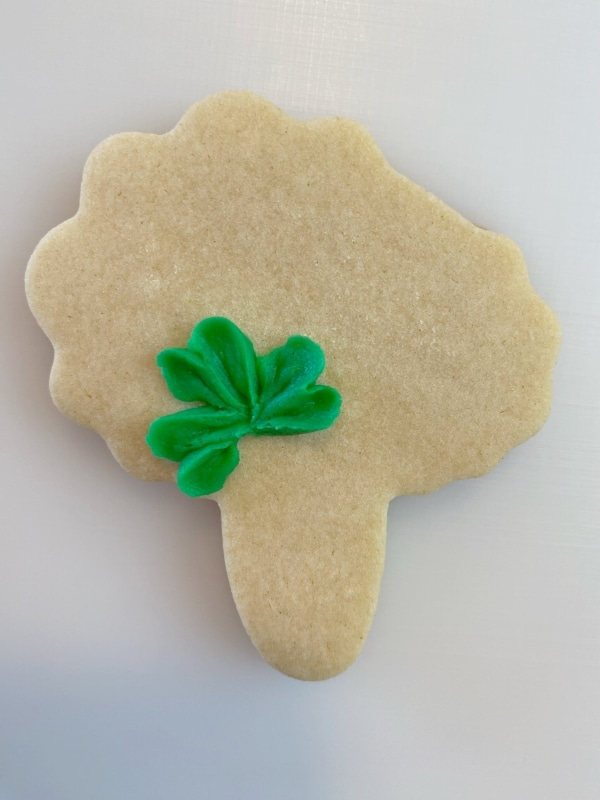
- Attach the Wilton tip #102 to the lighter green frosting. With the thin side of the tip pointed away from you, pipe a heart shape. Continue piping 2-3 more heart shapes for each clover.
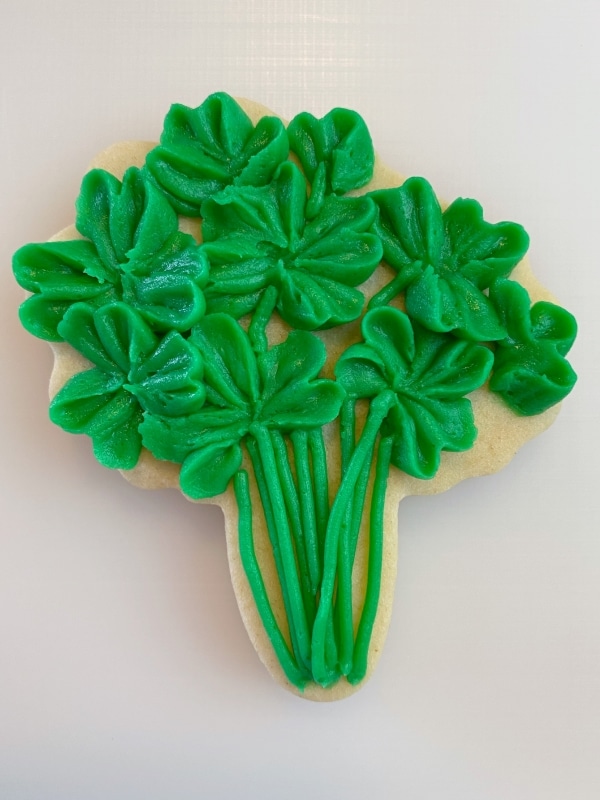
- Fill in the top part of the shamrock bundle with the 3 or 4 leaf clovers.
- Replace the tip #102 with the PME 1.5 tip to pipe the stems. Complete steps 1-3 for all the clover bouquet cookies before moving on to step 4.
- Remove and rinse the PME 1.5 tip from the green frosting and attach it to the white frosting. Pipe a bow to tie around the shamrock bouquet.


These St. Patrick’s Day sugar cookies are perfect for anyone who needs a green dessert on Saint Patrick’s Day.
If you want to bring these cookies to a party, make sure to read my post on how to package and transport buttercream sugar cookies.
Save the Tutorial for These St. Patrick’s Day Cookies
Use the image below to pin this tutorial for St. Patrick’s Day cookies to your holiday board on Pinterest. Alternatively, use any of the social share icons on the top of the page to share it to your favorite social media site.