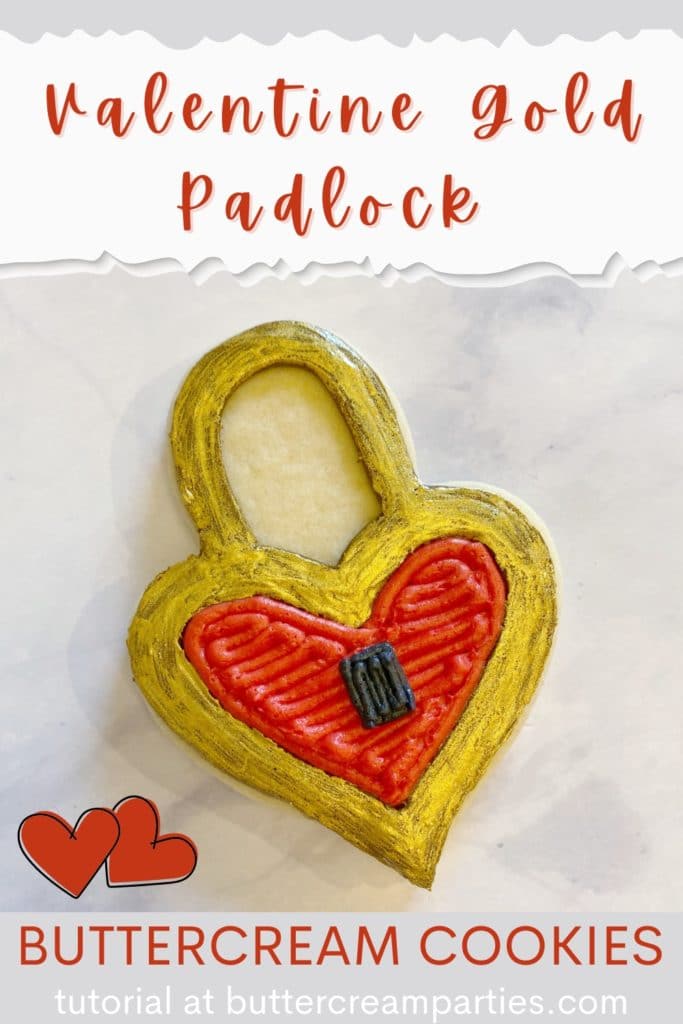
How to Decorate Gold Padlock Buttercream Cookies for Valentine’s Day
While gold isn’t my go-to color, I love it during Valentine’s Day! I just think it looks so pretty with all the reds and pinks. Today I want to show you how to decorate these beautiful and fancy gold padlock buttercream cookies.
These cookies look so impressive, but I promise, if you follow my step-by-step guide, you can create these yourself!
You will learn how to smooth buttercream frosting if you aren’t familiar (I have some tips & tricks to share!) and how to paint on gold luster powder.
Follow along for the full step-by-step tutorial and check out the video as well!
Skip to
Part 1: Gathering your Supplies for your Gold Padlock Buttercream Cookies
To create these gorgeous padlock buttercream cookies, perfect for Valentine’s Day, you will want to gather:- 3 Icing bags
- Wilton tip #s 5 and 2
- 2 Couplers
- Padlock cookie cutter – Get the exact one I used here: Lila Lola Heart Padlock Cookie Cutter
- Brown, red, and black buttercream frosting*
- Luster Powder in Gold
- Small paint brush – I always use the smallest in this Wilton Cake Decorating Tools – 5 Pc Brush Set & I love it!
- Small dish to mix your luster powder paint
- A splash of vodka (not to drink, unless it’s that kind of cookie decorating party, in which case you’d probably want more than a splash!)
- Angled flat spatula and/or a pointed knife
- Ingredients for a crusting buttercream, find my crusting buttercream icing recipe here
- Ingredients for sugar cookie dough, find my no spread sugar cookies recipe here
Part 2: Baking the Cookies, Setting up Your Icing Bags, & Preparing Your Gold Paint
- Roll, cut out, and bake your padlock cookies according to your cookie dough recipe. You will be able to bake a lot of these cookies so feel free to create other designs too! I have some great suggestions for Valentine’s Day cookies here: Valentine’s Day Tutorials
- While your cookies are cooling, make your buttercream frosting. Separate the frosting into 3 different bowls and add in the gel food dye to obtain your brown, red, and black frosting. You only need a small amount of black frosting compared to the brown and red, so adjust accordingly. Remember when creating red and black frosting, get your shades about 3/4 of the way to where you want them. Then, let them sit out with plastic wrap over them for a few hours (if you have the time) and they will deepen in color!
- Set up your icing bags as follows: Place the tip #2 into a bag with your black frosting. Next, place couplers into the other two icing bags. You will put your red icing and your brown icing into each of these bags, not together, of course. If you aren’t sure how to do this, no worries, just hop over to my Getting Started: Learn How to Decorate Buttercream Cookies page. You don’t need to add the tips yet.
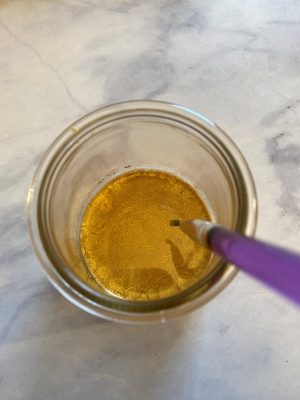
- Prepare your gold paint. To do this, pour about two teaspoons of vodka into a small dish. Now, dump some of the gold luster powder into the dish. You will probably add about two teaspoons as well to start. Give it a mix with your small paint brush and see how it feels. It should be runny like paint, but not so watery that it is like painting with water colors your kids mixed up. It’s probably best described like an acrylic paint. Play with the amounts of vodka and luster powder until it feels right. If you think you poured too much vodka, let it sit out for a bit so some evaporates, rather than pouring tons of luster powder in right away.

Part 3: The Fun Part! Frosting Your Gold Padlock Buttercream Cookies
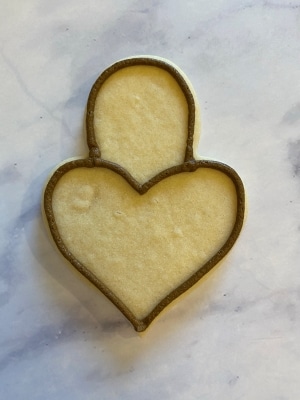
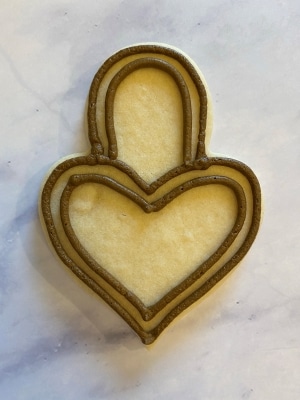
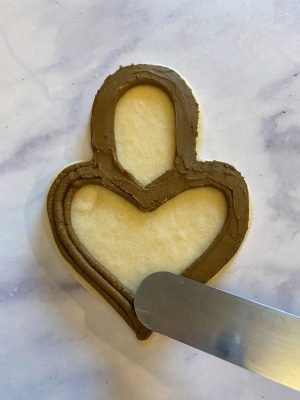
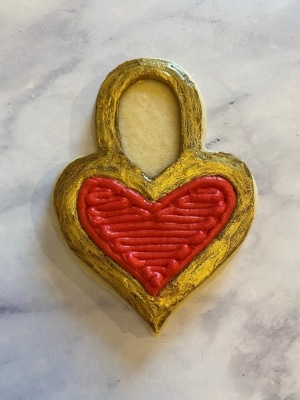
- Your first step will be to outline and fill in the heart shape of the padlock, as well as the handle. Attach the tip #5 to your brown frosting to do this.
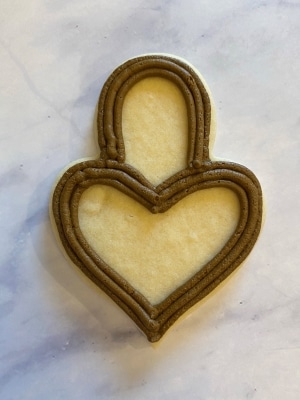
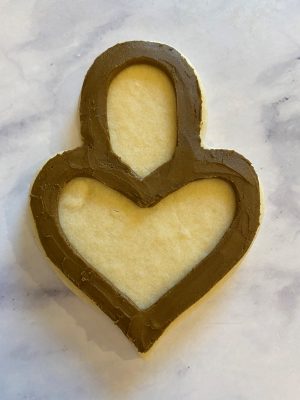
- Finish step one for all of your padlock cookies. A tip I have to share with you all is to place these cookies into the freezer for about 10 minutes. This freezes the frosting enough to where you can easily smooth out the frosting without messing up all the piping you just worked so hard doing. Of course, if you are a pro, go ahead and go straight in with the flat spatula. Freezing is just something that makes it simpler if you have the time and freezer space! You can also press a piece of parchment paper over the top to press out any lines (and help adhere the frosting to the cookie) if you want to skip the freezer.
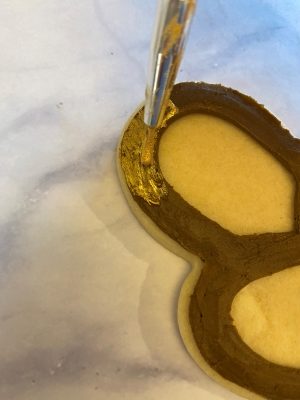
- Now for the paint! I really love this part. It is sooo pretty! Go ahead and start painting onto your brown frosting. Try not to get outside of the lines on the handle, but it’s okay to be sloppy with the heart area. Make sure to not press too hard, as you will indent your frosting below.
- Once all of your gold padlocks are painted, find one of the first ones that you painted. You will now be filling in the heart area of the padlock with your red frosting. It’s best to do this when the gold paint has dried a bit, but it’s not necessary. Just be careful to not get gold paint where you don’t want it. Go ahead and remove the tip #5 from the brown frosting, rinse and dry it, and then attach it to the red frosting. Outline and fill in the heart area.
- Once you’ve completed step four on all of your cookies, use the black frosting to draw a small key hole in the center of the red heart. I did a simple black rectangle. You can get more creative if you want!
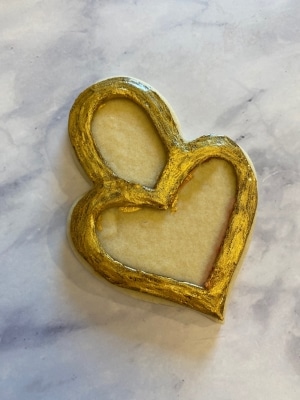

Once all of your cookies dry, they will be safe to eat by everyone, as the vodka will evaporate out of the paint. These gold padlock buttercream cookies also become so shiny and beautiful when dried. Take a look at this photo! 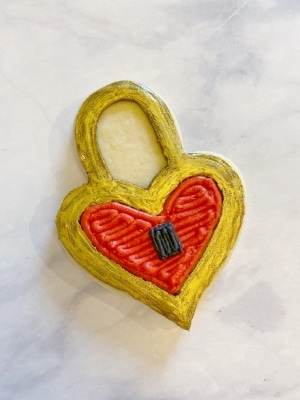
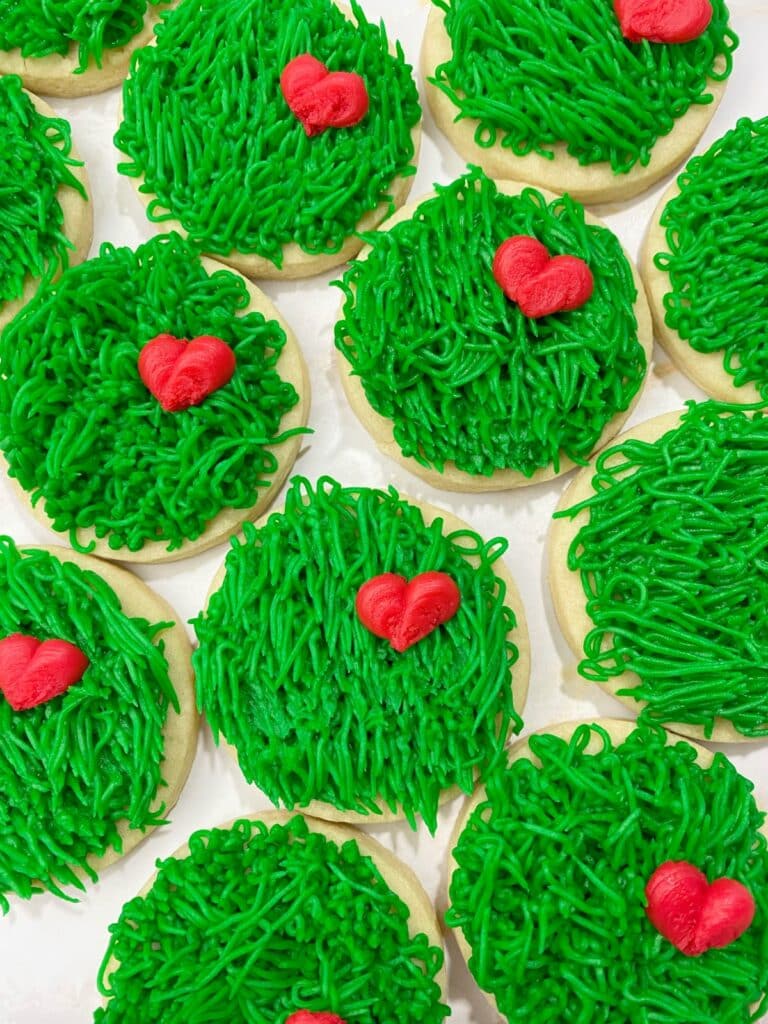
So beautiful and perfect for Valentine’s Day! Stay tuned for next week’s tutorial, as we will need something to open these padlocks of love, right?
To save the tutorial for these gold padlock buttercream cookies for later, simply click on any of the social share icons on this page and save it to your favorite social media site. Alternatively, hover over the image below and pin it to your Pinterest account!
Don’t forget to check out my other Valentine’s Day Tutorials for more fun ideas! Have a Happy Valentine’s Day!

Wow, I’m so impressed with this design! It’s perfect for Valentine’s Day, and unique too.
Thank you! Yes, I love this cookie cutter by Lila Lola, so unique!
Your cookie is just gorgeous! I love that you show how to make the cookie step by step. I really need that because I don’t really know how to decorate cookies!
Thank you so much for sharing!
You are so welcome!
I love all of your tutorials and ideas for cookies. These are so cute and creative, I can’t wait to make them for vday!
I’m excited for you to make them as well!
Your technique is always so impressive! I don’t know that I’ve ever seen gold frosting like that before. It looks beautiful on this sugar cookie design.
Thank you! I love painting on sugar cookies, it’s like two hobbies rolled into one.
How original to think of padlock shaped cookies for Valentine’s! But this is you! I’m always waiting to see what other original designs you’re making!:))
Aww well thank you! The Lila Lola cookie cutters are pretty original so they are extra fun to work with!
These are so cute! I love luster powder, you can do so much with it! Imagine when I found my daughter using it to make slime one day (ugh).
OMG! I am sure that she had some pretty slime but certainly isn’t the most cost effective 🙂