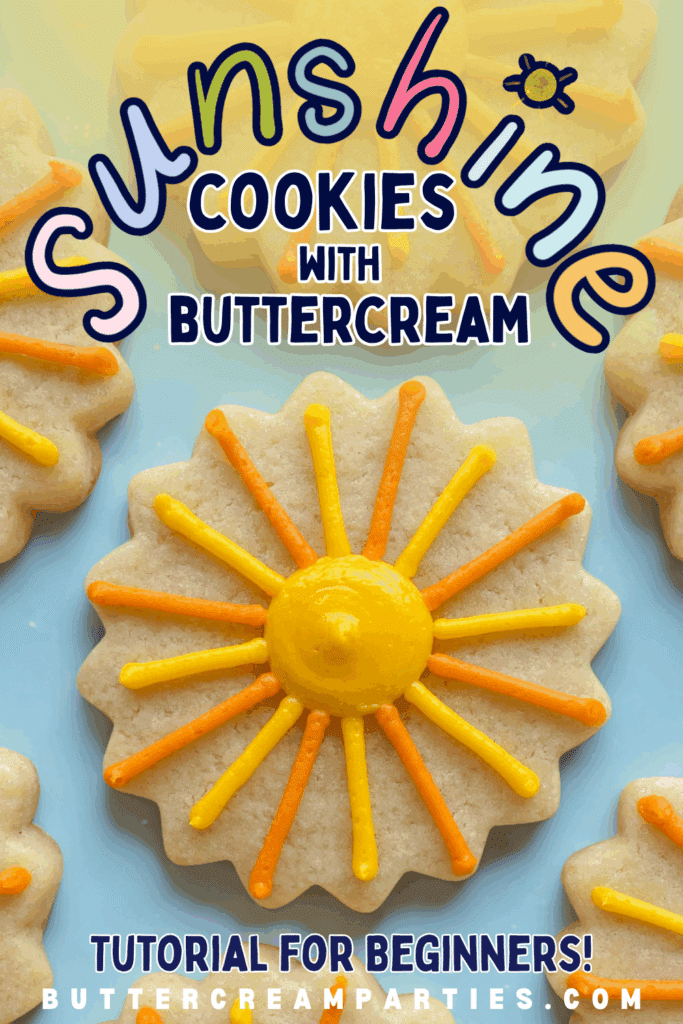
Simple Summer Cookie Recipe – Sun Sugar Cookies
Looking for a fun, beginner-friendly summer cookie recipe to brighten up your summer? These sun sugar cookies are the perfect way to add a little sunshine to your day—literally!
Soft, sweet, and topped with a smooth buttercream frosting, these sun-shaped cookies are as easy to decorate as they are delicious.
Whether you’re new to cookie decorating or just short on time, this quick and simple recipe is made for you.
With a step-by-step photo tutorial and a video to guide you, you’ll have a batch of adorable, sunshiny cookies ready to share in no time.
I have been experimenting with artificial dye free food coloring so I used that for these cookies. I think they turned out beautiful. You can read about what natural dyes I have been experimenting with here!
Follow along for the full step-by-step photo series and video cookie decorating tutorial PLUS the recipes!
Let’s get started!
This post may contain affiliate links to Amazon and Etsy, which means I may receive a commission, at no extra cost to you, if you make a purchase through a link. Please see my full disclosure for further information.*
Part 1: Gathering the Supplies for the Sun Sugar Cookies

To decorate these sun sugar cookies, you will want to gather:
- 2 Icing bags
- One Wilton 5 tip and one Wilton 12 tip
- 2 Couplers
- Sunflower or sunburst cookie cutter
- Yellow and orange gel food dye (I used natural dyes)
- Ingredients for a crusting buttercream & sugar cookie dough – found below in recipe card


Part 2: Baking the Cookies and Setting up the Icing Bags
Use the recipe card below for the sugar cookie and buttercream frosting recipes.

Sun Sugar Cookies with Buttercream Frosting
Equipment
- Stand Mixer with Paddle Attachment
- Rubber Spatula
- Measuring cups and spoons
- Medium Sized Mixing Bowl
- Lined aluminum cookie sheet parchment paper or silicone lined baking sheet
- Rolling Pin
- Cookie cutters and tools see part 1 on this post for the specific tools needed
- Gel food dye I used TruColor natural food dyes
Ingredients
Buttercream Frosting
- ¼ cup room temperature unsalted butter
- ¼ cup room temperature salted butter
- 2 cups powdered sugar
- ½ tbsp. vanilla extract
- 1 tbsp. whole milk
Sugar Cookies
- 1 cup cold salted butter cubed
- 1 cup granulated sugar
- 3 cups all purpose flour measured with the scoop & level method
- 2 tsp. baking powder
- 1 egg
- 1.5 tsp. vanilla extract
Instructions
- Remove all of the butter from the refrigerator. You will make the sugar cookies first but the butter for the frosting needs to come to room temperature before mixing.
Sugar Cookies
- Preheat the oven to 350℉ and prepare an aluminum cookie sheet by placing either parchment paper or a silicone baking mat on it.
- In a medium sized mixing bowl, combine the flour and baking powder and mix together. Set this aside.
- Cube a cup of salted butter and then, in a stand mixer with the paddle attachment, combine the cubed butter with the granulated sugar. Mix until creamed together well.
- To the stand mixer, add in the egg and vanilla extract and mix until combined.
- Slowly add in the dry ingredients in the mixing bowl to the stand mixer.
- Roll the dough out to 3/8" thick and use the cookie cutter to cut out the cookies. Place the cookies onto the prepared baking sheet and bake for 9-11 minutes or until the tops of the cookies no longer look wet. When baking the cookies, only bake 6-8 cookies at a time to leave proper space between each cookie to cook without spreading. Overcrowding the cookie sheet will cause spread.
Buttercream Frosting
- In a stand mixer with the paddle attachment, add the room temperature salted and unsalted butter and mix on high until light and fluffy.
- Mix in the powdered sugar little by little. Add in the vanilla extract and milk about halfway through adding the sugar to help the frosting come together. Start with one tablespoon of milk and work up to three if needed, depending on the consistency you want. I like to aim for a peanut butter consistency or thinner.
- Follow the directions in Part 2 for the specific way you will divide the buttercream and set up the icing bags.
How to Decorate the Sun Sugar Cookies
- Please refer to Part 3 of this blog post for the tutorial.
Notes
Make your buttercream icing according to the recipe and separate it into two bowls:
-
-
- scoop 2/3 of the buttercream into a bowl and dye this frosting yellow
- color the remaining 1/3 buttercream orange
-
To set up the piping bags:
- Place couplers into each icing bag and then add the frosting. You do not need to add the tips yet.
Part 3: Decorating the Sun Sugar Cookies with Buttercream Frosting
Check out the video tutorial showing the overall process for decorating the sun cookies then follow the step-by-step photo series tutorial below.
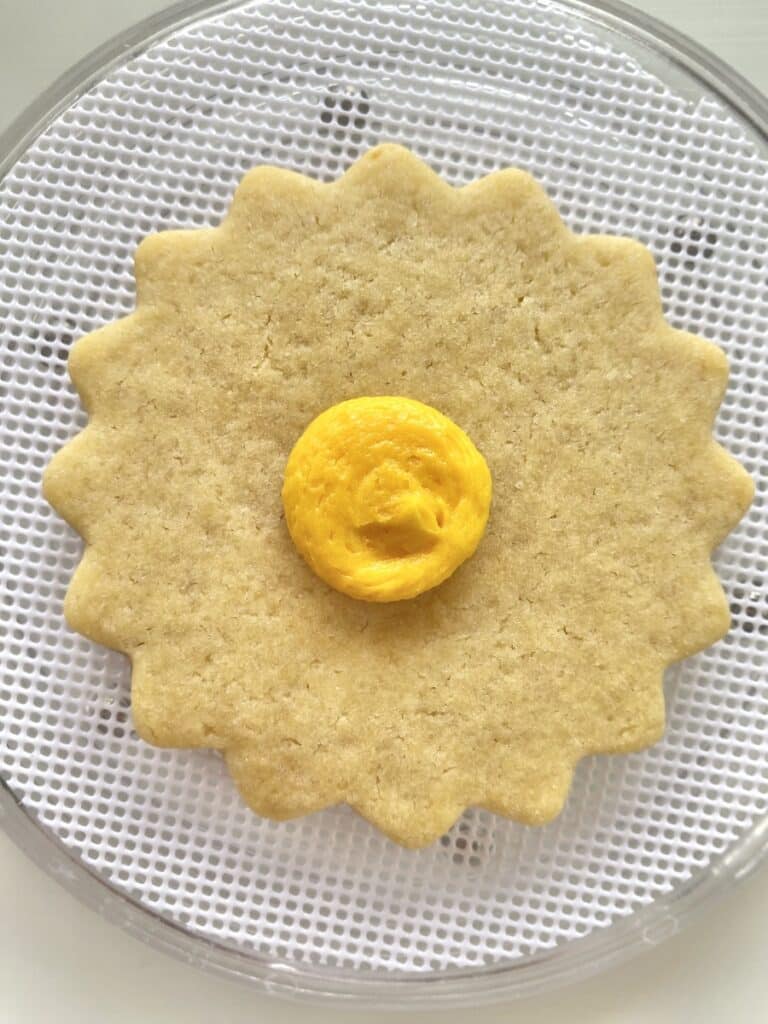
- Attach the Wilton tip #12 to the yellow buttercream. Pipe a blob of frosting onto the center of the cookie. If you want the blob to be bigger, pick up and drop the cookie (from a height of a 1/2 inch) to allow the frosting to spread. Check out the video for specifics.

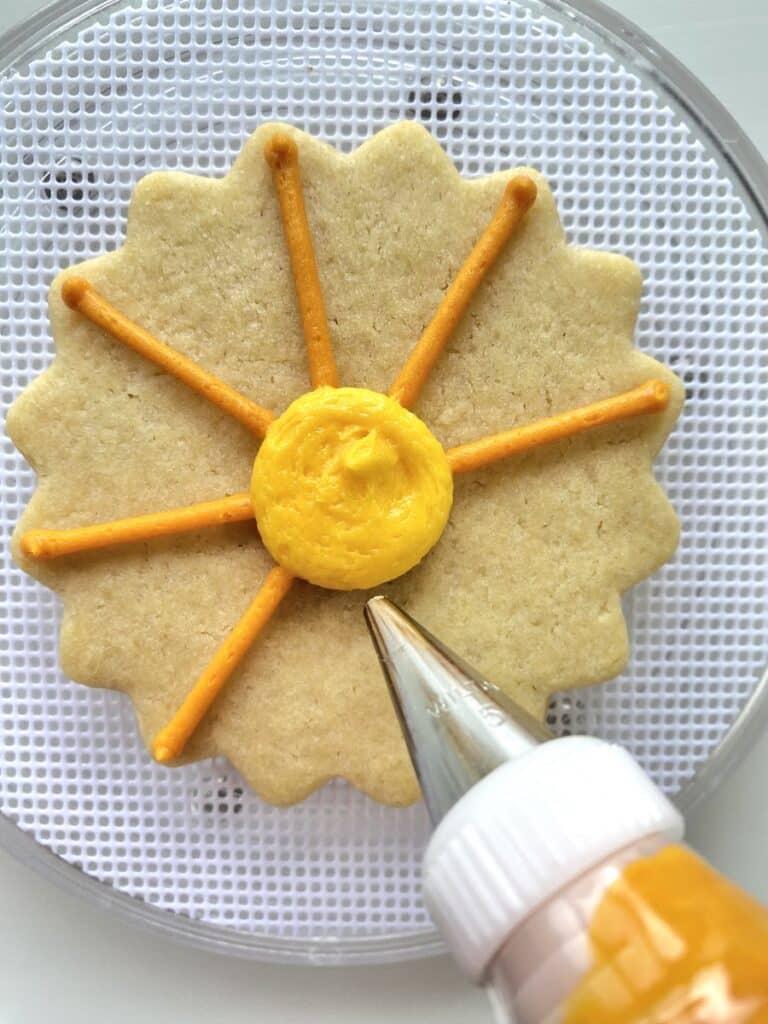
- Attach the Wilton tip 5 to the orange buttercream. Pipe straight lines from the sun to the edge of the cookie. Only do every other line.
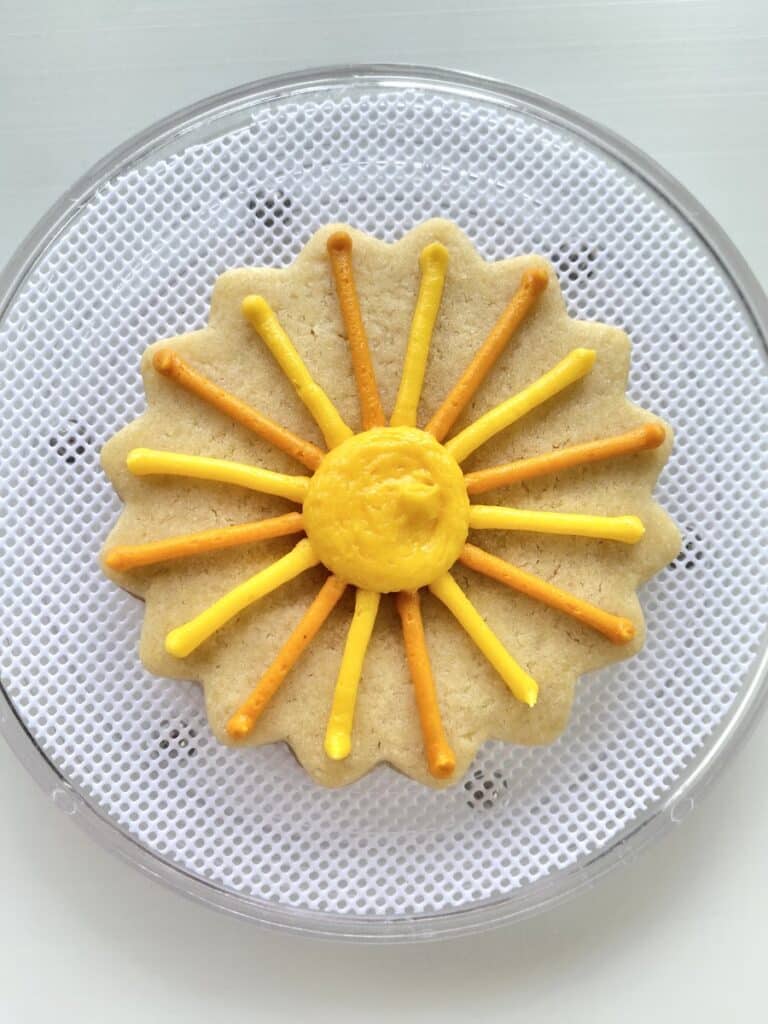
- Repeat steps 1 & 2 for all cookies. Then, remove/rinse/dry tip 5 from the orange buttercream and place it onto the yellow buttercream. Pipe straight lines from the sun to just before the edge of the cookie in an alternating pattern.
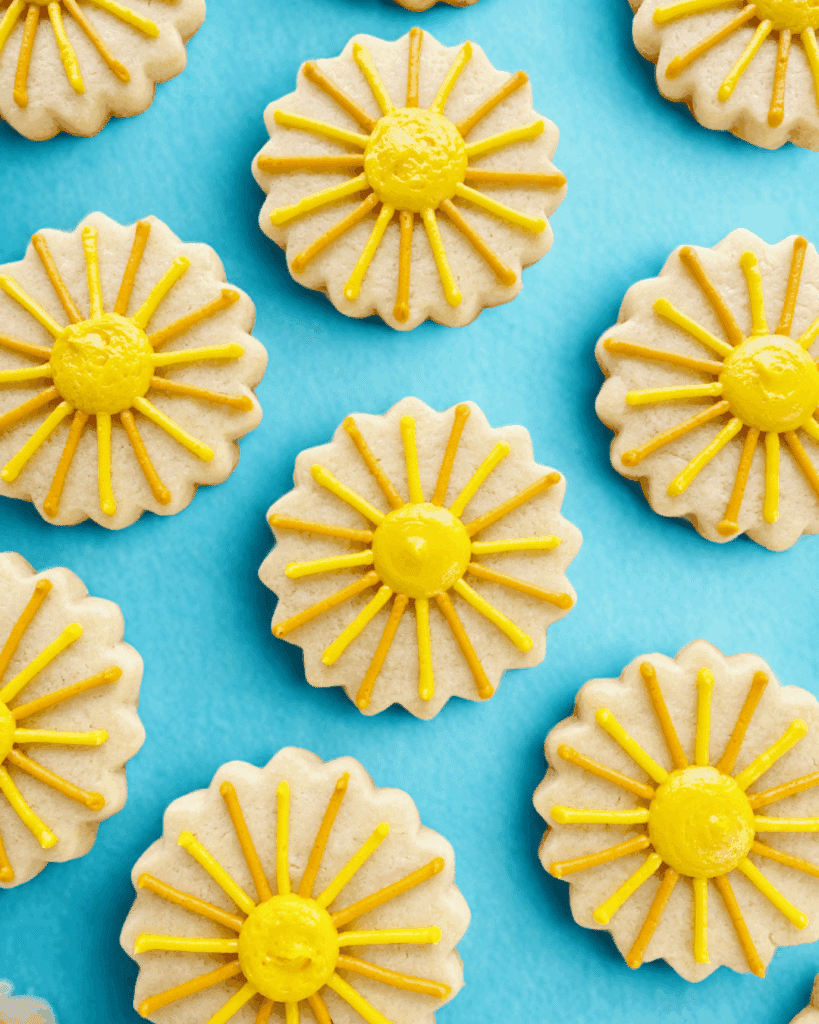
How easy and cute are these? I think the artificial dye free frosting turned out really well for these sun sugar cookies!
Let the cookies dry for at least eight hours and up to 24 hours at room temperature. Then, you can either plate the cookies for eating or place them in an airtight container and freeze them for up to three months.
Here is a detailed post on freezing buttercream sugar cookies if you want to go this route.
Keep in mind that buttercream frosting melts at hot summer temperatures! If serving outside, keep in a shaded spot and only bring out for the dessert time.
For tips on keeping buttercream cool, check out my post on how to keep buttercream cool during the summer months.
Save the Tutorial for This Summer Cookie Recipe
Use the image below to pin this tutorial for buttercream sun sugar cookies to your cookie party board on Pinterest. Alternatively, use any of the social share icons on the top of the page to share it to your favorite social media site.