Easy Decorated Mardi Gras Cookies with Buttercream Frosting
71 - 71Shares
Did you know that donuts are a common food to make on Fat Tuesday (Mardi Gras in French)? Apparently donuts are fried in order to use all the fat and sugar before the Lent fast occurs on Ash Wednesday. I love little tidbits of information like that. These decorated Mardi Gras cookies shaped like donuts are thus the perfect addition for your Mardi Gras party! Plus, they are super easy to decorate so even the kids can have fun with this one. Follow along for the step-by-step photo series tutorial on these decorated Mardi Gras cookies!
Skip to
Part 1: Gathering the Supplies for Your Decorated Mardi Gras Cookies
To create these donut shaped decorated Mardi Gras cookies, you will want to gather:
- 3 Icing bags
- 3 of the Wilton size 5 tips (You can also just use one size 5 tip if you know how to set up couplers on your bags, in which case you will need 1 Wilton size 5 tip and 3 Wilton couplers. By the way, if you want to learn how to set up couplers, check out this page here: Getting Started: Learn How to Decorate Buttercream Cookies)
- Two different sized circle cookie cutters – I used the largest and smallest circles in this cookie decorating essential Wilton 101 Cookie Cutter Set
- Purple, green, and white buttercream frosting*
- Purple, green, and or gold sprinkles – I found this fun mix on Amazon since I can’t find the exact ones I used: Mardi Gras Sprinkles
- Your favorite sugar cookie dough recipe – If you don’t have a favorite, I recommend Katrina’s Best Sugar Cookie Recipe
*Your buttercream frosting should, ideally, be a frosting that “crusts.” This means that the frosting will form an outer crust to protect it while traveling. I use the Jenny Cookies Buttercream Frosting recipe on her blog. If you don’t want to make buttercream frosting yourself, just buy a tub of already made buttercream frosting. I prefer to use the Wilton gel food dye since gel is more vibrant (i.e. more cost effective because you use less) than liquid and doesn’t change the consistency of your frosting. You can get that here: Wilton Gel Coloring 12 Count.
Part 2: Baking the Cookies and Setting up Your Icing Bags
- Mix up your cookie dough according to the instructions and roll it out. Using the large circle cookie cutter, cut out as many cookies as you want/can. Then, use the small circle cookie cutter to cut out the center portion of those cookies. You can gather all of the leftover dough and reroll it for more donuts. Or, you can bake these small cut outs & cover them with sprinkles and frosting as well. You can also paint on gold luster powder to create mini gold cookies!
- While your cookies are cooling, make your buttercream frosting. Separate the frosting into 3 different bowls and add in the green gel food dye to one of the bowls and the purple gel into the other. Of course, leave the third bowl undyed for your white frosting. If you are struggling to get a nice, deep shade of frosting, cover the icing with a piece of plastic wrap and leave it on the counter for a few hours or overnight. The color will deepen over time!
- Set up your icing bags as follows: Place a number 5 tip into each of the three icing bags. Then, add your green, purple, and white frostings into each bag. If you aren’t sure how to do this, no worries, just hop over to my Getting Started: Learn How to Decorate Buttercream Cookies page.
Part 3: Frosting the Easiest Decorated Mardi Gras Cookies – Shaped Like Donuts!
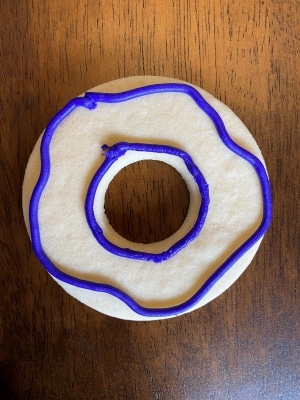
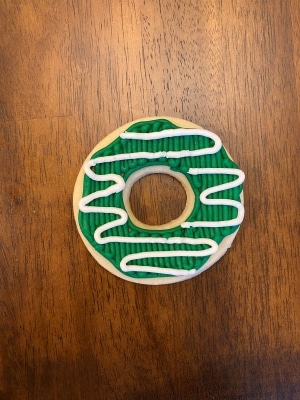
- Pick one of the frosting colors and use it to outline the inner circle and draw a wavy outline for the outer edge.
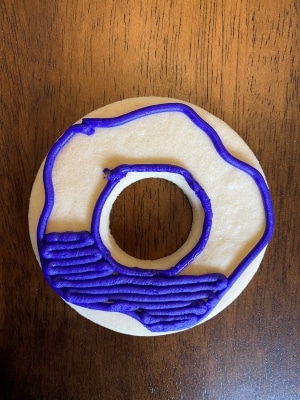
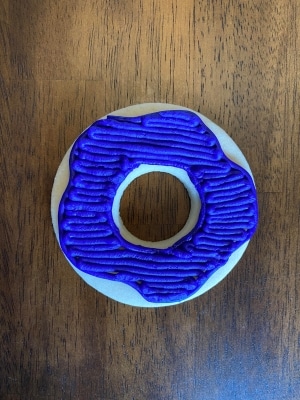
- A trick to filling in your cookies in a pretty way is to find a spot where you can create a block of straight lines at once. Continue to fill in lines in block formations until the whole donut is filled.
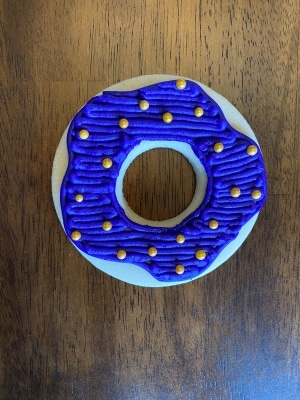
- The last step is to cover your decorated Mardi Gras cookies in fun sprinkles!
Now just repeat these steps for each of your decorated Mardi Gras cookies! It’s fun to come up with different designs. Some cookies can be half purple and half green if you want! Or use the white frosting to draw a “glaze” over some of the donuts.
There you have it! Super simple yet fun cookies for your Mardi Gras party!
If you are hosting a Mardi Gras party, make sure to have all the decorations in place as well! These decorated Mardi Gras cookies would look great plated on a gold platter! I found a great set of two here:
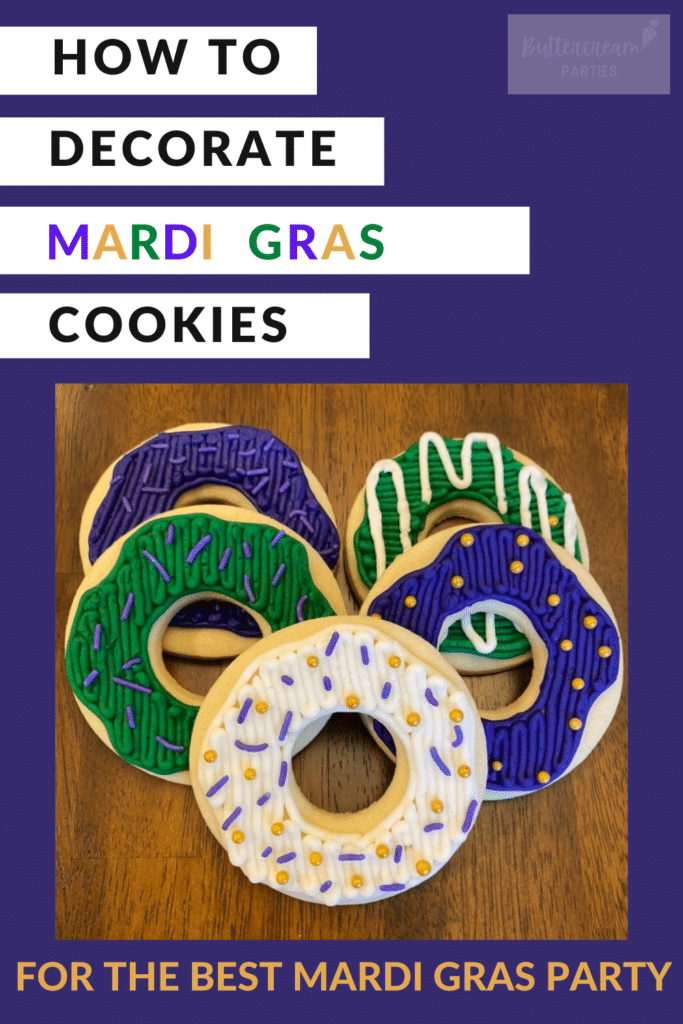
Make sure to save this tutorial for later! Use any of the social share icons on this page to share it to your favorite social media site. Alternatively, use the image below to pin it to your Pinterest account!
If you created these cookies, tag me on Instagram @buttercreamparties for a shout out!
Let me know in the comments below if you celebrate Mardi Gras! I’d love to know what, if any, kind of traditions you do each year or what your parties look like!




These look so festive! I think that children would also love decorating these since they can get creative with the designs without having to be “perfect.”
I agree! I’d say most of my tutorials are for teens and older but these ones are so simple! Of course, little ones will be happy to eat them regardless how they look. It’s just a fun activity!
These look so simple but beautiful! Love the colors.
Thank you! Yes, this is a great one for beginners!