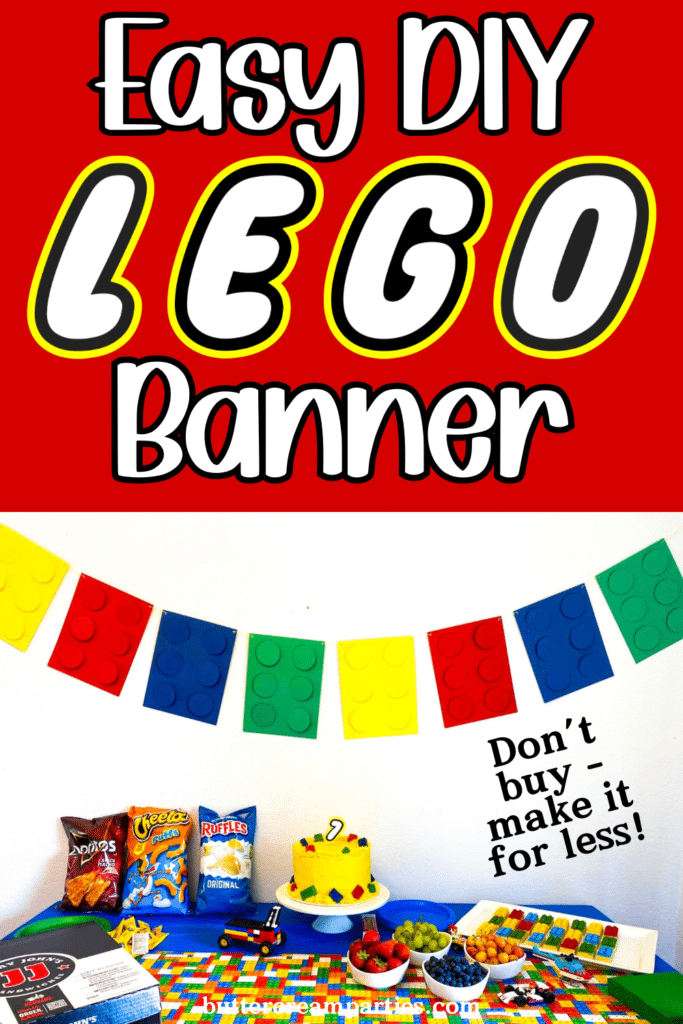
Easy DIY LEGO Banner for a LEGO Birthday
My son loves LEGO and decided he wanted a LEGO themed birthday this year. I was excited because I knew party decor would be so easy! Here’s a simple DIY LEGO banner tutorial that is a perfect example.
Maybe you are like me and you browse Etsy for party supply ideas. And then you go the extra step of thinking, “I can do that.”
Well, this is a product of that thinking process!
This DIY LEGO banner is super cute and I can see why people would buy it on Etsy to save time and support small business.
But, if you have a bit of time and want to save money, I have a quick tutorial for you!
*This post may contain affiliate links, which means I may receive a commission, at no extra cost to you, if you make a purchase through a link. Please see my full disclosure for further information.*

Skip to
Gathering Supplies Needed for DIY LEGO Banner
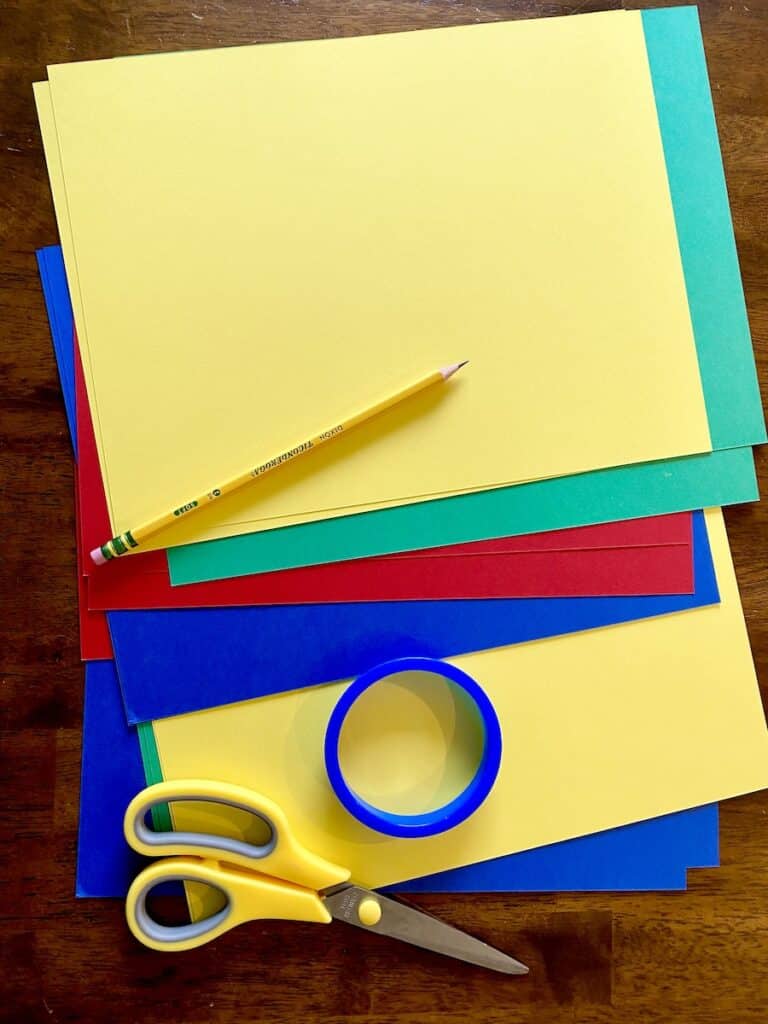
The supplies for the DIY LEGO banner are super simple and cheap – two of my favorite adjectives for DIY materials!
Here’s what you’ll need:
- blue, red, yellow, and green cardstock paper – I got this assorted colors set
- round cookie cutter (could also use a wide mouth mason jar lid, individual yogurt cup… anything round that is about 3″)
- tape
- scissors
- hole punch
- string
- pencil
That’s it!
This tutorial is super simple. Let’s get started!
How to Make the DIY LEGO Banner
Step One: Figure out the Size of the DIY LEGO Banner
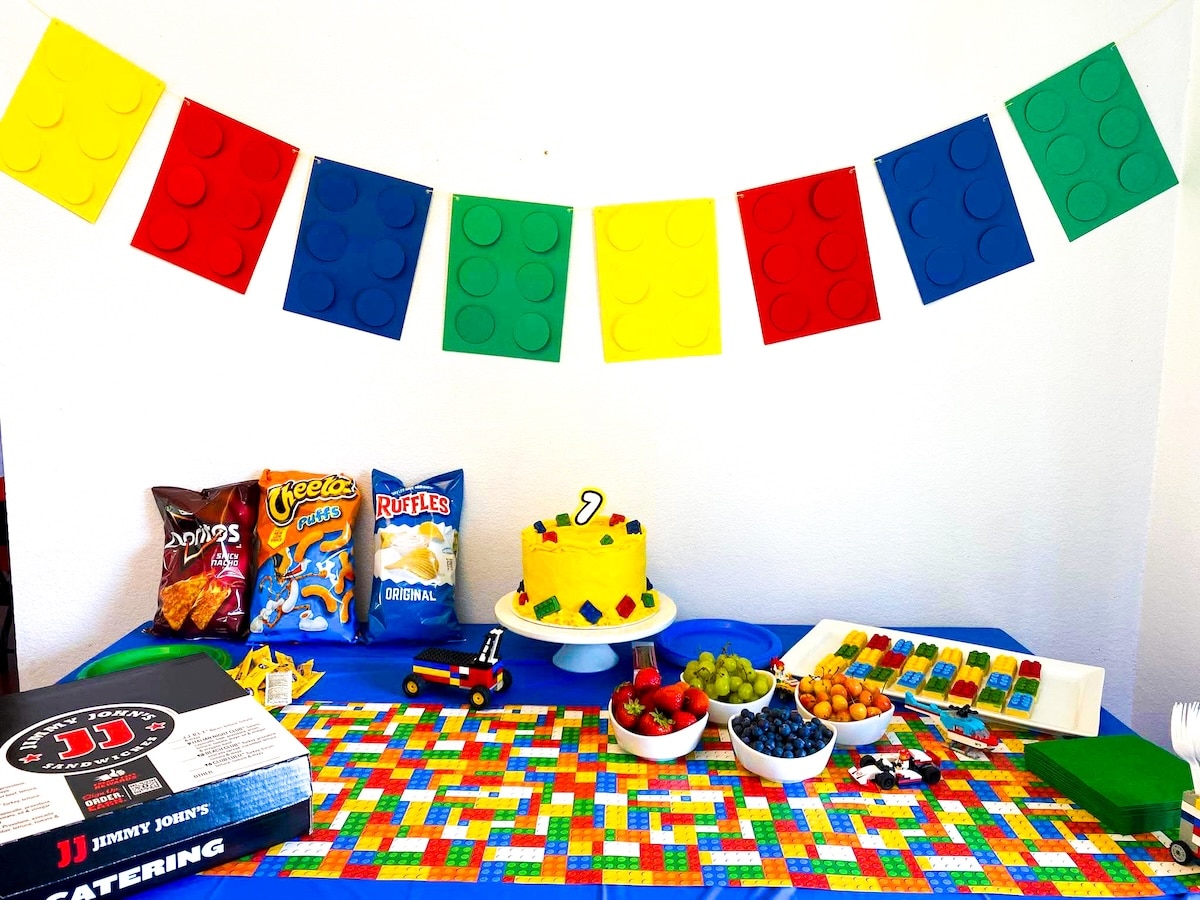
First, determine how long you want your banner.
To do this, simply measure the space it will take up. Then, lay your cardstock on a table or on the floor in the color pattern you want within the size you want.
Remember to “swoop” your cardstock line so that it bends down to the middle (and then back up to the end) rather than straight across.
Also remember that you will need twice as much paper as your banner because you will cut holes out of the other ones.
For example, in my banner, you can see that I have two of each color of LEGO in banner. I will then need four total pieces of cardstock in that color.
- 2 yellow LEGOs in banner means 4 yellow pieces of cardstock (2 for the block and 2 to cut the circles out of)
- 2 blue LEGOs in a banner means 4 blue pieces of cardstock
- 2 red LEGOs… 4 red pieces of cardstock
- 2 green LEGOs… 4 green pieces of cardstock
Keep that in mind when making and planning out your banner so you don’t run out of cardstock paper.
Step Two: Cutting Out the Circles
Begin tracing your circles onto your “extra” papers. Again, I used a round cookie cutter but you can use anything that will fit onto your paper symmetrically.
Your LEGOs don’t have to be a 2×3 shape either. You can do two large circles for a 1×2 LEGO or you can do 8 small circles for a 2×4 circle. So whatever size circle you have will likely work out just fine.
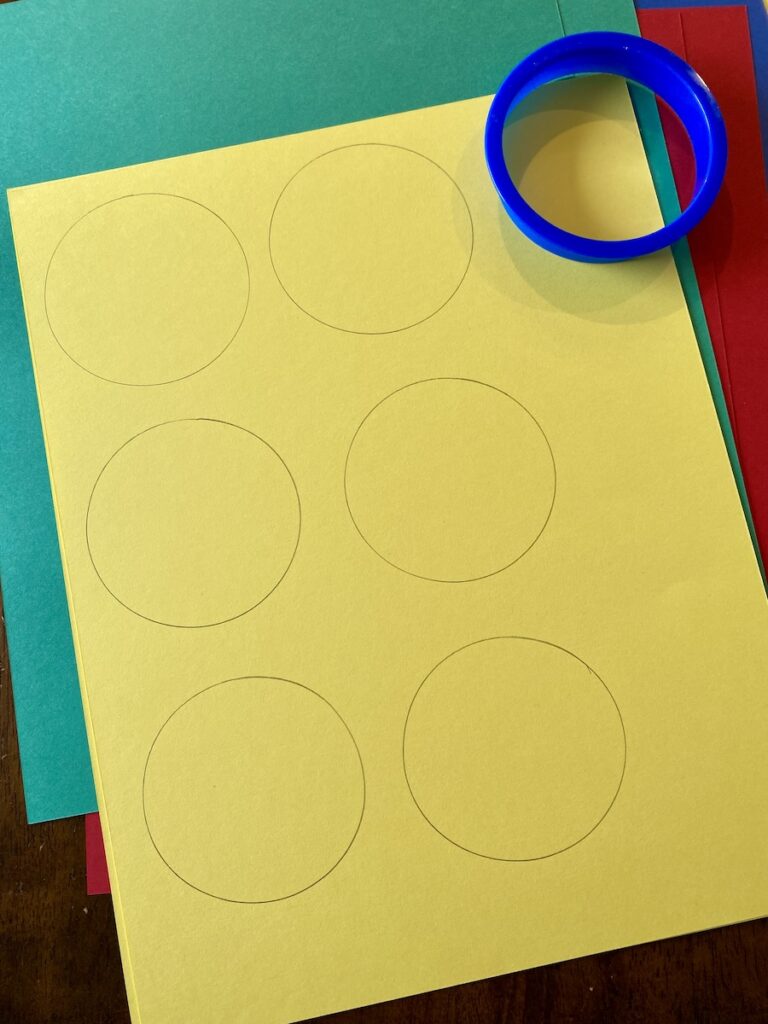
Do keep in mind, the more circles, the longer the project.
Cut out your circles, setting aside the excess paper as you will use them in the next step.
Step Three: Attaching the Circles
You have two options here:
- Tape the circles directly to the paper – this will have the appearance of LEGOs but you won’t get any depth
- What I did – create some height from the excess paper you set aside so the LEGOs will have depth
Since option 1 is self-explanatory and I went with option 2, I will explain option 2.
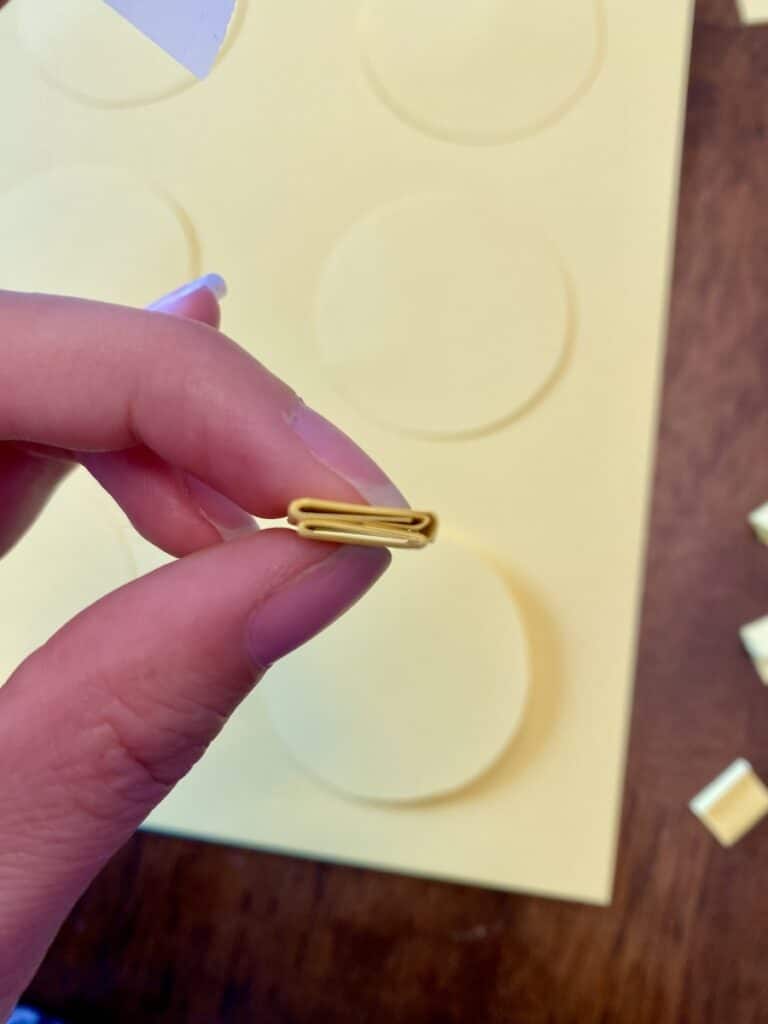
Cut your excess paper into strips along the long side. Then, cut these strips into smaller, shorter strips.
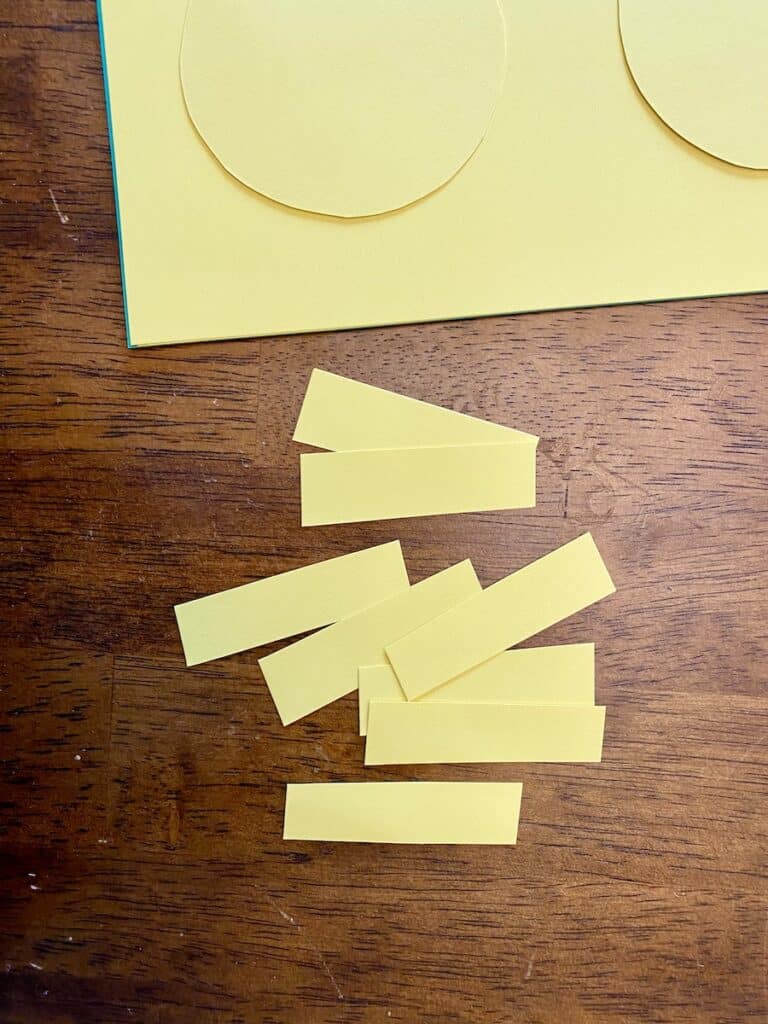
Essentially, you are creating short strips of paper that you will then fold about 4x to create height.
Do not fold the paper in an accordion style. It’s not a pop-out look that we are going for, just some depth.
Just fold it up 4x or so.
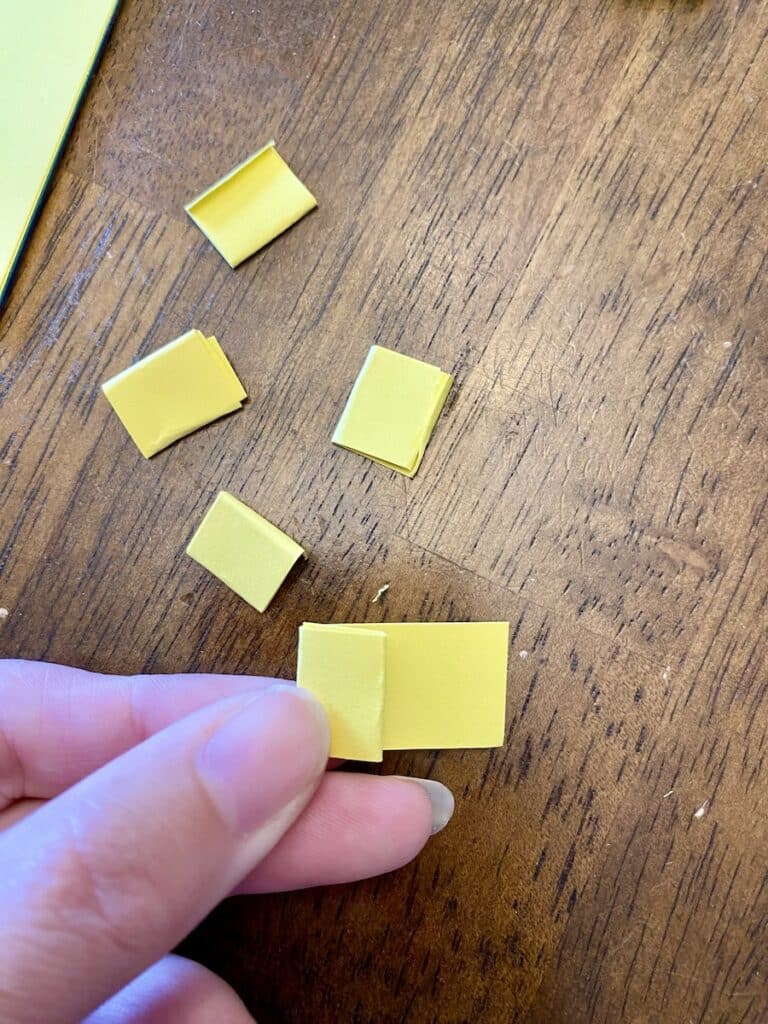
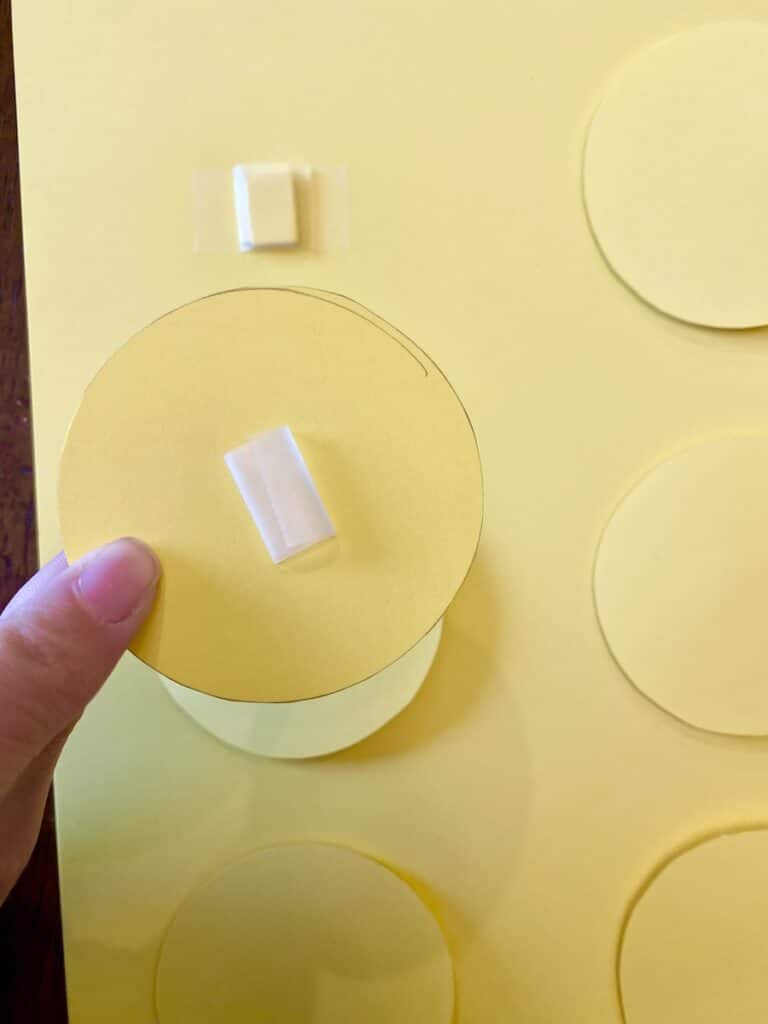
Place your circles onto your cardstock pattern as a guide – don’t tape them down. Removing one circle at a time, tape the folded paper onto the cardstock in the middle of where your circle would sit.
I decided to do two folded papers on top of each other – so 8 total folds – to create more height.
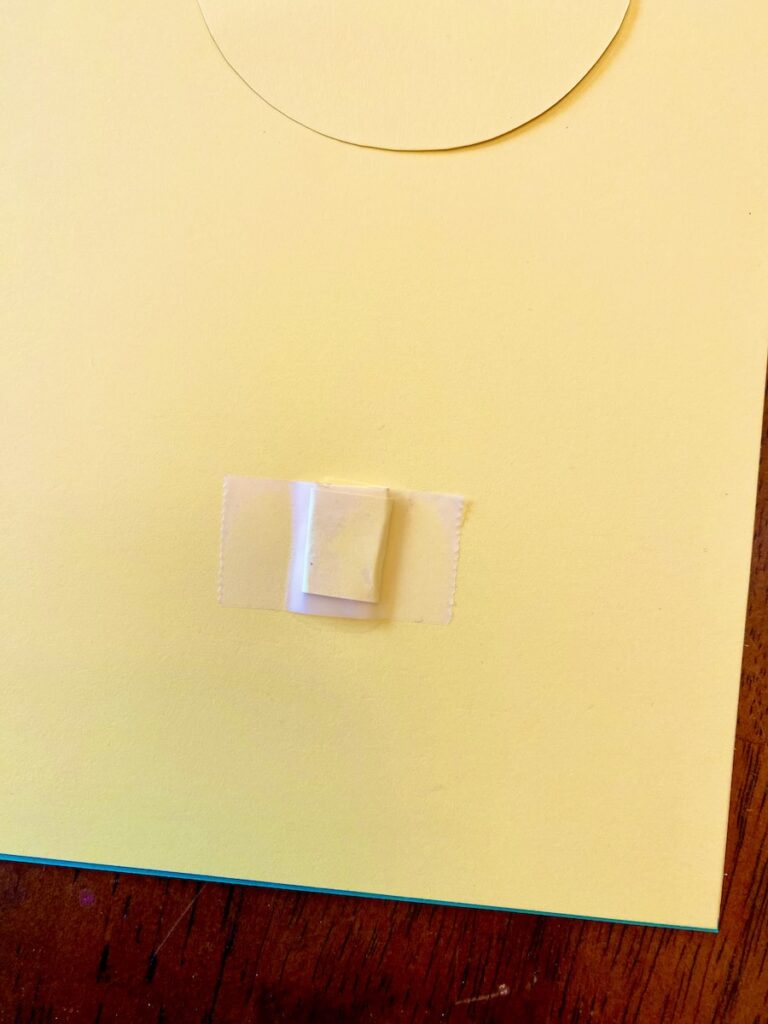
Then, tape the circle onto the folded paper using the tape loop method. (Did you know that’s what it is called? I had to look it up…)
Repeat this step for all your LEGO cardstock pieces.
Stringing up the Banner
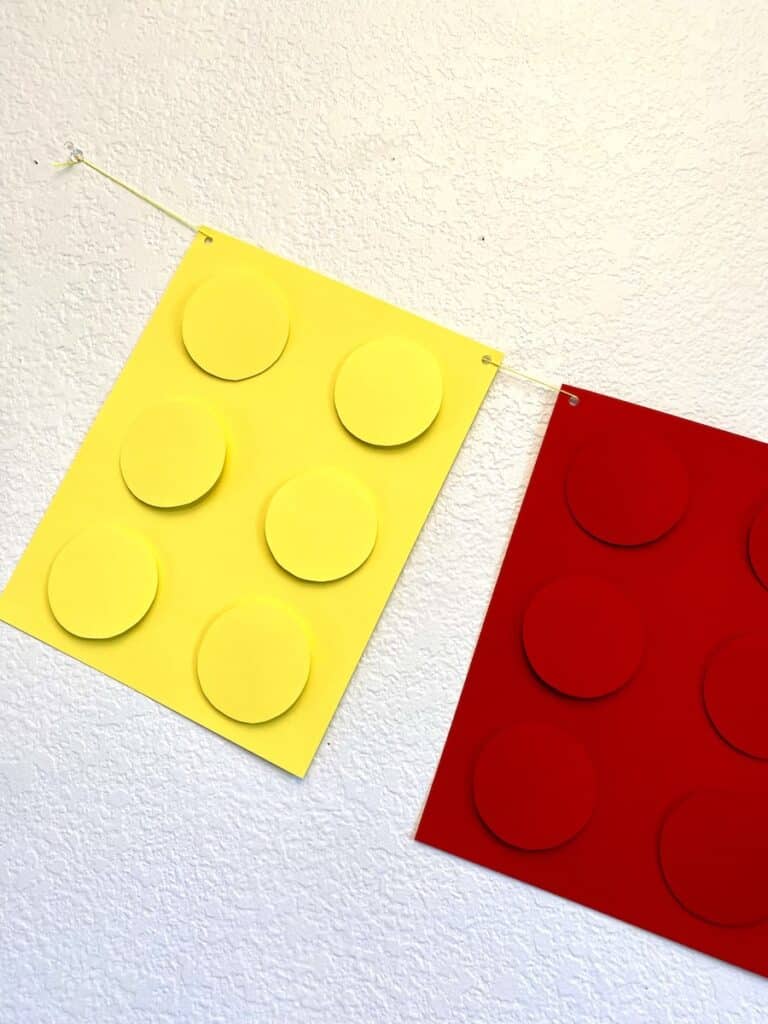
Punch two holes at the top corners of your finished LEGO pieces.
String the banner so that the long line of string that goes across the LEGO pieces at the top is on the back of the LEGO, rather than the front.
I went with a yellow piece of string and found it was barely noticeable on my white wall.
Once all of the string as been attached (again, remember to leave excess so that it doesn’t get strung straight across but hangs down) knot the string around a push pin on each end.
Then, simply push the pins into the wall!
Save this Tutorial for a DIY LEGO Banner for Later
Make sure you save this simple DIY for your LEGO party in your Pinterest board or your preferred social media. Thank you for sharing!